Cupcake Decorating Tutorial That Makes Baking Fun Again
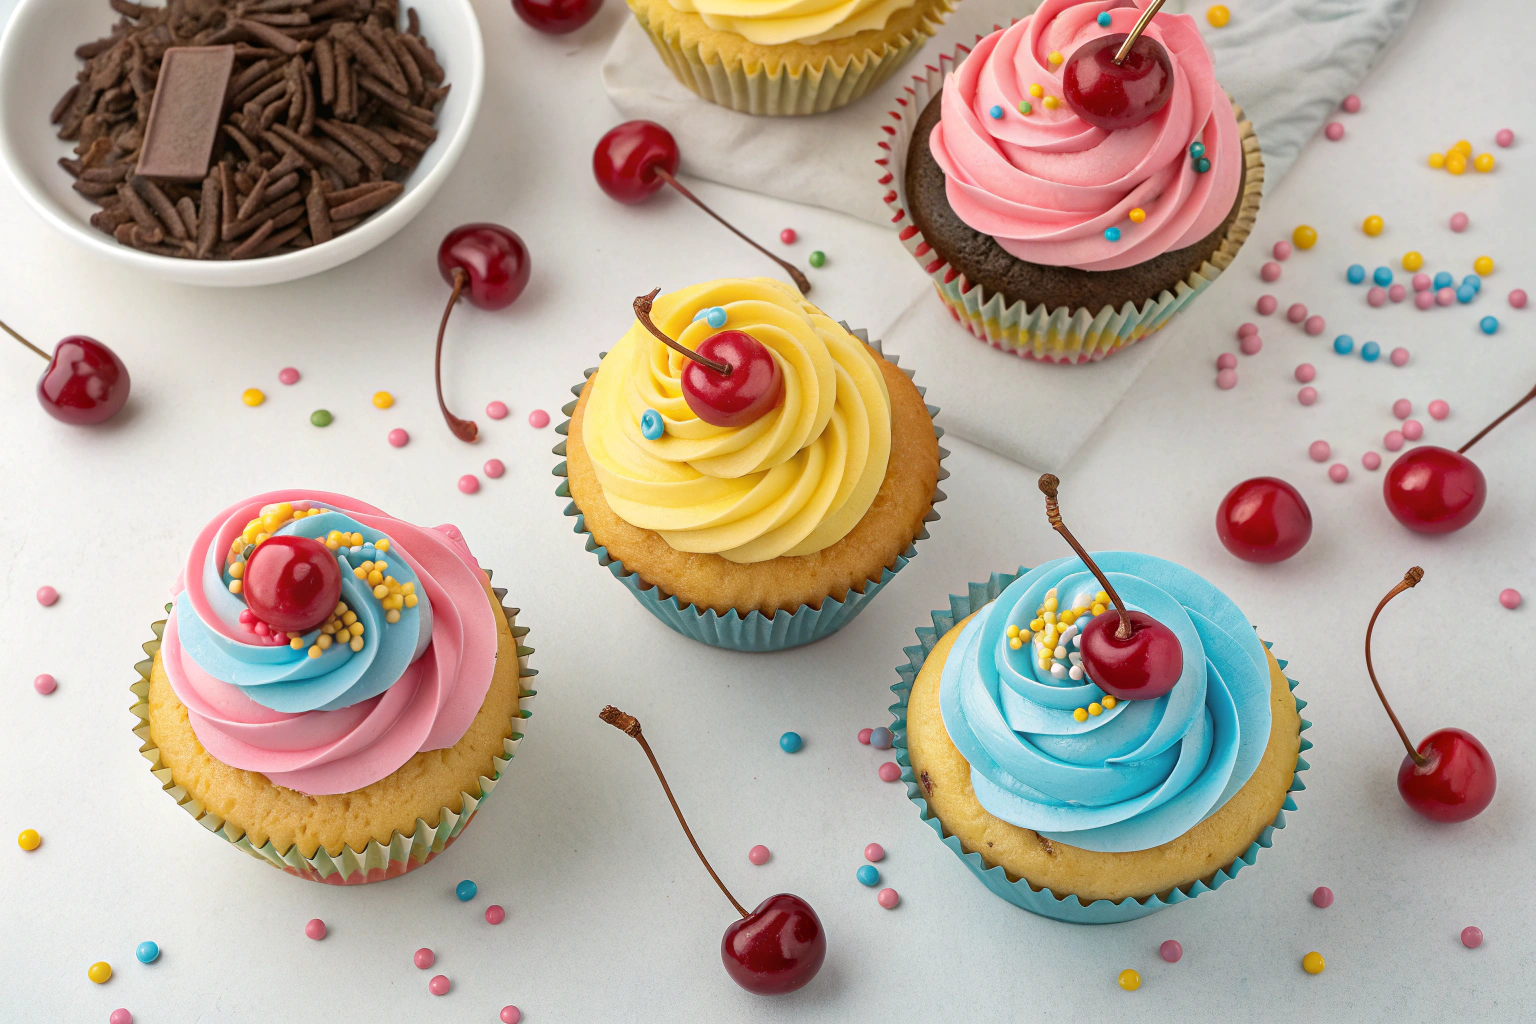
Table of Contents
I used to think cupcake decorating was a secret society for people with unnaturally steady hands and a PhD in patience. My early attempts looked like a toddler’s art project had a meltdown. Then I cracked the code.
This isn’t about being a pastry Picasso. It’s about a few simple, game-changing techniques that deliver insane results. I’m sharing the only cupcake decorating tutorial you’ll ever need.
It’s fast, forgiving, and will make you look like a pro. Get ready to silence your inner critic and create some seriously impressive treats.
This method bypasses all the fussy, intimidating stuff. Remember that feeling of pure joy when you got a perfectly frosted cupcake as a kid?
That’s the vibe we’re chasing. This cupcake decorating tutorial is built on that nostalgic magic, but with a modern, no-fail twist. It focuses on flavor and fun over perfection.
Why spend hours on something that gets devoured in seconds? This process is designed for maximum impact with minimal stress. IMO, that’s a win-win.
Ingredients
Gathering your gear is half the fun.
You don’t need a pastry chef’s toolkit, just a few key players. The real magic is in the frosting, so don’t skimp on the good stuff. Here’s your shopping list for decorating success.
- 1 batch of fully cooled cupcakes (your favorite recipe or a reliable box mix)
- 1 batch of American buttercream frosting (butter, powdered sugar, vanilla, heavy cream)
- Gel food coloring (trust me, it’s better than liquid)
- A large piping bag
- 1 Wilton 1M or 2D piping tip (the star of the show)
- Sprinkles, edible glitter, or other quirky toppers
Step-by-Step Instructions
- Ensure your cupcakes are completely cool. I’m talking cold-to-the-touch, room-temperature cool. Frosting a warm cupcake is a one-way ticket to a soupy, sad mess. This is the most critical step in this entire cupcake decorating tutorial.
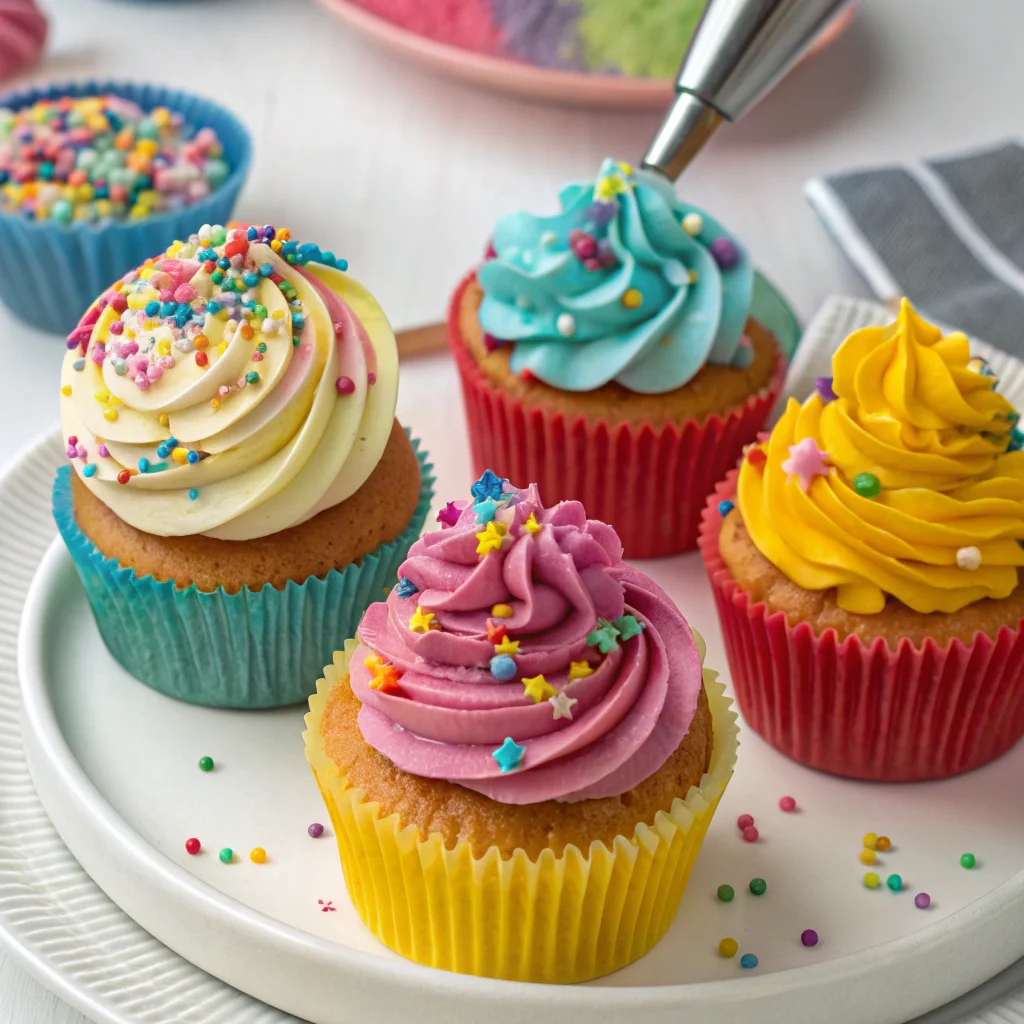
- Prepare your frosting and divide it if using colors. Tint your frosting with gel food coloring until you achieve your desired shade. Gel coloring gives you vibrant color without watering down your frosting’s consistency. This is where the fun really begins.
- Fit your piping bag with the tip and fill it. Spoon the frosting into the bag, trying to avoid too many air pockets. Twist the top of the bag tightly to prevent any blowouts. You want a firm, controlled grip.
- Pipe a test swirl on a plate. Before you commit to the cupcake, do a quick practice swirl. This gets the frosting flowing and helps you gauge the pressure needed. No one’s perfect on the first try, FYI.
- Pipe from the outside edge towards the center. Hold the bag perpendicular to the cupcake, starting at the outer rim. Apply steady pressure and pipe a tight circle, then build a second circle on top, finishing with a peak in the middle. Lift straight up for a clean finish.
- Immediately add your sprinkles and decorations. The frosting is still soft and sticky, so your sprinkles will adhere perfectly. Go wild here—this is your masterpiece. Check out my guide on easy buttercream frosting for more flavor ideas.
Storage Instructions
Your beautiful creations need a good home.
For short-term storage, an airtight container at room temperature is fine for 1-2 days. If your kitchen is warm, or if you used a frosting with dairy, pop them in the fridge. For long-term storage, freeze them unfrosted on a baking sheet, then transfer to a freezer bag.
They’ll last for up to 3 months. Thaw overnight in the fridge. This is a fantastic batch prep hack for last-minute events.
Why You’ll Love This Cupcake decorating tutorial
- It’s Incredibly Forgiving: Messed up a swirl? Smush it down and call it a “rustic” design. The buttercream hides a multitude of sins.
- Total Crowd-Pleaser: These decorated cupcakes look like they came from a high-end bakery. They are guaranteed to impress at parties, bake sales, or just on a Tuesday.
- Saves You Time and Money: Skip the expensive bakery and create stunning treats in your own kitchen in under 30 minutes. It’s a serious easy baking hack for busy people.
Common Mistakes to Avoid
- Using warm cupcakes. You’ll get a puddle of frosting and tears.
- Using liquid food coloring. This will thin out your frosting and lead to color bleed.
- Overfilling the piping bag. This creates a mess and makes the bag harder to control.
- Skipping the practice swirl. It’s like trying to parallel park without checking your mirrors.
Alternatives and Variations
This cupcake decorating tutorial is highly adaptable. For a vegan version, use a plant-based butter and milk in your buttercream.
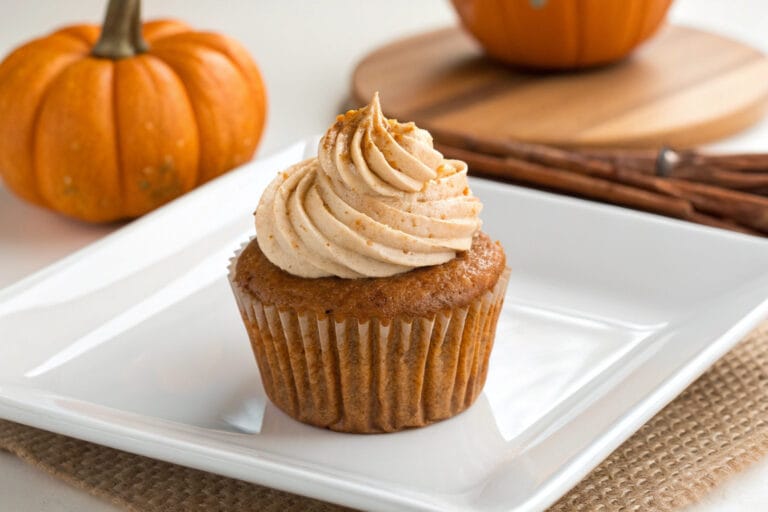
You can make the base cupcakes gluten-free with a 1:1 flour substitute. Feeling adventurous? Add a dollop of fruit jam in the center of each cupcake before frosting for a surprise burst of flavor.
A chocolate ganache also makes a fantastic, rich alternative to buttercream for a more decadent feel.
FAQs
Can I freeze decorated cupcakes?
You can, but the decorations might get a little weepy upon thawing. It’s best to freeze the cupcakes and frosting separately, then assemble and decorate when you’re ready to serve.
What’s the best substitute for a piping tip?
If you’re in a pinch, you can snip the corner off a heavy-duty zip-top bag. You won’t get the signature swirl, but you can create fun zig-zags or just do a simple dollop and smooth it with a knife.
How long do decorated cupcakes stay fresh?
Buttercream-frosted cupcakes are best enjoyed within 2-3 days when stored in an airtight container at room temperature.
After that, they start to dry out.
Is this cupcake decorating tutorial kid-friendly?
Absolutely! This is a fantastic activity to do with kids. They love choosing colors and adding sprinkles.
Just be prepared for a little mess—it’s part of the fun.
Can I prep the frosting ahead of time?
Yes! You can make the buttercream up to 3 days in advance. Keep it in an airtight container in the fridge, then let it come to room temperature and re-whip it before using to restore its fluffy texture.
Final Thoughts
This simple cupcake decorating tutorial truly changed my baking game.
It proves that you don’t need fancy skills to create something beautiful and delicious. The techniques are easy to master and the results are always impressive. I hope this guide gives you the confidence to get creative in the kitchen.
Now go forth and decorate! I’d love to see your creations—tag me or drop a comment below with your favorite variation.

Ben is a 41-year-old baking educator and former bakery owner from Kansas City, Missouri. With a culinary degree and years of hands-on experience, he specializes in teaching approachable, science-based baking. He once recreated a 17th-century cupcake recipe for a historical food documentary.


One Comment