Piping Halloween Cupcakes – Scary Fun Designs You’ll Want to Try
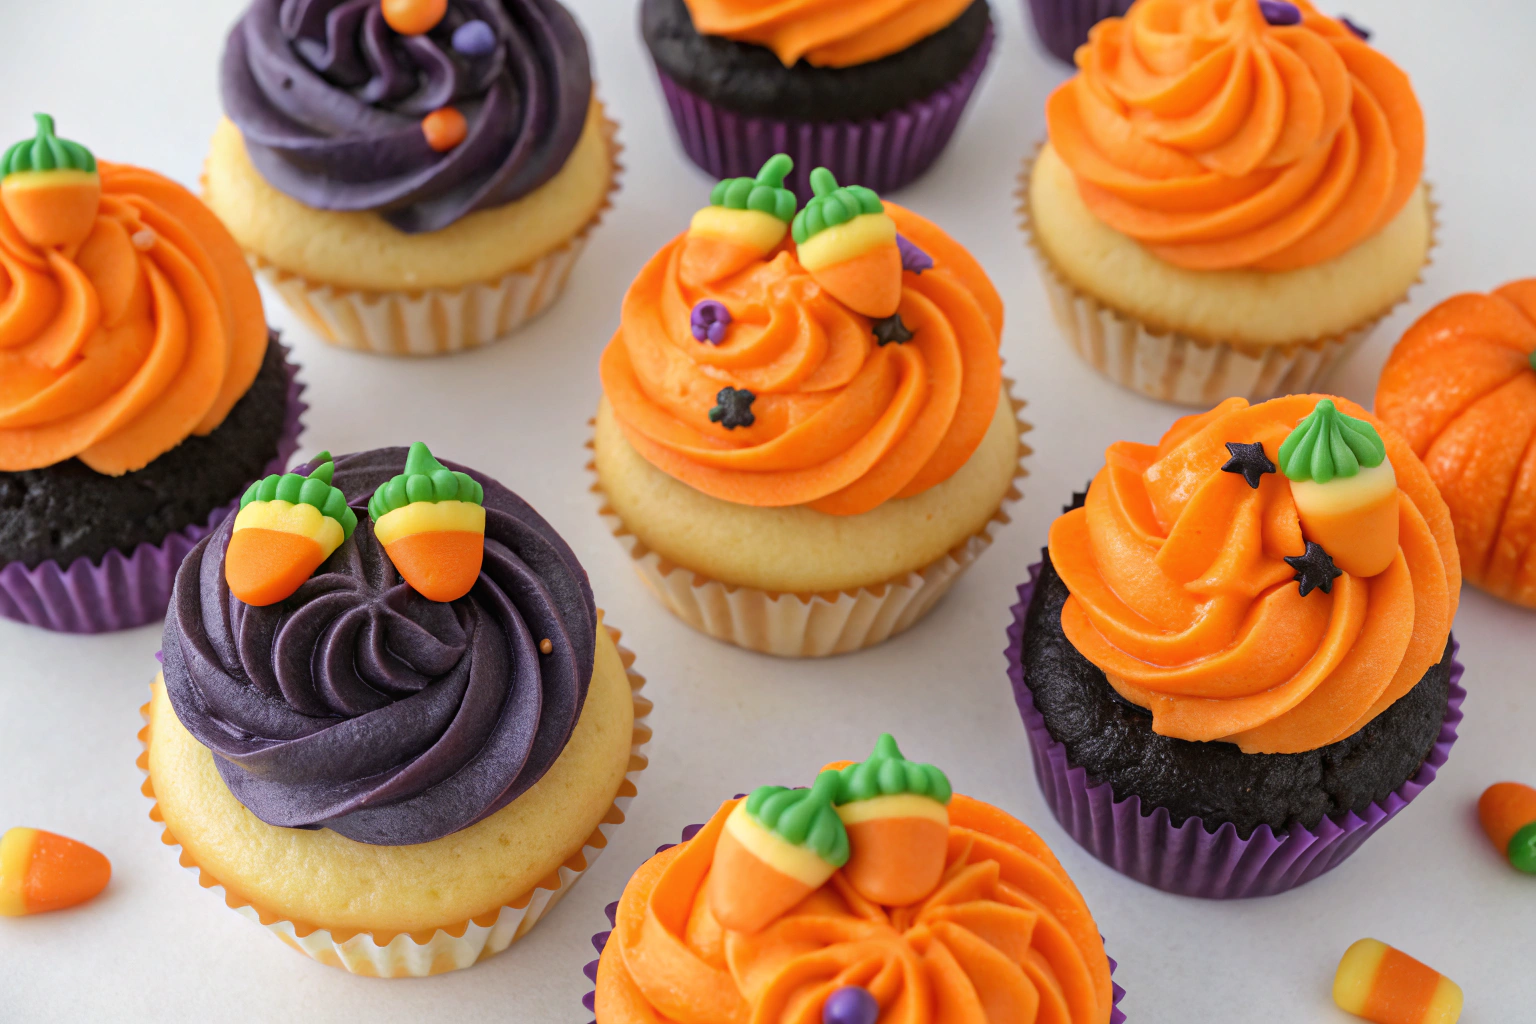
Table of Contents
I used to think piping Halloween cupcakes was a level of effort reserved for people with way more free time than me. You know the ones—the Pinterest-perfect parents who probably have their cobwebs arranged by a professional. Then I realized something.
The secret isn’t talent; it’s a solid game plan. I cracked the code on making these spooky treats look terrifyingly good without losing my mind. This method for piping Halloween cupcakes is my go-to.
It’s fast, fun, and foolproof. Forget the stress. Let’s get to the good part.
This isn’t just about making cupcakes look cute.
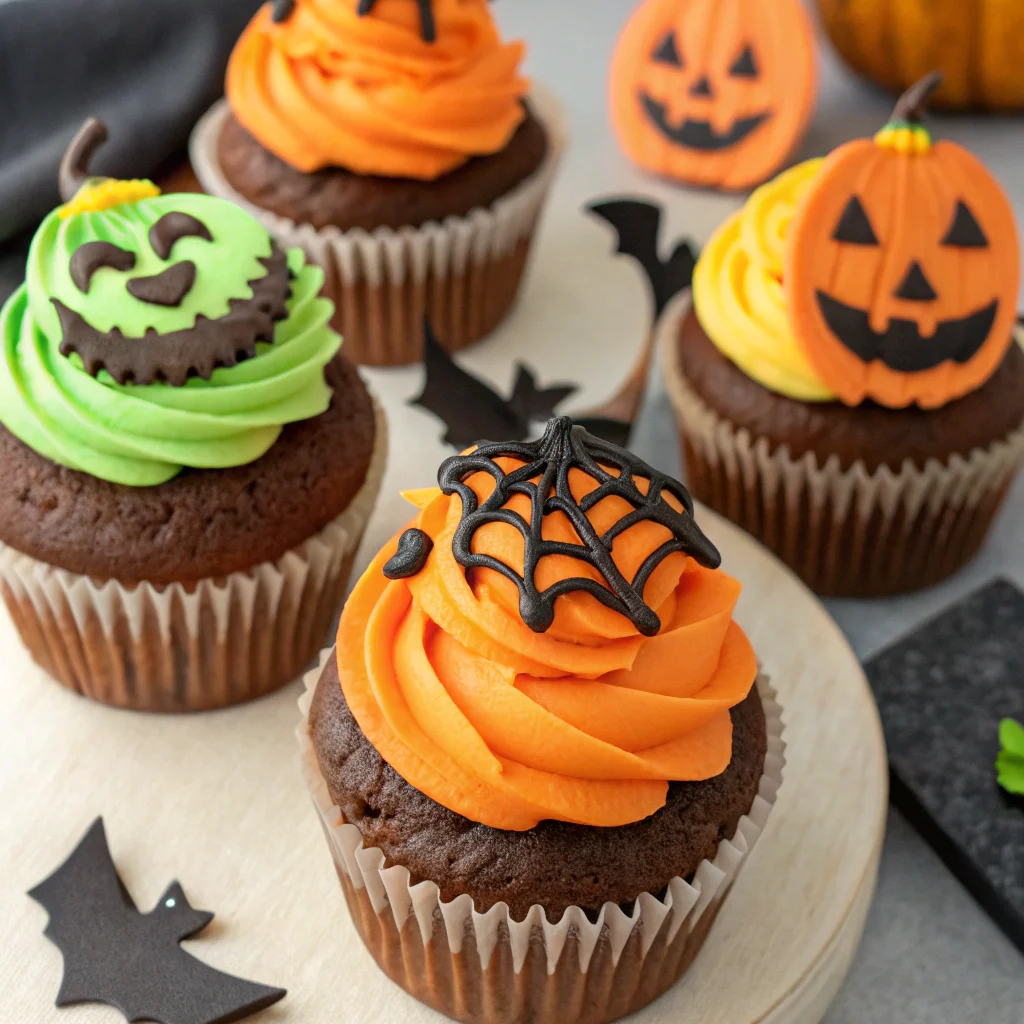
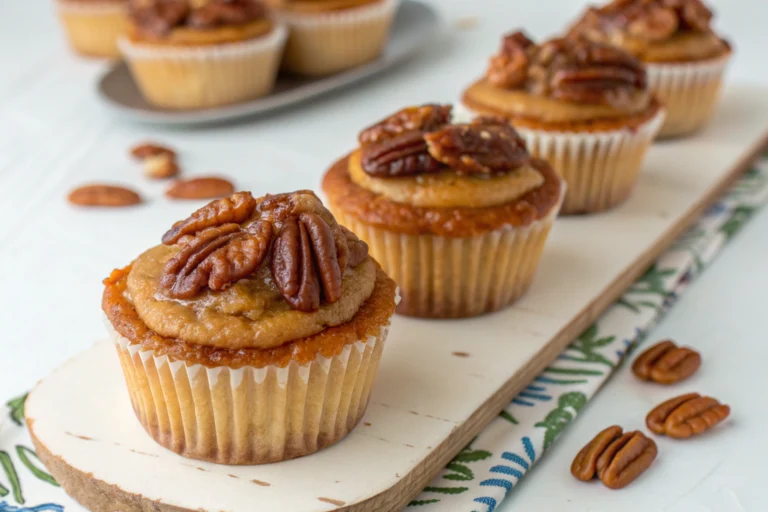
It’s about creating those little edible characters that make kids (and let’s be honest, adults) gasp. The magic is in the texture and the flavor pairing. A moist, dense chocolate base is the perfect canvas for a not-too-sweet buttercream.
Why does that matter? Because when you’re piping Halloween cupcakes with intricate spiderwebs or fluffy ghost shapes, you need a frosting that holds its form but doesn’t overwhelm the palate. It’s the ultimate combo of delicious and dramatic.
Ingredients
Gathering your ingredients is the first step to cupcake glory.
I’m a firm believer in using what you have, but for the best results in piping Halloween cupcakes, a few key players are non-negotiable. Here’s your shopping list for success.
- 1 batch of your favorite chocolate cupcakes, cooled completely
- 1 cup (2 sticks) unsalted butter, at room temperature
- 3-4 cups powdered sugar, sifted
- 2-3 tablespoons heavy cream or milk
- 1 teaspoon pure vanilla extract
- Gel food coloring in black, orange, and green
- Piping bags and assorted tips (a round tip and a star tip are essentials)
Step-by-Step Instructions
- Whip your butter until it’s pale and fluffy. This should take about 3-5 minutes. Don’t skip this! Fluffy butter is the foundation for a frosting that’s perfect for piping Halloween cupcakes.
- Gradually add your sifted powdered sugar on low speed. I add one cup at a time to avoid a sugar snowstorm in my kitchen. Once incorporated, crank the speed back up.
- Pour in the vanilla and 2 tablespoons of cream. Mix on medium-high until everything is beautifully combined. If your frosting is too thick, add more cream, one teaspoon at a time.
- Divide your frosting into separate bowls for coloring. Go wild with the gel colors. Remember, gel is better than liquid for vibrant colors without thinning out your buttercream.
- Scoop your first color into a piping bag fitted with your chosen tip. I start with a round tip for spiderwebs and a star tip for mummy wraps or ghostly swirls.
- Hold the bag at a 90-degree angle and apply steady pressure. The key to piping Halloween cupcakes is confidence, not speed. Practice on a plate if you’re nervous!
Storage Instructions
You might have leftovers, but I doubt it. If you do, store them correctly to keep them fresh.
For short-term, an airtight container at room temperature is fine for 2 days. For the fridge, use an airtight container for up to a week. Let them come to room temperature before serving for the best texture.
For long-term storage, you can freeze unfrosted cupcakes for up to 3 months. Freeze frosted cupcakes in a single layer before transferring to a container to protect your beautiful piping work.
Why You’ll Love This Piping Halloween cupcakes
- Total Crowd-Pleaser: These aren’t just cupcakes; they’re the main event at any Halloween party. The visual wow factor is unmatched.
- Surprisingly Simple: The process looks professional, but the steps are broken down so anyone can achieve great results. It’s easier than you think.
- Perfect for Batch Prep: You can bake and freeze the cupcakes days ahead. The frosting can be made and colored ahead of time, too, making assembly a breeze.
Common Mistakes to Avoid
- Using warm cupcakes. The frosting will melt into a puddle of sadness. Let them cool!
- Overloading the piping bag. Fill it only halfway to maintain control and avoid a buttercream explosion.
- Using liquid food coloring. This will thin out your frosting and make piping Halloween cupcakes a slippery, messy nightmare.
- Rushing the butter creaming stage. Patience here gives you a light, pipe-able frosting, not a dense one.
Alternatives and Variations
This recipe is incredibly adaptable. For a vegan version, use vegan butter and plant-based milk. You can also make the cupcakes gluten-free with a 1:1 GF flour blend.
If you’re out of butter, a stable Swiss meringue buttercream is a fantastic alternative. Feel free to experiment with flavors—add a bit of peppermint extract to the frosting for a cool ghost effect or orange zest for a citrus punch in your orange-colored frosting.
FAQs
Can I freeze the decorated cupcakes?
Yes, absolutely! Flash freeze them on a baking sheet until the frosting is solid, then transfer them to an airtight container.
They’ll keep for about a month. Thaw in the refrigerator overnight.
What’s the best substitute for gel food coloring?
If you’re in a pinch, you can use natural powders like cocoa powder for brown or matcha for green. Liquid coloring is the last resort; use it sparingly and add a bit more powdered sugar if the frosting gets too thin.
How long do the piped cupcakes stay fresh?
When stored properly in an airtight container, they are best eaten within 2-3 days at room temperature.
The frosting might start to soften after that.
Is this recipe kid-friendly?
Incredibly! Kids love helping to choose the colors and designs. For younger helpers, put the frosting in a simple ziplock bag with the corner snipped off for easier handling.
Can I prep the components ahead of time?
100%.
Bake and freeze the cupcakes up to a month ahead. The frosting can be made, colored, and stored in the fridge for a week. Just let it come to room temperature and re-whip before using for your piping Halloween cupcakes session.
Final Thoughts
Mastering the art of piping Halloween cupcakes is a game-changer for your holiday baking.
It’s more satisfying than you’d expect. I promise, once you try this method, you’ll be the one causing the gasps. Give it a shot and tag me in your photos.
I live for your spooky creations!

Ben is a 41-year-old baking educator and former bakery owner from Kansas City, Missouri. With a culinary degree and years of hands-on experience, he specializes in teaching approachable, science-based baking. He once recreated a 17th-century cupcake recipe for a historical food documentary.


One Comment