Enchanting Disney Halloween Cupcakes That Steal the Show
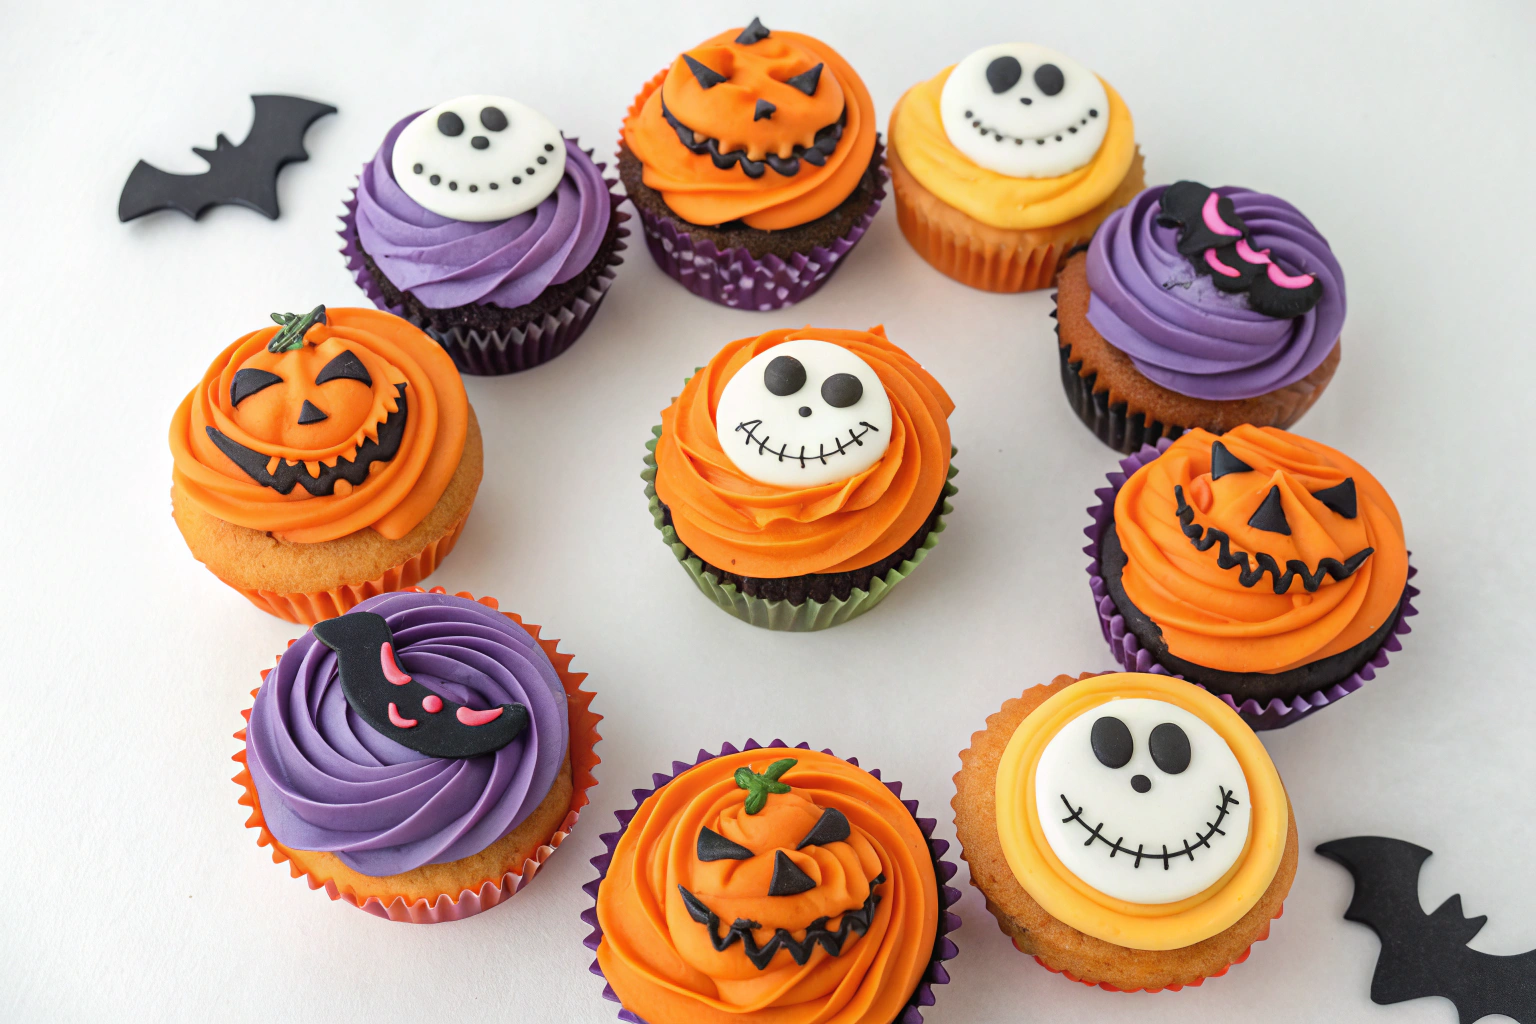
Table of Contents
I spent three Halloweens trying to make Pinterest-perfect Disney Halloween cupcakes. They were either lopsided, tasted like cardboard, or looked like a ghost had a meltdown on them. I was about to give up and just buy a box of pre-made ones.
Then, I cracked the code. This recipe is the villain origin story you didn’t know you needed. It’s the easiest, most delicious way to create magical Disney Halloween cupcakes that will actually impress your friends and family.
Forget the stress, and let’s get to the fun part.
What’s the secret sauce? It’s not just about slapping a Mickey Mouse ear on a cake. It’s the nostalgia.
One bite and you’re eight years old, watching The Nightmare Before Christmas with a sense of wonder. The chocolate cake is ridiculously moist, the frosting is silky and not too sweet, and the decorations are simple enough for non-artists. Have you ever tried a cupcake that was all looks and no flavor?
Yeah, we don’t do that here. This recipe is the main character.
Ingredients
Gathering your ingredients is the first step to cupcake glory. I’m a firm believer that better ingredients make a better treat, but I also live in the real world.
Here’s your shopping list for these epic Disney Halloween cupcakes.
- 1 box devil’s food cake mix (the ultimate shortcut, no shame)
- 3 large eggs
- 1/2 cup vegetable oil
- 1 cup buttermilk (this is the moisture MVP)
- 1 cup unsalted butter, softened
- 4 cups powdered sugar
- 2 tsp vanilla extract
- 2-3 tbsp heavy cream
- Black and orange gel food coloring
- Oreo cookies and candy eyes for decorating
Step-by-Step Instructions
- Preheat your oven to 350°F and line a muffin tin with festive liners. This is the least fun step, but it sets the stage for greatness.
- In a large bowl, combine the cake mix, eggs, oil, and buttermilk. Mix until just combined; overmixing is the enemy of fluffy cupcakes. A few lumps are totally fine, I promise.
- Fill each liner about 2/3 full. I use an ice cream scoop for this—it’s a game-changer for even baking and less mess. You’re welcome.
- Bake for 18-20 minutes. Do the toothpick test! A clean toothpick means they’re done. Let them cool completely. Impatience here leads to melted frosting tears.
- For the frosting, beat the softened butter until it’s light and fluffy. Gradually add the powdered sugar, vanilla, and cream. Whip it until it’s cloud-like. Seriously, don’t skip the whipping.
- Divide the frosting into two bowls. Tint one black and one orange. Be brave with the gel coloring; it gives vibrant color without thinning the frosting.
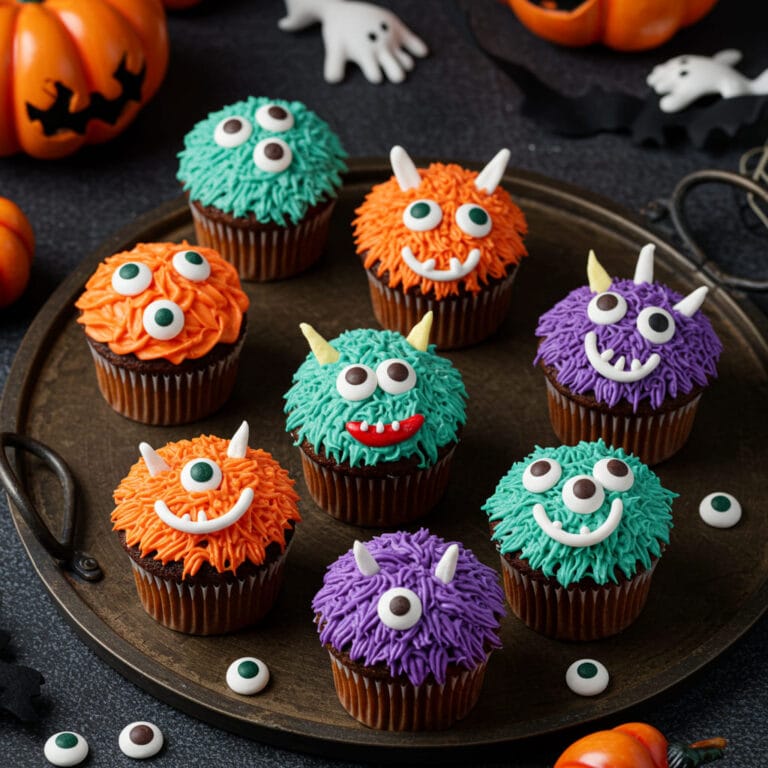
- Pipe or spread your frosting onto the cooled cupcakes. Now for the magic: use an Oreo split in half for Mickey ears or get creative with candy eyes for a monster theme. This is where your Disney Halloween cupcakes come to life.
Storage Instructions
You probably won’t have leftovers, but if you do, here’s the deal. Store them in an airtight container at room temperature for up to 2 days.
For longer storage, pop them in the fridge for up to 5 days. Let them come to room temp before serving for the best texture. Want to get ahead?
You can freeze unfrosted cupcakes for up to 3 months. Thaw overnight and decorate the next day. It’s the ultimate party prep hack.
Why You’ll Love This Disney Halloween Cupcakes
- Major Crowd-Pleaser: These are a hit with kids and adults alike, making you the undisputed hero of any Halloween party.
- Surprisingly Simple: The process is broken down into foolproof steps, so you can create something that looks professional without the stress.
- Totally Customizable: From Zero to Jack Skellington, you can adapt the decorations to fit any Disney character or spooky theme you love.
Common Mistakes to Avoid
- Using liquid food coloring. It will turn your frosting into a sad, runny mess. Gel is the way.
- Frosting warm cupcakes. This is a tragedy in the making. Wait until they are completely cool.
- Overbaking the cupcakes. Set a timer! Dry cupcakes are a crime against dessert.
- Skimping on the decoration. A few candy eyes can transform your basic cupcake into a masterpiece. Don’t be shy.
Alternatives and Variations
Dietary restrictions? No problem.
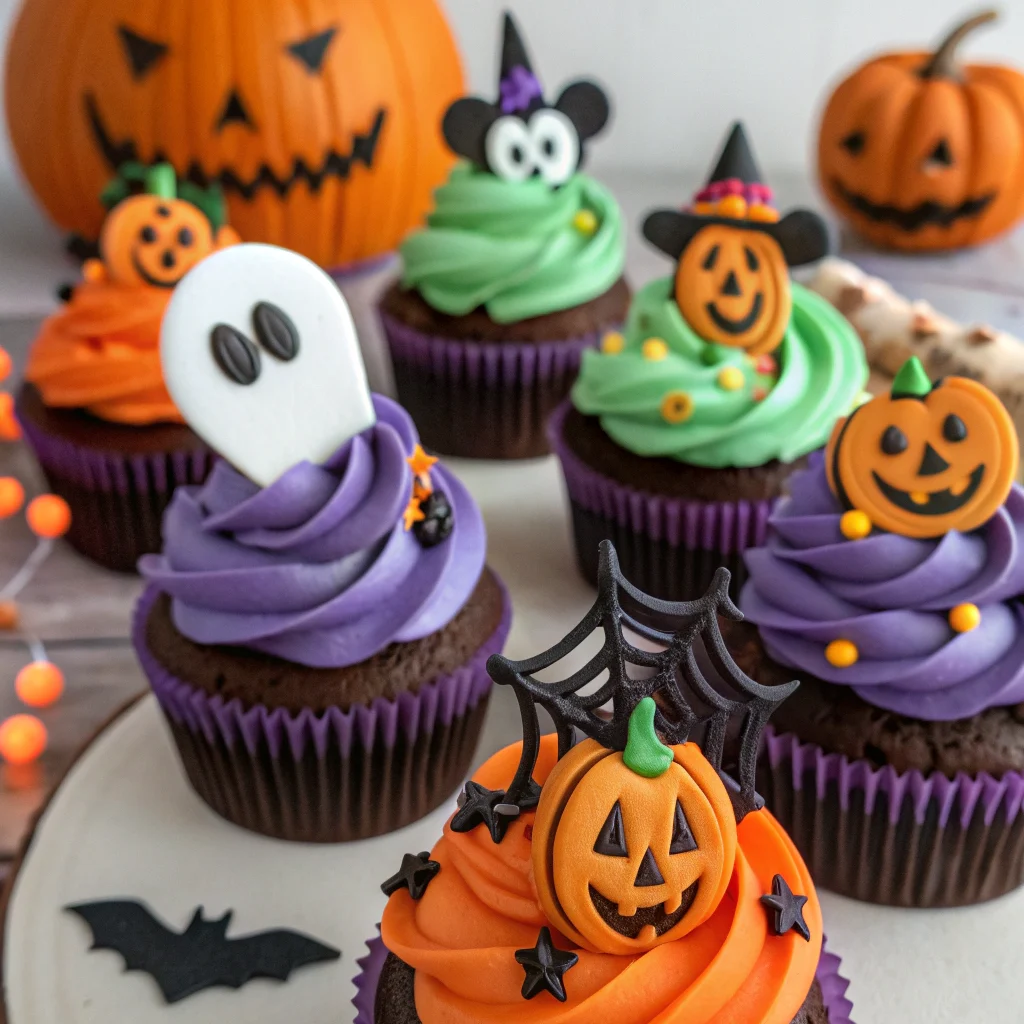
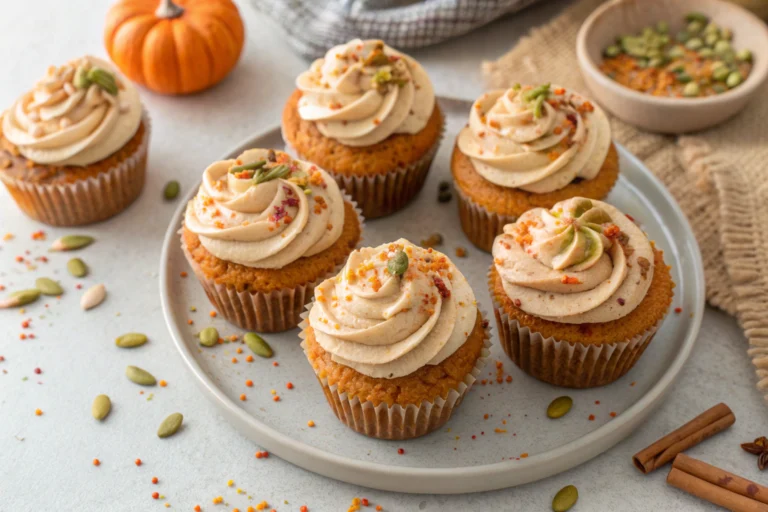
Use a gluten-free cake mix and certified gluten-free Oreos. For a vegan version, use a vegan cake mix, flax eggs, and vegan butter and cream. You can even make these into spooky Mickey pumpkin cupcakes by using a spice cake mix and cream cheese frosting.
The template is your playground.
Frequently Asked Questions
Find answers to common questions
Final Thoughts
This recipe is your ticket to creating unforgettable Halloween magic. It’s simple, delicious, and packed with personality.
IMO, these are the only Disney Halloween cupcakes recipe you’ll ever need. So, what are you waiting for? Bake a batch, snap a pic, and tag me!
I live for your creations.

Kai is a 25-year-old digital artist and baker from Toronto, Canada. Inspired by anime, gaming, and online culture, he transform pixel art and internet trends into edible creations. hes viral cupcake version of the Pokémon world map gained over 3 million views on TikTok.


One Comment