Delightful Nut-Free Halloween Cupcakes Everyone Will Adore
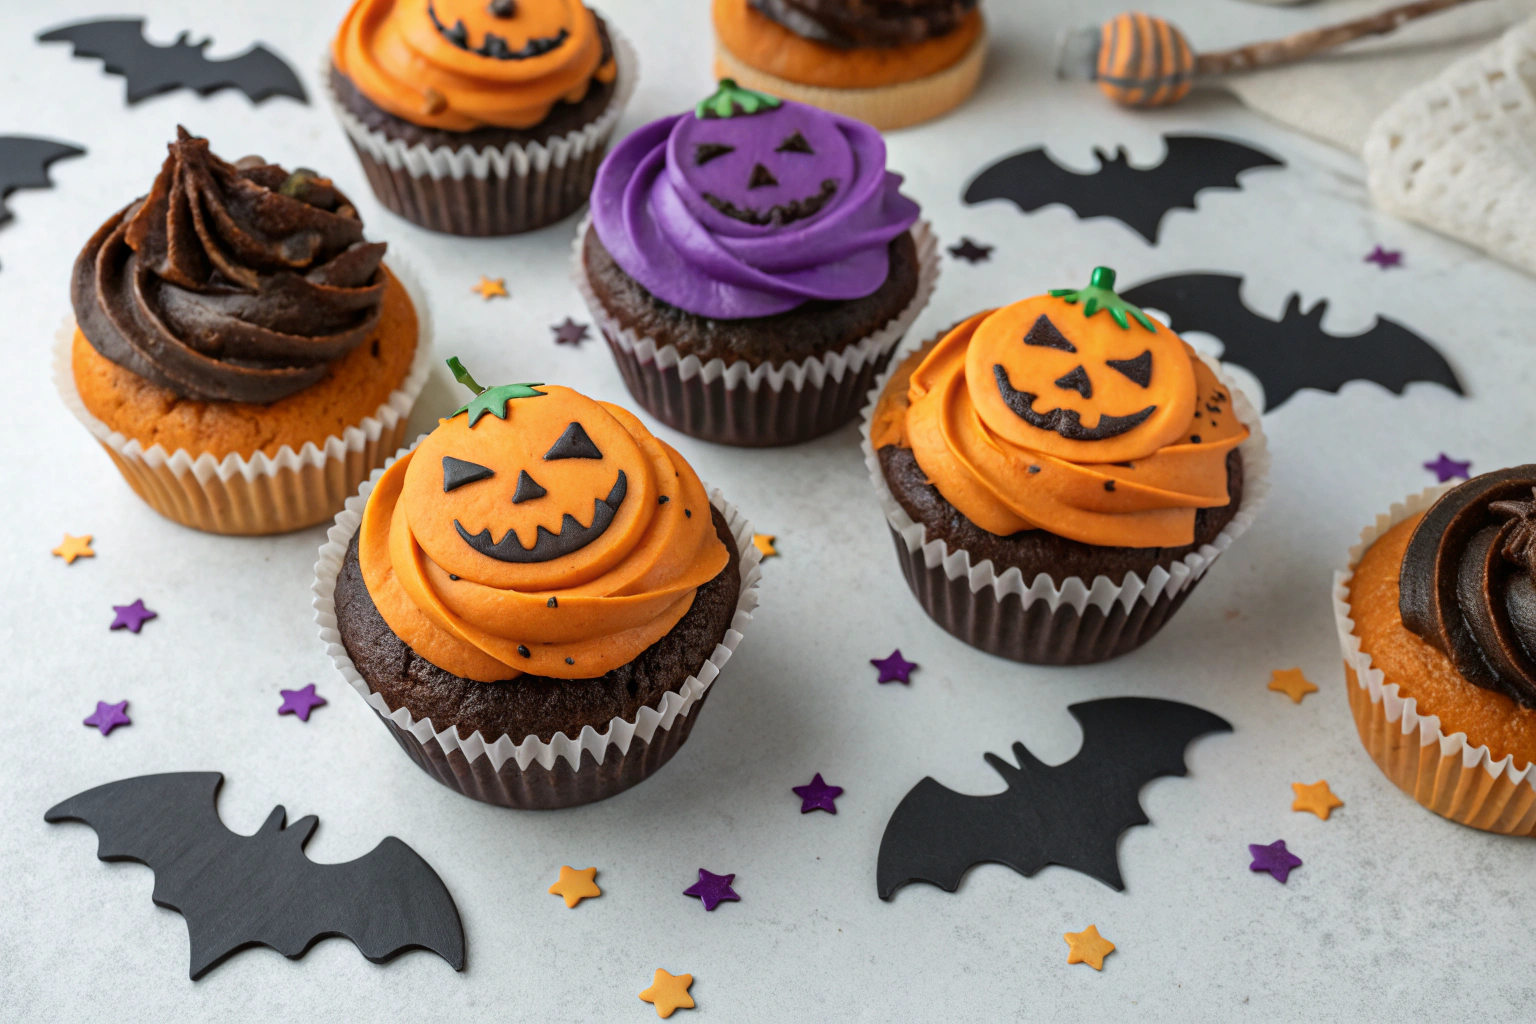
Table of Contents
Halloween is supposed to be spooky, not anaphylactic. I learned that the hard way after a party where my “secret ingredient” walnut cupcakes nearly caused a real-life horror story. That’s when my mission for the ultimate nut-free Halloween cupcakes began.
Forget the stress and the EpiPens. This recipe is my ghost of Halloweens past, and it’s the only one you’ll need. It’s fluffy, decadent, and so safe, you could serve it in a bubble.
Let’s make a treat that’s terrifyingly good, not terrifyingly dangerous.
What’s the secret? Honestly, it’s the pure, unadulterated joy of eating a cupcake without scanning the room for a medic. The flavor is a nostalgic punch of rich chocolate and vanilla that doesn’t rely on nut pastes or flours.
It’s the kind of dessert that makes you wonder why we ever complicated things. Have you ever seen a kid’s face light up when they realize they can eat everything? That’s the magic here.
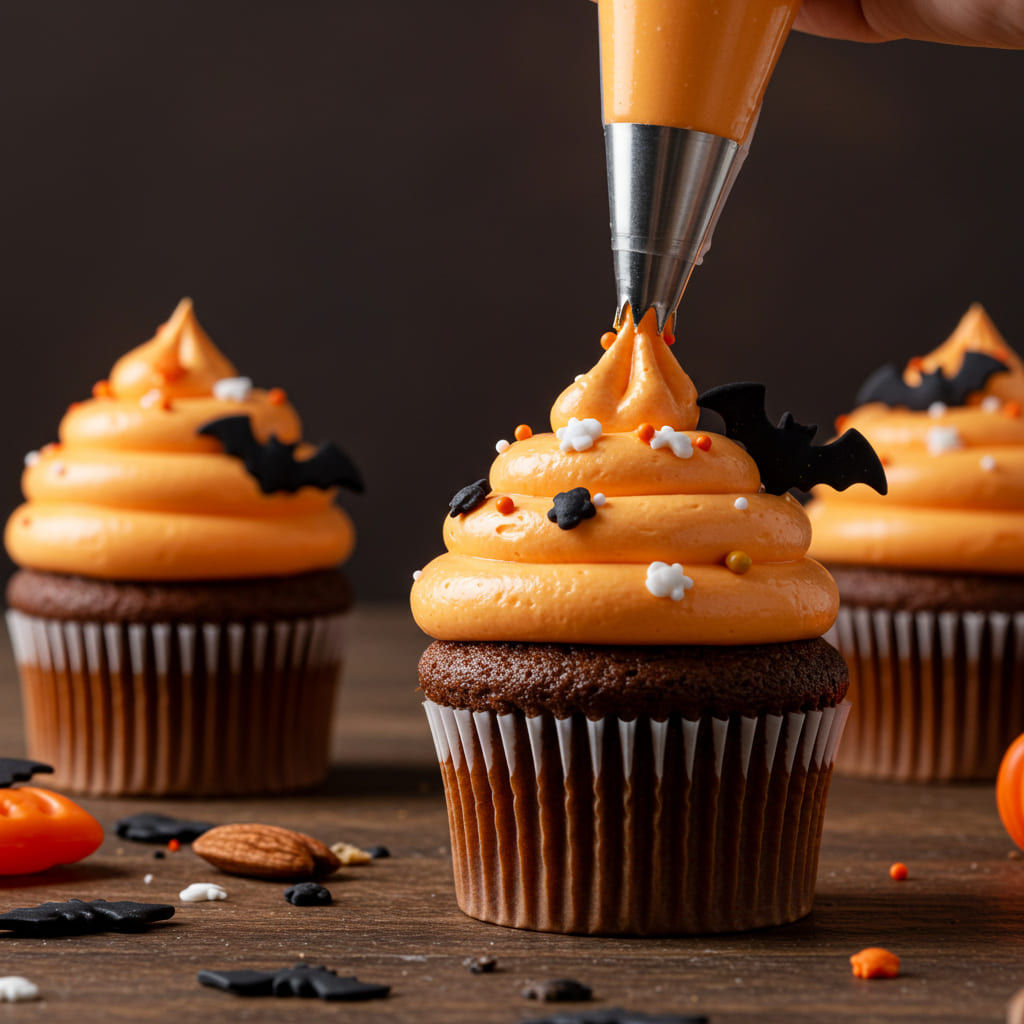
These nut-free Halloween cupcakes are the ultimate party peacekeeper.
Ingredients
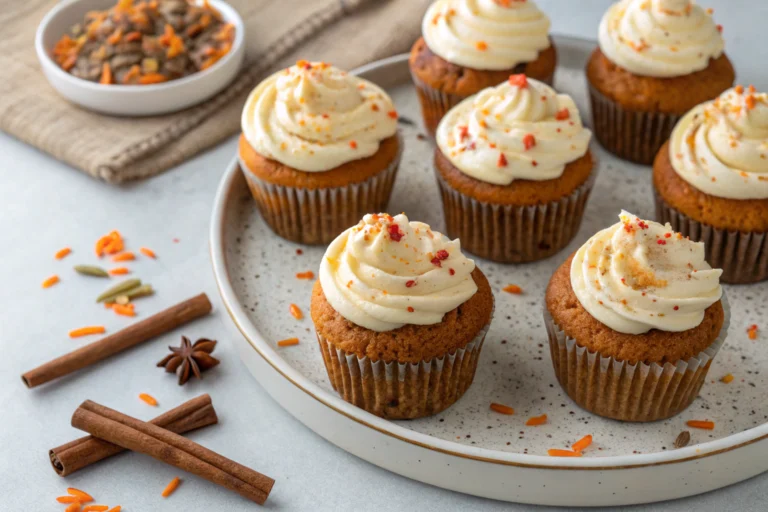
Gathering these ingredients is easier than finding a costume that doesn’t look cheap. I’ve kept it simple and focused on pantry staples, with a couple of fun, spooky additions for that Halloween flair. The key is double-checking your labels to ensure everything is truly nut-free, as cross-contamination is a real goblin.
- 1 ½ cups all-purpose flour
- 1 cup granulated sugar
- ½ cup unsweetened cocoa powder
- 1 tsp baking soda
- ½ tsp salt
- 1 cup water
- ⅓ cup vegetable oil
- 1 tbsp white vinegar
- 1 tsp vanilla extract
- Orange and black gel food coloring
- Your favorite nut-free buttercream frosting
- Nut-free sprinkles and decorations
Step-by-Step Instructions
- Preheat your oven to 350°F (175°C). Line a muffin tin with festive cupcake liners. This is the least spooky part of the entire process, I promise.
- Whisk the dry ingredients. In a large bowl, combine the flour, sugar, cocoa powder, baking soda, and salt. A good whisk here prevents lumpy cupcakes, and nobody wants a lumpy ghost.
- Combine the wet ingredients. In a separate jug, mix the water, oil, vinegar, and vanilla. The vinegar reacts with the baking soda for a super fluffy crumb. It’s kitchen science, not magic!
- Create your Halloween colors. Divide the batter into two bowls. Color one orange and one black or dark purple. IMO, this marbled effect is way cooler than a plain cupcake.
- Layer and bake. Alternately spoon the colored batters into the liners until they’re ⅔ full. Bake for 18-20 minutes. A toothpick should come out clean, not bloody.
- Cool completely. Let them cool in the pan for 5 minutes, then transfer to a wire rack. Frosting a warm cupcake is a meltdown waiting to happen.
- Frost and decorate. Once cool, slather on your nut-free buttercream and go wild with nut-free sprinkles. This is where the real fun begins.
Storage Instructions
If these nut-free Halloween cupcakes survive the party, here’s how to keep them fresh. Store them in an airtight container at room temperature for up to 2 days.
For longer storage, pop them in the fridge for up to 5 days. Let them come to room temp before serving for the best texture. You can also freeze the unfrosted cupcakes for up to 3 months.
Thaw overnight in the fridge for a last-minute treat that still tastes amazing.
Why You’ll Love This Nut-free Halloween cupcakes
- Total Crowd-Pleaser: They are the ultimate safe bet for school parties or mixed-diet gatherings. Everyone can enjoy them without a second thought.
- Incredibly Easy: This is a one-bowl, no-mixer situation. You can whip up a batch faster than you can say “Boo!” even on a busy weeknight.
- Perfect for Make-Ahead: Bake and freeze the cakes days or even weeks in advance. Decorate the day of for stress-free party prep.
Common Mistakes to Avoid
- Overmixing the batter. You’ll develop the gluten and get tough cupcakes. A few lumps are totally fine, I promise.
- Using warm ingredients. Room temp is best, but if your oil is hot, you’re asking for a flat cake. Don’t do it.
- Frosting before completely cool. This is the number one reason for frosting slides. Patience is a virtue, especially with holiday baking.
- Not checking labels on sprinkles and food coloring. These are sneaky sources of cross-contamination. Always read the fine print.
Alternatives and Variations
This recipe is a fantastic base for experimentation.
For a gluten-free version, use a 1:1 gluten-free flour blend. To make it vegan, swap the sugar for organic (to ensure it’s bone-char-free) and use a plant-based milk in the frosting. Feeling adventurous?
Add a teaspoon of peppermint extract to the batter for a cool, spooky twist. You can even turn these into spooky Halloween cookies with a slight dough adjustment.
FAQs
Can I freeze these nut-free Halloween cupcakes?
Absolutely! Freeze them unfrosted in a single layer on a baking sheet, then transfer to a freezer bag.
They’ll keep for up to 3 months. Thaw in the fridge overnight before decorating.
What’s the best substitute for the cocoa powder?
If you need a chocolate-free version, simply replace the cocoa powder with an equal amount of all-purpose flour. You’ll have a perfect vanilla base for any color of spooky frosting.
How long do the nut-free Halloween cupcakes stay fresh?
Once frosted, they are best enjoyed within 2 days at room temperature.
Unfrosted, they can last in an airtight container for 3 days. The fridge will extend the life of frosted cupcakes to about 5 days.
Is this recipe kid-friendly?
Incredibly so! It’s not only safe for kids with allergies, but the simple steps make it a fun baking project to do together.
Let them be in charge of the food coloring and sprinkles.
Can I prep the nut-free Halloween cupcakes ahead of time?
Yes, and you should! This is the ultimate make-ahead hack. Bake the cakes up to a month in advance and freeze them.
The day before your event, thaw and frost. It makes hosting a breeze.
Final Thoughts
This recipe is my go-to for a reason. It delivers maximum festive fun with minimum stress and zero nut-related anxiety.
These nut-free Halloween cupcakes are the hero your Halloween party deserves. I hope they become a spooky tradition in your home, too. Now go make them, and tag me in your photos!
I live for your creepy creations.

Sophie is a 33-year-old holistic nutritionist and food scientist living in Portland, Oregon. Growing up in a multicultural home with dietary restrictions, she learned to create desserts that nourish as much as they delight. She’s led wellness retreats focused on clean, mindful baking.