Brilliant Fondant Cupcake Tutorial for Stunning Results
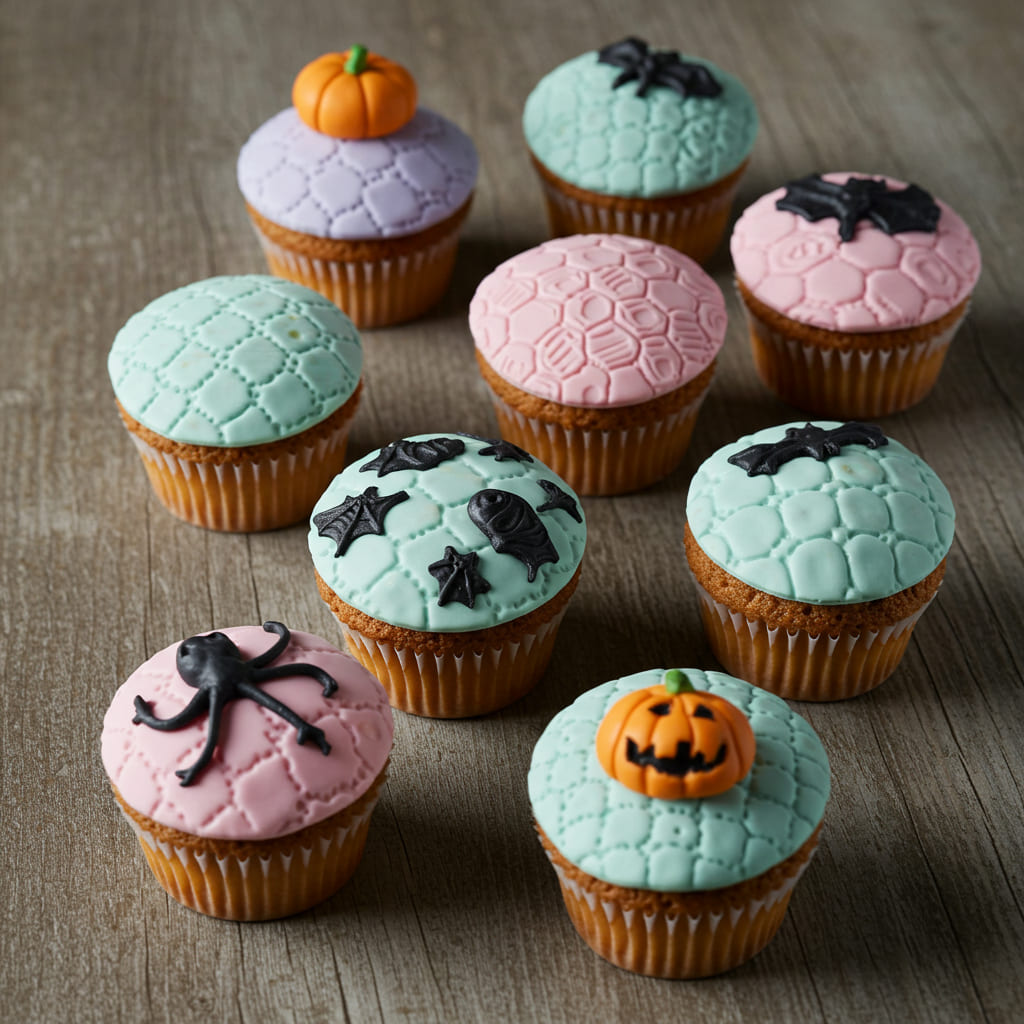
Table of Contents
I used to think fondant was the final boss of baking. You see these flawless cupcakes on Instagram and assume they’re made by magical kitchen elves. Then you try it yourself and end up with a sticky, tear-inducing mess that looks like a kindergartener’s art project.
I’m here to tell you that the secret to a perfect fondant cupcake tutorial isn’t a culinary degree—it’s ditching the intimidation factor. This guide is the one I wish I had, stripping away the nonsense and giving you a truly achievable, gorgeous result. Forget the fails; this is your shortcut to looking like a pro.
Let’s get to it.
This isn’t just another generic guide. This fondant cupcake tutorial is built on my many, many kitchen disasters. I learned the hard way so you don’t have to.
What’s the secret? We focus on a simple, pliable homemade marshmallow fondant that actually tastes good. Most store-bought versions are like sweetened drywall—edible, but barely.
Remember that time you bit into a beautiful cupcake and were just… disappointed? Yeah, we’re fixing that. This method gives you that smooth, professional finish without the dreaded flavor compromise.
It’s the ultimate party trick that’s genuinely enjoyable to eat.
Ingredients
Gathering your supplies is the first step to success. I promise, there’s nothing too wild here. The beauty of this fondant cupcake tutorial is its simplicity.
You likely have most of this in your pantry right now. The key is the marshmallows—they’re the magic ingredient that makes this fondant so much easier to work with than the traditional kind.
- 1 bag (10 oz) of mini marshmallows (They melt faster and more evenly.)
- 2-3 tablespoons of water
- 1 teaspoon of clear vanilla extract (Trust me, the “clear” part keeps your fondant pure white.)
- 4 cups of powdered sugar, plus more for dusting
- Gel food coloring of your choice (Liquid coloring will make your fondant sticky. Don’t do it!)
- A batch of your favorite baked and cooled cupcakes. I’m a huge fan of my ultimate vanilla bean cupcake recipe as a base.
- Shortening for greasing your hands and surface
Step-by-Step Instructions
- Melt your marshmallows. Combine the marshmallows and water in a large, microwave-safe bowl. Microwave in 30-second bursts, stirring well each time, until completely smooth. This usually takes about 90 seconds total. Be patient—burnt marshmallow is not the goal here.
- Incorporate the flavor and color. Stir the clear vanilla extract into the melted marshmallow goo. If you’re tinting the entire batch, now is the time to add your gel food coloring. Start with a tiny drop; you can always add more.
- Start adding the powdered sugar. Gradually add the powdered sugar to the marshmallow mixture, stirring with a greased spatula until it becomes a shaggy, impossible-to-stir mess. This is the point where most people panic. Don’t. It’s supposed to look like a disaster.
- Knead it like your sanity depends on it. Generously dust a clean surface with powdered sugar and turn the dough out. Grease your hands with shortening (it prevents sticking better than sugar) and knead for 5-8 minutes. You’re working in the remaining powdered sugar until you have a smooth, pliable, and non-sticky ball of fondant.
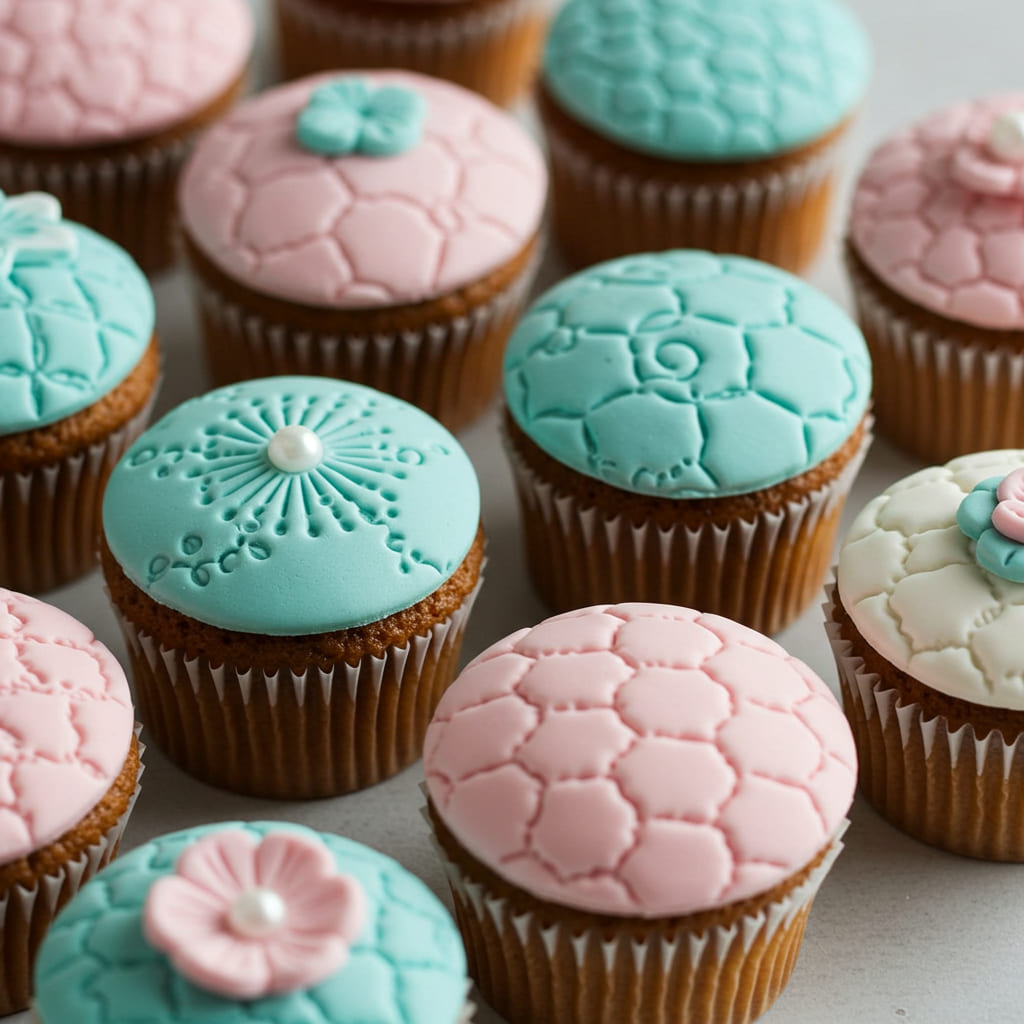
- Roll and cut your fondant. Roll the fondant out to about 1/4-inch thickness. Use a round cookie cutter that’s slightly larger than your cupcake tops to cut perfect circles. If you need inspiration for shapes, check out my guide on easy cookie cutter hacks.
- Apply to your cupcakes. Lightly brush the top of a cooled cupcake with a tiny bit of water or simple syrup. This acts as glue. Gently drape the fondant circle over the cupcake and smooth it down from the center outwards to avoid air bubbles. And voilà! You’ve just created a masterpiece.
Storage Instructions
Your beautiful creations need proper care! For short-term storage, place the finished cupcakes in an airtight container at room temperature.
They will stay perfectly fresh for up to 2 days. For longer storage, you can freeze them. Arrange them in a single layer on a baking sheet to freeze solid, then transfer to a freezer bag.
They’ll keep for up to 1 month. Thaw in the refrigerator overnight. IMO, having a stash of these in the freezer is a lifesaver for last-minute events.
Why You’ll Love This Fondant Cupcake Tutorial
- It’s Surprisingly Forgiving: Unlike finicky buttercream, if you mess up the fondant, you can often just ball it up and re-roll it. No stress, no wasted ingredients.
- Total Crowd-Pleaser: These cupcakes look professionally made and are guaranteed to get “wows” at birthdays, bake sales, or any celebration. They’re the ultimate edible flex.
- Unlocks Your Creativity: This basic fondant cupcake tutorial is a gateway drug to cake decorating. Once you master the circle, you can move on to cut-out shapes, figures, and more.
Common Mistakes to Avoid
- Using liquid food coloring. This is the #1 reason fondant turns into a sticky, unworkable puddle. Gel coloring is non-negotiable.
- Kneading on a non-greased surface. Your fondant will stick like glue. Always use a mix of powdered sugar and shortening on your hands and counter.
- Rolling the fondant too thin. If it’s too thin, it will tear easily and reveal the cupcake underneath. A 1/4-inch thickness is your sweet spot.
- Putting fondant on warm cupcakes. The heat will melt the fondant and create a soggy, sad mess. Let your cupcakes cool completely, FYI.
Alternatives and Variations
This recipe is wonderfully adaptable! For a vegan version, use Dandies or other vegan marshmallows and ensure your powdered sugar is vegan-friendly (some brands use bone char). You can also flavor your fondant with other extracts like almond, lemon, or even a tiny bit of mint.
For a chocolate fondant, substitute 1/4 cup of the powdered sugar with sifted cocoa powder. If you’re looking for a different base, this fondant works beautifully on my decadent chocolate fudge cake as well.
FAQs
Can I freeze the fondant-covered cupcakes?
Absolutely! Freezing is a great way to prep ahead.
Just make sure they are in a single layer until solid to prevent smushing the decorations. They thaw beautifully in the fridge.
What’s the best substitute for marshmallows?
If you can’t use marshmallows, you can use a pre-made fondant from the store. However, you’ll sacrifice the superior taste and texture of this homemade version.
How long do these cupcakes stay fresh?
Stored properly in an airtight container at room temp, they are best within 2 days.
The fondant helps seal in the cupcake’s moisture, so they stay surprisingly soft.
Is this fondant cupcake tutorial kid-friendly?
100%. Kneading the fondant is like playing with edible play-dough. It’s a fantastic, fun activity to do with children—just be prepared for a slightly messy kitchen!
Can I prep the fondant ahead of time?
Yes, you can make the fondant days in advance.
Wrap it tightly in plastic wrap and then place it in an airtight bag. It will keep at room temperature for several weeks, ready for when inspiration strikes.
Final Thoughts
This fondant cupcake tutorial is your ticket to next-level baking without the stress. You have everything you need to create stunning, professional-looking treats that actually taste delicious.
The process is half the fun, I promise. Now that you’re armed with all the tips and tricks, I’d love to see your creations. Tag me on social media or drop a comment below telling me how your decorating adventure went!

Ben is a 41-year-old baking educator and former bakery owner from Kansas City, Missouri. With a culinary degree and years of hands-on experience, he specializes in teaching approachable, science-based baking. He once recreated a 17th-century cupcake recipe for a historical food documentary.