Edible Eyes Tutorial – Super Fun Hack

Table of Contents
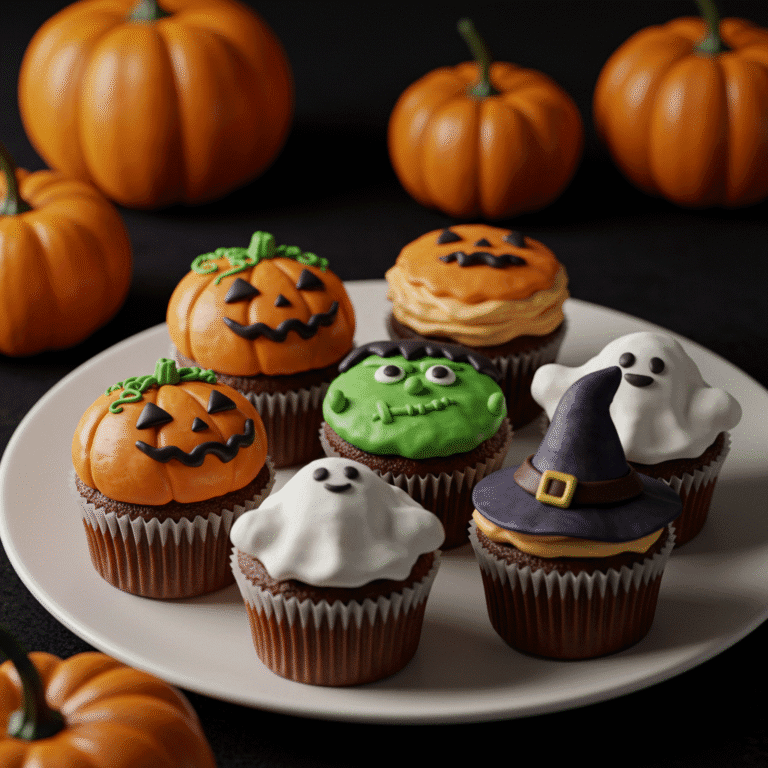
I used to think edible eyes were the final boss of baking. You spend hours on a masterpiece cake, then ruin it with lopsided googly eyes. I’ve been there.
My monster cupcakes looked more stunned than scary. But after more failed attempts than I care to admit, I cracked the code. This isn’t just another edible eyes tutorial.
This is your shortcut to pro-level decorations without the stress. I’m sharing everything so you can skip my mistakes. Your spooky treats are about to get a major upgrade.
Most tutorials overcomplicate things.
They demand obscure tools and surgical precision. I’m here to tell you that perfection is overrated. The charm of homemade edible eyes is in their quirky, handcrafted look.
Remember those vintage cookies with slightly deranged smiles? They had personality. This guide embraces that.
We’re aiming for fun, not factory-made uniformity. Who wants a cookie that looks like it was stamped by a machine, anyway?
Ingredients
Gathering your supplies is the first step to eye-making glory. The beauty of this edible eyes tutorial is its flexibility.
You likely have most of this in your pantry right now. No need for a special trip to a fancy baking store, I promise.
- 1 cup white fondant or white candy melts (The blank canvas for your peepers.)
- Black gel food coloring or edible black food-safe marker (For the pupils. Gel is my go-to for control.)
- Powdered sugar or cornstarch for dusting (To prevent a sticky situation.)
- Optional: A tiny paintbrush or toothpick (Your precision instrument.)
- Optional: Luster dust or a tiny bit of vodka/clear extract for painting (For a little shimmer, if you’re feeling fancy.)
Step-by-Step Instructions
- Prepare your workspace. Lightly dust your surface with powdered sugar or cornstarch. This stops the fondant from sticking like glue. Trust me, you don’t want your eyeballs fused to the counter.
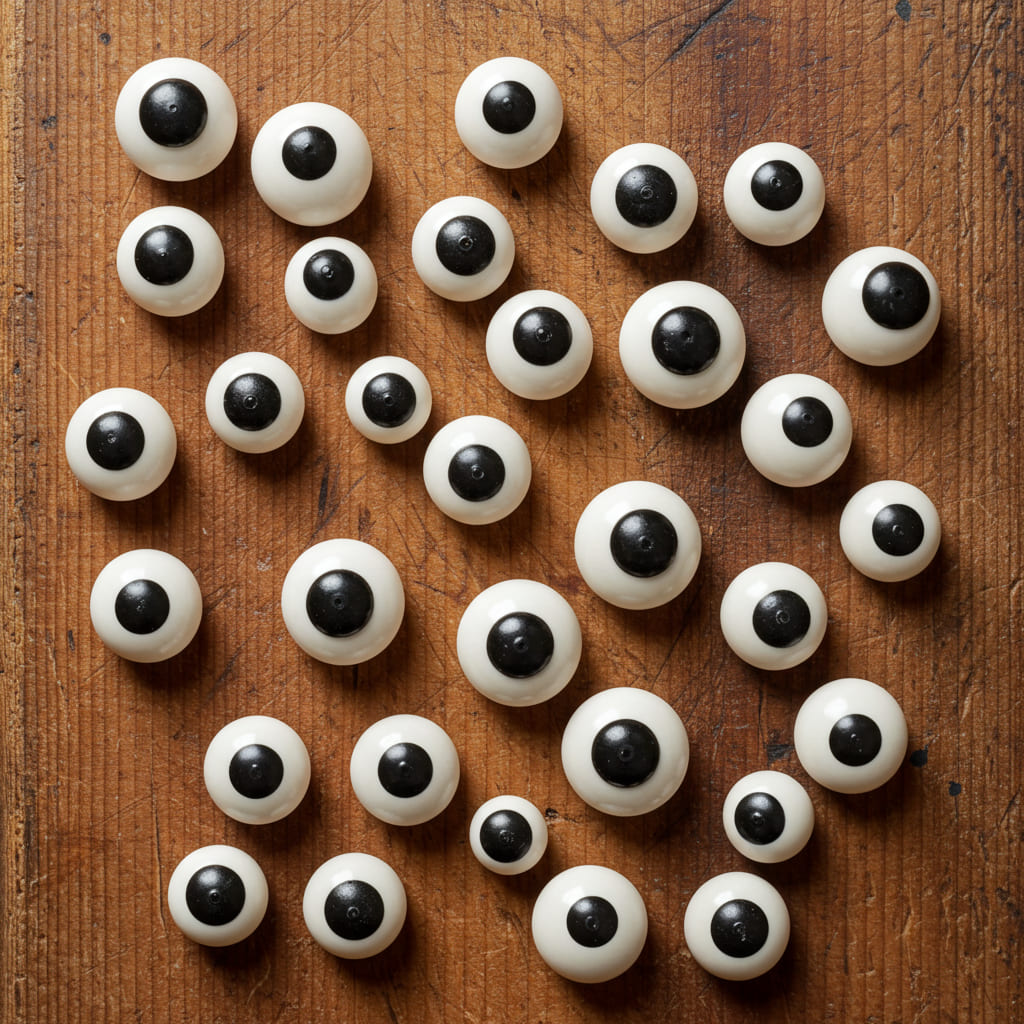
- Roll your base. Take small, equal amounts of fondant and roll them into smooth balls. For candy melts, simply melt according to package directions and spoon small circles onto parchment paper. Consistency is key here, but don’t stress if they’re not identical twins.
- Create the pupils. This is where the magic happens. Dip your toothpick or brush into the black gel coloring. Gently press a dot into the center of each white circle. A little goes a long way, so don’t go overboard unless you’re going for a possessed look.
- Add character and let set. You can make them look in different directions for a funny effect or add a tiny white dot for a sparkle. Let them firm up completely before handling. This is the hardest part—the waiting!
Storage Instructions
You don’t want your beautiful creations to wilt. For short-term storage, keep them in a single layer in an airtight container at room temperature. They’ll be happy for up to a week.
For long-term savings, the freezer is your best friend. Place them in a freezer bag, squeeze out all the air, and they’ll last for up to 3 months. This is a fantastic batch prep hack for busy bakers.
Why You’ll Love This Edible eyes tutorial
- Total Time Saver: Once you get the hang of it, you can whip up a dozen eyes in minutes. Perfect for last-minute school bake sales or surprise parties.
- Unbeatable Customization: Make them big, small, bloodshot, or sparkly. You are the master of these edible peepers. IMO, this is the most fun part.
- Major Crowd-Pleaser: Whether it’s for Halloween, a monster-themed birthday, or just to freak out your family, these edible eyes always get a reaction. They instantly elevate any treat.
Common Mistakes to Avoid
- Using too much food coloring. Your pupils will bleed and look messy. It’s a nightmare scenario.
- Skipping the dusting step. You’ll be trying to scrape fondant off your counter with a chisel. Not a vibe.
- Handling them before they’re fully set. You’ll leave fingerprint smudges everywhere. Patience is a virtue, especially in baking.
Alternatives and Variations
This recipe is incredibly adaptable. For a vegan version, use plant-based fondant and gel colors. If you’re out of fondant, royal icing works beautifully piped into circles.
For a quick fix, you can even use white chocolate buttons as the base. If you’re into other fun decorations, check out my guide on creating the perfect buttercream to pair with your new skills.
FAQs
Can I freeze these edible eyes?
Absolutely! They freeze exceptionally well.
Just make sure they are in an airtight container or bag to prevent freezer burn and odors from seeping in.
What’s the best substitute for fondant?
White candy melts or royal icing are the top contenders. Both set firm and provide a perfect white base for your decorating adventures.
How long do the edible eyes stay fresh?
When stored properly at room temperature, they will stay perfectly fresh for about one week. If you used royal icing, they might harden further over time but remain edible.
Is this project kid-friendly?
Yes, this is a fantastic activity to do with kids!
It’s like playing with edible play-dough. They’ll love creating silly and spooky eyes for their cookies and cakes.
Can I prep the edible eyes ahead of time?
100%. This is one of the best make-ahead decorating tricks.
Whip up a big batch when you have free time and store them for your next baking project. For more make-ahead magic, see my easy cupcake base recipe that you can freeze for months.
Final Thoughts
This edible eyes tutorial is your ticket to next-level decorated treats without the headache. It’s simple, forgiving, and seriously fun.
Your baked goods are about to become the talk of the party. Now go make some eyeballs and tag me in your photos. I can’t wait to see your creepy creations!

Ben is a 41-year-old baking educator and former bakery owner from Kansas City, Missouri. With a culinary degree and years of hands-on experience, he specializes in teaching approachable, science-based baking. He once recreated a 17th-century cupcake recipe for a historical food documentary.