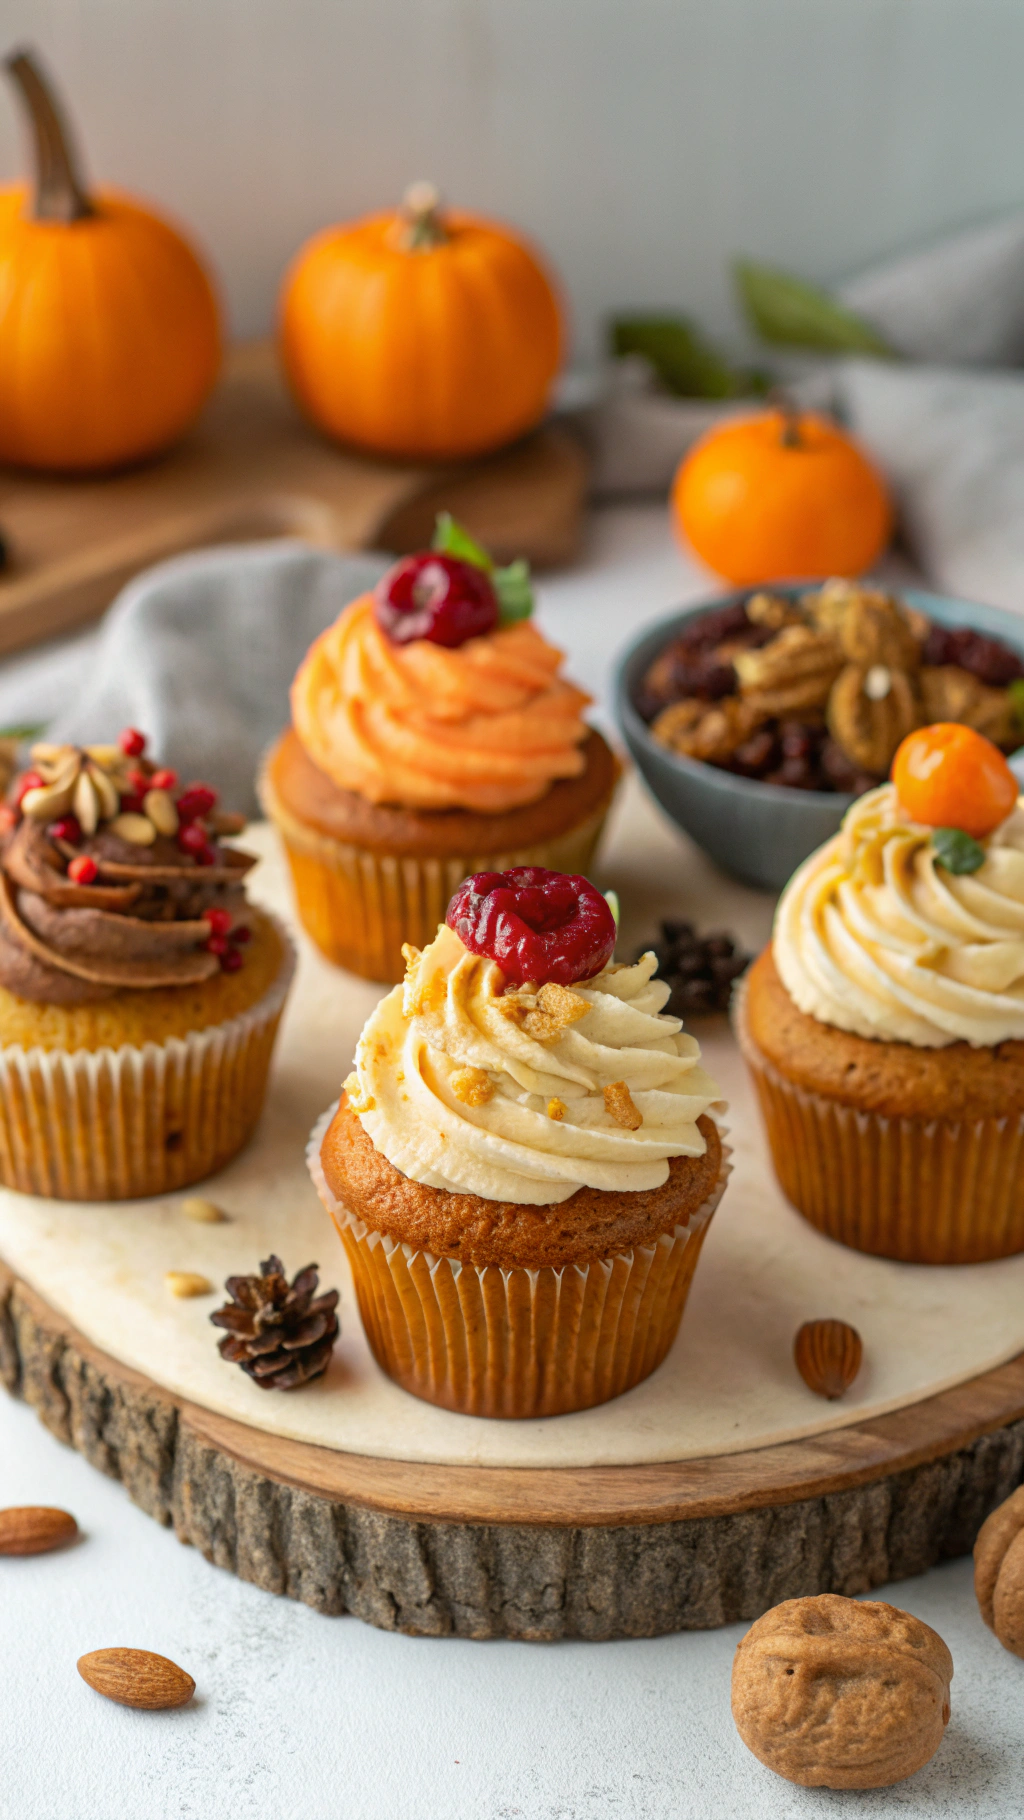
Healthy Thanksgiving Cupcakes Everyone Will Adore
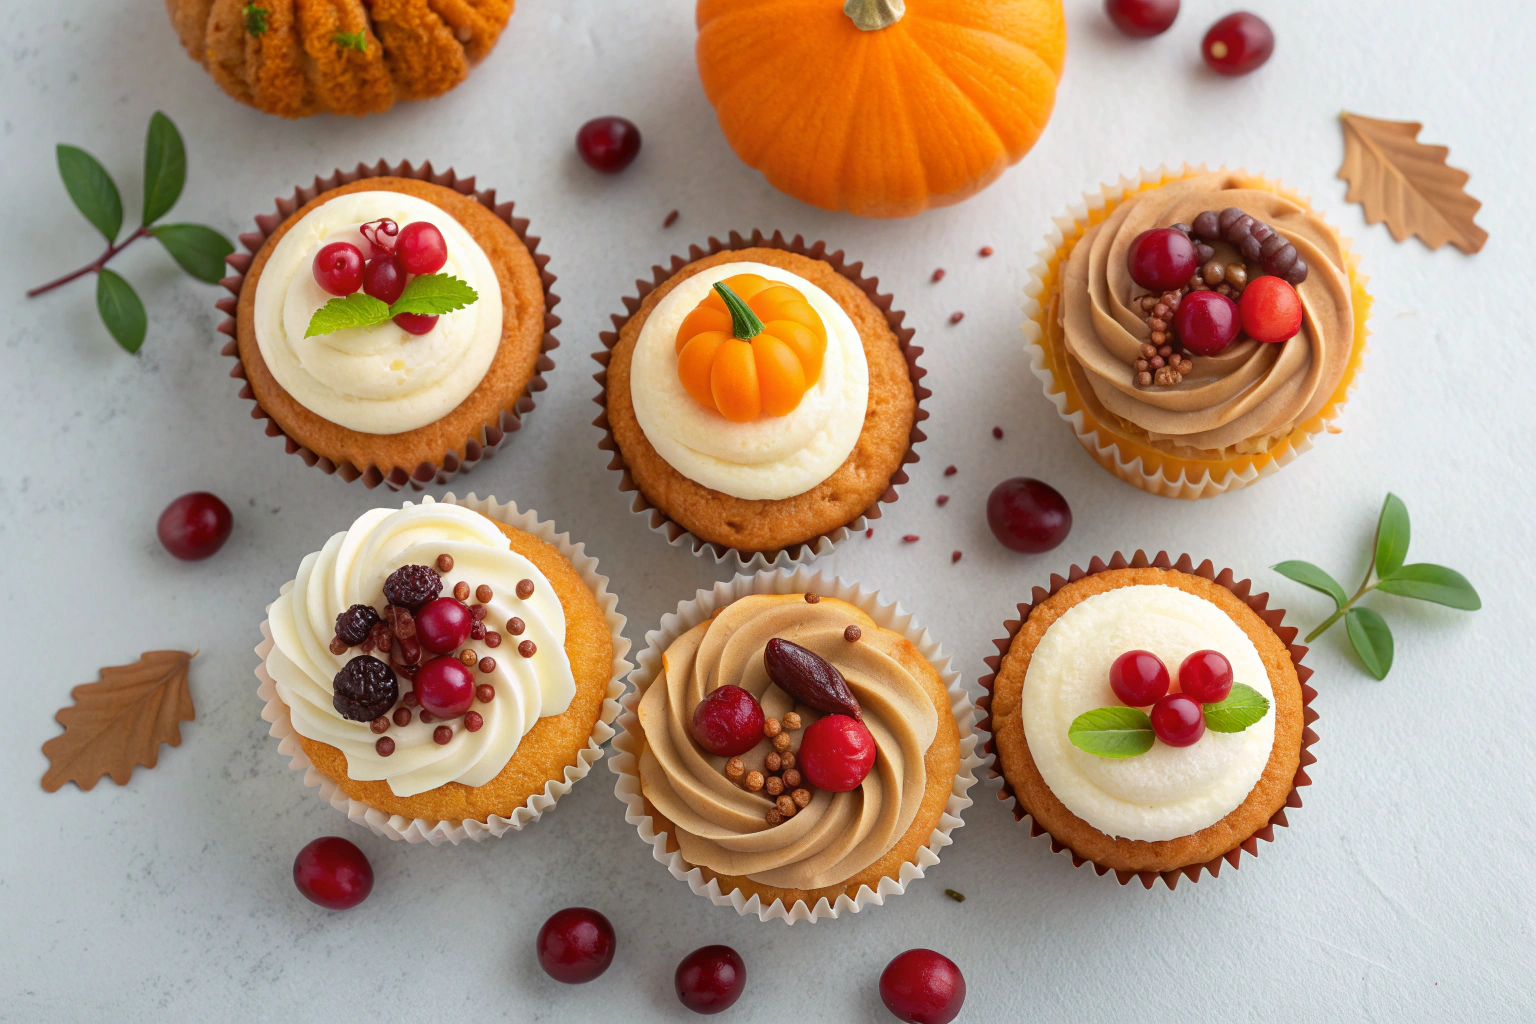
Table of Contents
I used to think Thanksgiving dessert was a lost cause. You either committed to a dry pie that took three days to make or you gave up and bought something from a store that tasted like cardboard and regret. Then I discovered the ultimate loophole: healthy thanksgiving cupcakes.
They’re the culinary equivalent of finding a twenty-dollar bill in your winter coat. You get all the festive flavor, none of the post-meal slump, and they’re so easy, you could probably make them while arguing with your uncle about politics. This isn’t just a recipe; it’s your ticket to becoming the undisputed dessert hero of the holiday.
What’s the secret?
We’re basically taking all the cozy, spiced flavors of a classic pumpkin pie and stuffing them into a single, handheld delight. Imagine the best part of the holiday—that first bite of spiced, creamy goodness—but you don’t have to wait for someone to slice the pie neatly. You just grab one.
It’s portion-controlled joy. The texture is incredibly moist, thanks to some clever ingredient swaps, and the warming spices hit all the right nostalgic notes. Honestly, why are we still fighting with pie crust when these exist?
Ingredients
Gathering the ingredients for these healthy thanksgiving cupcakes feels like a scavenger hunt for flavor.
The lineup is simple, but a few key players do the heavy lifting. I promise, no weird, unpronounceable health food store items here—just real, wholesome food that works.
- 1 ½ cups whole wheat pastry flour or gluten-free all-purpose flour
- 1 cup pure pumpkin puree (not pie filling!)
- 2 large eggs or flax eggs for a vegan twist
- ½ cup pure maple syrup or honey
- ⅓ cup unsweetened applesauce (the secret to insane moisture)
- ¼ cup melted coconut oil or avocado oil
- 1 tsp vanilla extract
- 1 ½ tsp pumpkin pie spice
- 1 tsp baking soda
- ½ tsp salt
- For the (optional) frosting: Greek yogurt cream cheese, a dash of maple syrup, and vanilla.
Step-by-Step Instructions
- Preheat your oven to 350°F and line a muffin tin. This is the “get your life together” step. It ensures you’re not scrambling with paper liners while covered in batter later.
- Whisk all the dry ingredients together in a large bowl. I’m talking flour, baking soda, salt, and those glorious pumpkin spices. A good whisk here prevents those pesky flour pockets in your final cupcakes.
- In a separate bowl, combine all the wet ingredients. This includes the pumpkin, eggs, maple syrup, applesauce, oil, and vanilla. Mix it until it’s smooth and looks like a beautiful, orange-hued smoothie.
- Gently fold the wet mixture into the dry ingredients. Please, for the love of tender cupcakes, do not overmix! A few streaks of flour are totally fine. Overmixing is the fast track to a dense, sad cupcake.
- Divide the batter evenly into the muffin liners, filling each about ⅔ full. This gives them the perfect dome instead of a volcanic overflow situation.
- Bake for 18-22 minutes. You’ll know they’re done when a toothpick inserted into the center comes out clean. Let them cool completely before even thinking about frosting. Patience is a virtue, especially in baking.
Storage Instructions
These healthy thanksgiving cupcakes are almost too good to save, but if you have willpower of steel, here’s the deal.
Once cooled, store them in an airtight container. They’ll stay fresh at room temperature for a day. For longer storage, the fridge is your friend for up to 5 days.
You can also freeze them for up to 3 months! Just wrap them individually in plastic wrap and pop them in a freezer bag. Thaw at room temperature for a quick fix.
FYI, they are perfect for batch prepping to ease your holiday stress.
Why You’ll Love This healthy thanksgiving cupcakes
- They’re a Total Crowd-Pleaser: From picky kids to health-conscious guests, everyone will ask for the recipe. They taste decadent without the guilt.
- Major Time-Saver: Forget slaving over a complicated pie. This entire process, from bowl to oven, takes about 10 minutes of active effort.
- Incredibly Adaptable: Got dietary restrictions? No problem. This recipe is a fantastic base for gluten-free and vegan baking with simple swaps.
Common Mistakes to Avoid
- Using pumpkin pie filling instead of puree. One has sugar and spices, the other is just pumpkin. This mistake will throw the entire flavor and sugar balance out of whack.
- Overmixing the batter. This develops the gluten and makes your cupcakes tough. A lumpy batter is a happy batter, IMO.
- Skimping on the cooling time. Frosting a warm cupcake is a recipe for a melty, sad puddle. Let them cool completely for best results.
Alternatives and Variations
This recipe is a dream to play with. For a vegan version, use flax eggs and a vegan cream cheese for frosting.
Need it gluten-free? A 1:1 gluten-free flour blend works perfectly. You can add mix-ins like dark chocolate chips or chopped pecans.
For a keto-friendly version, swap the maple syrup for a sugar-free syrup and use almond flour. The possibilities are endless!
FAQs
Can I freeze these healthy thanksgiving cupcakes?
Absolutely! They freeze like a dream.
Just make sure they are completely cooled, wrap them tightly, and they’ll be good for up to 3 months. It’s the ultimate make-ahead hack.
What’s the best substitute for the pumpkin puree?
If you’re in a pinch, sweet potato puree is the closest substitute. It has a similar texture and moisture content, and the flavor profile still fits the holiday theme perfectly.
How long do these cupcakes stay fresh?
Stored in an airtight container in the fridge, they are at their best for about 5 days.
At room temperature, enjoy them within 1-2 days for optimal freshness and texture.
Is this recipe kid-friendly?
Are you kidding? It’s a cupcake! The natural sweetness and familiar spice flavors are a huge hit with kids.
It’s a great way to make healthy swaps for your family without a battle at the dinner table.
Can I prep the batter ahead of time?
You can mix the dry and wet ingredients separately the night before. In the morning, just combine them and bake. Do not let the mixed batter sit for more than an hour, as the baking soda will start to activate.
Final Thoughts
This recipe for healthy thanksgiving cupcakes has genuinely changed my holiday game.
It’s proof that you don’t have to choose between flavor and feeling good. So, what are you waiting for? Go make a batch, and then come back and tell me in the comments how your family reacted.
Don’t forget to share this with the friend who needs a dessert win this year!

Sophie is a 33-year-old holistic nutritionist and food scientist living in Portland, Oregon. Growing up in a multicultural home with dietary restrictions, she learned to create desserts that nourish as much as they delight. She’s led wellness retreats focused on clean, mindful baking.