Table of Contents
I used to think Halloween was a dairy-filled nightmare. Every party platter was a minefield of buttercream and cream cheese frosting. Then I cracked the code.
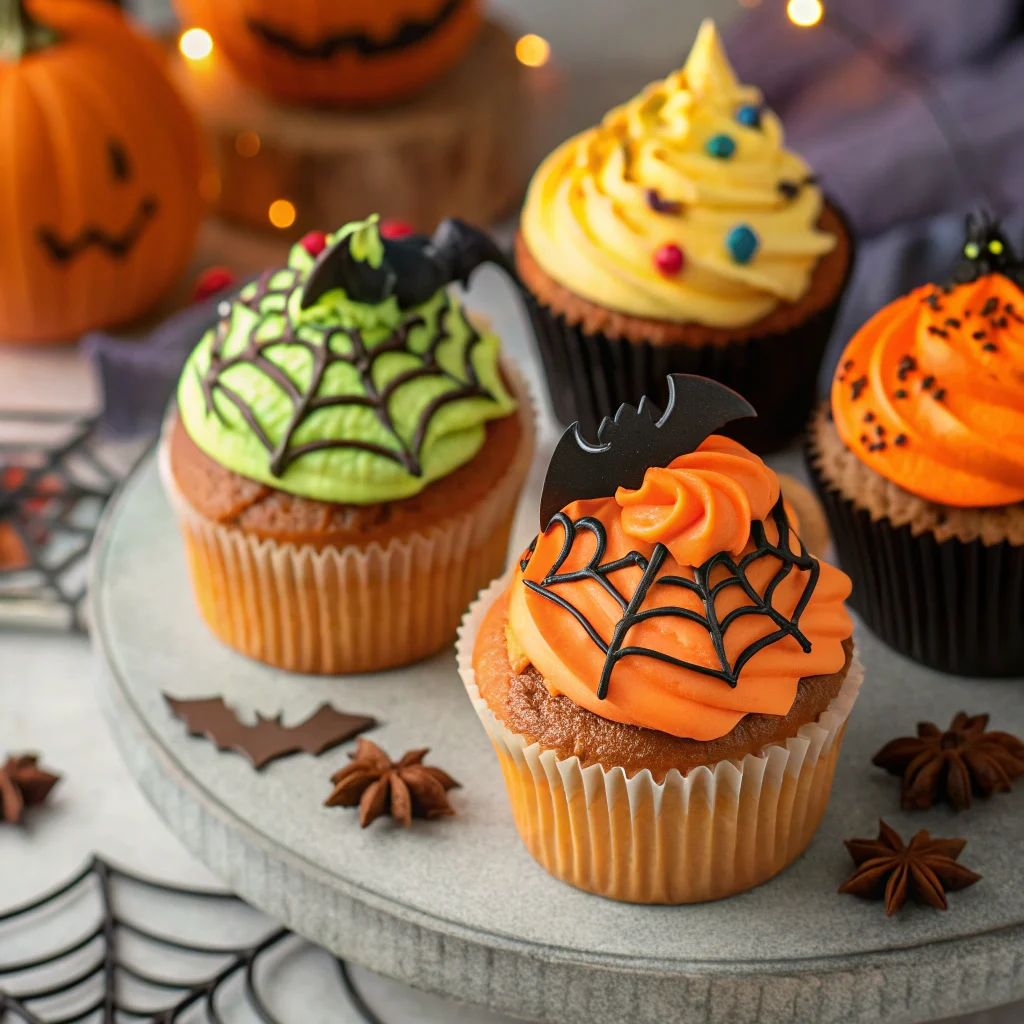
These dairy-free Halloween cupcakes are a total game-changer. They’re so decadent, no one will suspect they’re plant-based. I’m talking moist, fluffy, and spookily delicious.
Forget FOMO, this recipe is your ticket to enjoying every bite. Let me show you how to make the ultimate festive treat.
What’s the secret? It’s not magic, it’s just really good ingredients.
The flavor is rich and chocolatey, with a perfect crumb that doesn’t taste like a compromise. Remember those classic childhood cupcakes? This recipe nails that nostalgic vibe.
Who says you need dairy for ultimate moistness? The texture is genuinely incredible. I’ve served these to skeptical friends who were utterly shocked.
They’re the underrated hero of any Halloween spread.
Ingredients
Gathering your ingredients is the first step to cupcake glory. I love how simple this list is. You probably have most of this in your pantry right now.
The key players are the dairy-free milk and the apple cider vinegar—they work together to create a fantastic, tender rise. Don’t skip the vinegar; it’s the quiet MVP.
- 1 ½ cups all-purpose flour
- 1 cup granulated sugar
- ⅓ cup unsweetened cocoa powder
- 1 tsp baking soda
- ½ tsp salt
- 1 cup unsweetened almond milk (or any dairy-free milk)
- 1 tbsp apple cider vinegar
- ⅓ cup vegetable oil
- 1 tbsp vanilla extract
- Orange and black dairy-free food coloring
Step-by-Step Instructions
- Preheat your oven to 350°F (175°C). Line a muffin tin with festive cupcake liners.
This is non-negotiable for easy removal and maximum spooky presentation.
- Make the “buttermilk.” Whisk the dairy-free milk and apple cider vinegar together. Let it sit for 5 minutes until it curdles slightly. This is your chemical leavening powerhouse.
- Combine the dry ingredients.
In a large bowl, sift the flour, sugar, cocoa powder, baking soda, and salt. Whisk them together until they’re one unified, chocolatey force.
- Mix the wet ingredients. Pour the oil and vanilla into the curdled milk mixture.
Give it a good whisk until it’s fully emulsified and looks smooth.
- Bring the batter together. Pour the wet ingredients into the dry ingredients. Stir until just combined; a few lumps are totally fine.
Overmixing is the enemy of fluffiness.
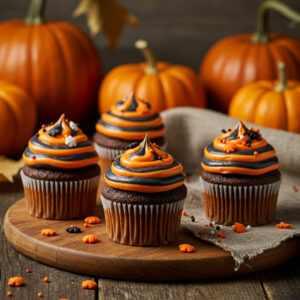
- Color your batter. Divide the batter into two bowls. Color one with orange food coloring and the other with black.
IMO, gel colors give the most vibrant results.
- Layer and bake. Spoon alternating colors of batter into the liners. Bake for 18-20 minutes.
A toothpick inserted should come out clean. Let them cool completely before frosting.
Storage Instructions
Proper storage keeps your creations fresh and frighteningly good. For short-term, an airtight container at room temperature is perfect.
If you need to keep them longer, the freezer is your best friend.
Store them in a single layer to protect your beautiful frosting work. You can also freeze the unfrosted cupcakes for a quick future dessert. They stay fresh at room temp for 2 days, in the fridge for 5 days, or in the freezer for up to 3 months. This is a fantastic make-ahead dessert for a stress-free party.
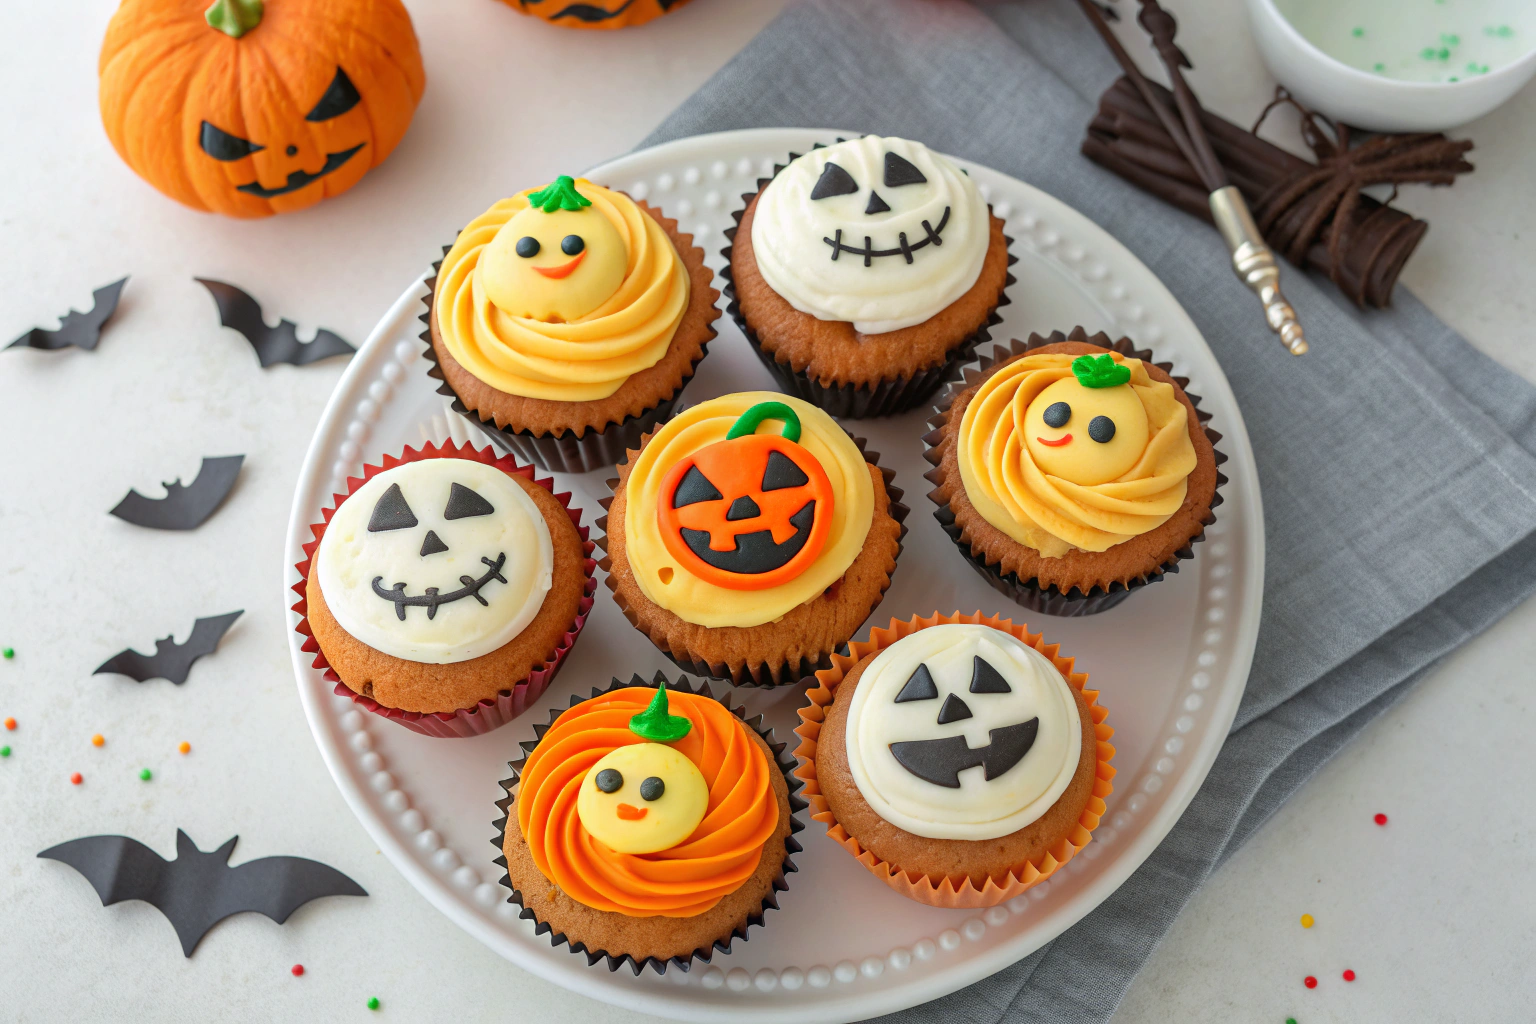
Why You’ll Love This Dairy-free Halloween Cupcakes
- Major Crowd-Pleaser: These cupcakes delight everyone, from vegans to dairy-lovers, making you the host with the most.
- Surprisingly Simple: The method is straightforward with no fancy techniques required, perfect for a last-minute bake.
- Allergy-Friendly & Festive: They safely accommodate dietary restrictions without sacrificing an ounce of Halloween spirit or flavor.
Common Mistakes to Avoid
- Overmixing the batter. You’ll end up with dense, tough cupcakes.
A few lumps are your friend.
- Using liquid food coloring. It can throw off your batter consistency. Gel or paste colors are the way to go.
- Frosting warm cupcakes.
This is a tragedy in the making. Your beautiful frosting will just melt into a puddle.
- Skimping on the liners. Without them, you’re inviting a sticky, messy nightmare.
Just don’t.
Alternatives and Variations
This recipe is a fantastic base for experimentation. For a gluten-free version, use a 1:1 gluten-free flour blend. You can easily make it vegan by ensuring your sugar is certified vegan.
Try different extracts like peppermint or orange for a flavor twist.
For a funfetti version, fold in dairy-free sprinkles. Top them with a simple vegan buttercream or a darker chocolate ganache for a richer experience. The possibilities are endless.
FAQs
Can I freeze these dairy-free Halloween cupcakes?
Absolutely!
Freeze them unfrosted in a single layer on a baking sheet, then transfer to a freezer bag. They thaw perfectly at room temperature in a couple of hours.
What’s the best substitute for almond milk?
Any unsweetened dairy-free milk works great. Oat milk adds a lovely richness, while soy milk provides a neutral flavor that lets the chocolate shine.
How long do these dairy-free Halloween cupcakes stay fresh?
When stored correctly in an airtight container, they are best enjoyed within 2 days at room temperature or 5 days in the refrigerator.
Is this recipe kid-friendly?
Incredibly so!
Kids love the fun colors and classic cupcake taste. It’s a fantastic, safe treat for classroom parties or trick-or-treaters with allergies.
Can I prep the batter ahead of time?
I don’t recommend it. The chemical reaction between the baking soda and vinegar begins immediately, so for the best rise, bake the batter right after mixing.
Final Thoughts
This recipe proves that you don’t need dairy to create a show-stopping Halloween dessert.
These dairy-free Halloween cupcakes are moist, flavorful, and ridiculously fun to make. They will absolutely steal the show at any gathering. I’d love to hear how yours turn out!
Tag me in your photos or leave a comment below with your spooky creations. Now go bake some magic.

Sophie is a 33-year-old holistic nutritionist and food scientist living in Portland, Oregon. Growing up in a multicultural home with dietary restrictions, she learned to create desserts that nourish as much as they delight. She’s led wellness retreats focused on clean, mindful baking.