Table of Contents
I used to think bakery-level cupcakes required a pastry degree and a trust fund. I was wrong. My obsession with DIY cupcake decorations started after a party disaster where my sad, plain cupcakes were upstaged by a grocery store sheet cake.
The secret isn’t complicated techniques or expensive tools. It’s a few simple, brilliant hacks that make you look like a pro. Forget the fancy classes.
Your new mastery in DIY cupcake decorations starts right here, right now.
This isn’t just about making things pretty. It’s about the sheer power of transforming a basic cupcake into a centerpiece. Remember that feeling of awe as a kid looking at a bakery display case?
You can recreate that magic in your own kitchen. The best part? Most of these DIY cupcake decorations use things you already have.
No special trip to the craft store required. Who knew your zester and a vegetable peeler were secret weapons for stunning buttercream?
Ingredients
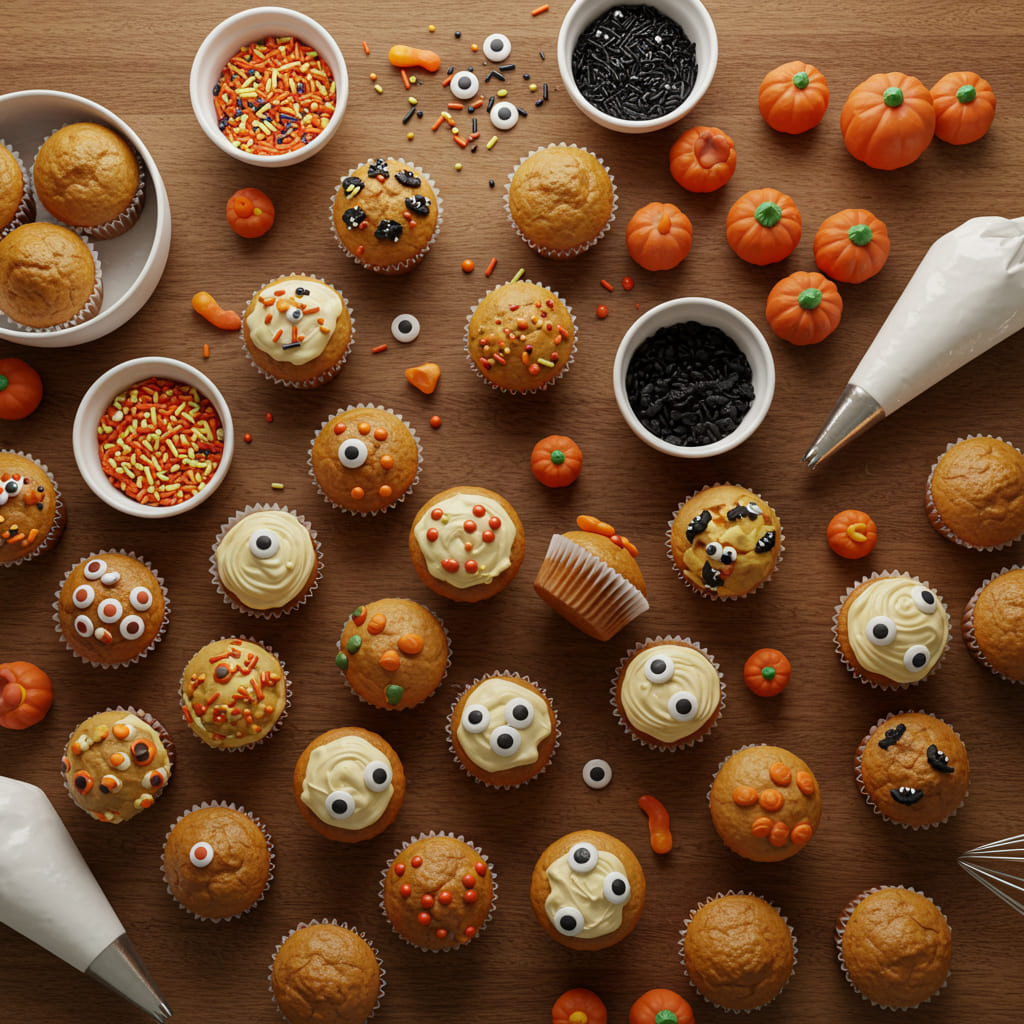
Gather your edible art supplies! The beauty of these DIY cupcake decorations is their flexibility.
You likely have most of this in your pantry already. I always keep a bag of melting chocolates on hand for emergencies, both the baking and the emotional kind.
- 1 batch of your favorite buttercream or cream cheese frosting
- Gel food coloring (trust me, the colors are more vibrant)
- 1 cup melting chocolates or chocolate chips
- Assorted sprinkles, sanding sugar, or edible glitter
- Piping bags and a few basic tips (Star Wilton 1M is a hero)
- A vegetable peeler for chocolate curls
- Citrus zester for fine, colorful shreds
- Small offset spatula or even a butter knife
Step-by-Step Instructions
- Get your frosting to the perfect consistency. If it’s too stiff, add a teaspoon of milk or cream. If it’s too runy, add more powdered sugar. You’re aiming for a smooth, pipeable cloud that holds its shape.
- Divide and color your frosting. Use gel food coloring to tint small batches into different colors. A little goes a long way, so start with a toothpick dip. This is where the fun for your DIY cupcake decorations truly begins.
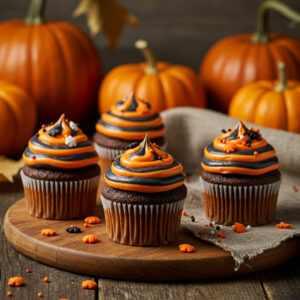
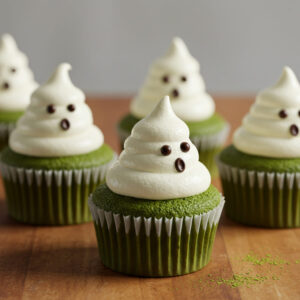
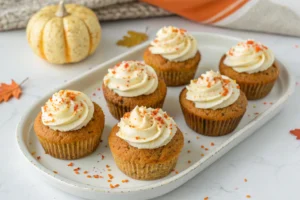
- Master the classic swirl. Fit your piping bag with a star tip, fill it with frosting, and hold the bag perpendicular to the cupcake. Squeeze from the center, swirling outward and upward, then release pressure and pull away. It’s easier than it looks, I promise.
- Create simple chocolate garnishes. Melt chocolate and spread it thin on parchment paper. Let it set slightly, then use a cookie cutter or knife to make shapes. For curls, run a vegetable peeler down the side of a chocolate bar.
- Add the final touches with texture. Roll the frosted edges in sprinkles or dip the entire top in sanding sugar. Use a zester to add a fine dusting of citrus zest for a pop of color and flavor. Step back and admire your handiwork.
Storage Instructions

Your beautiful creations need a good home. For decorated cupcakes with buttercream, store them in an airtight container at room temperature for up to 2 days.
If you used cream cheese frosting, they must go in the fridge. For longer storage, freeze them unfrosted or fully decorated. Place them in a single layer on a baking sheet until solid, then transfer to a freezer bag for up to 3 months. Thaw in the refrigerator overnight.
Why You’ll Love This DIY Cupcake Decorations
- Total Cost Control: You’re not paying a $5 per cupcake boutique premium. A few dollars in sprinkles goes a very long way.
- Unbeatable Personalization: Match the colors to a party theme, write names, or create designs that store-bought versions could never offer.
- Surprisingly Therapeutic: The repetitive motion of piping swirls is weirdly calming. It’s edible mindfulness, and you get a sweet reward.
Common Mistakes to Avoid
- Using liquid food coloring. It waters down your frosting and leads to a sad, soupy mess. Gel colors are non-negotiable.
- Frosting warm cupcakes. The heat will melt your beautiful buttercream into a puddle. Let them cool completely, no cheating.
- Overfilling your piping bag. This is a rookie move that guarantees a frosting explosion all over your hands. Fill it halfway, max.
- Skipping the crumb coat. A thin layer of frosting seals in crumbs before the final decorative layer. It’s the difference between amateur and pro-level DIY cupcake decorations.
Alternatives and Variations
This process is incredibly adaptable. For a vegan version, use vegan buttercream and dairy-free chocolates. If you’re out of piping bags, a sturdy Ziploc bag with the corner snipped off works in a pinch.
Try a flourless chocolate cake base for a gluten-free option. For a keto-friendly twist, use an almond flour cupcake recipe and a sugar-free frosting sweetened with erythritol.
FAQs
Can I freeze decorated cupcakes?
Absolutely! Freeze them in a single layer first so the decorations don’t get smashed.
Once solid, you can pack them together. They thaw beautifully in the fridge overnight.
What’s the best substitute for gel food coloring?
In a pinch, you can use natural colorings like beet powder (pink), matcha (green), or turmeric (yellow). Just know the colors will be more muted than with gels.
How long do homemade decorated cupcakes stay fresh?
Buttercream-frosted cupcakes are best within 2-3 days at room temp.
Cream cheese frosted ones should be refrigerated and eaten within 3-4 days.
Is this DIY cupcake decorations process kid-friendly?
100%. Kids love the sprinkling and dipping steps. It’s a fantastic, messy, and fun activity.
IMO, it’s the perfect rainy-day project.
Can I prep the decorations ahead of time?
Yes! Make chocolate shapes, color your frosting, and fill your piping bags a day ahead. Store the frosting in the fridge and the chocolate at room temp.
FYI, let the frosting come to room temperature before piping.
Final Thoughts
Mastering these simple techniques for DIY cupcake decorations will change your baking game forever. It’s creative, cost-effective, and deeply satisfying. Don’t be afraid to experiment and make a glorious mess.
I want to see your creations! Tag me on social or leave a comment below with your favorite decoration hack. Now go forth and decorate.

Ben is a 41-year-old baking educator and former bakery owner from Kansas City, Missouri. With a culinary degree and years of hands-on experience, he specializes in teaching approachable, science-based baking. He once recreated a 17th-century cupcake recipe for a historical food documentary.