Table of Contents
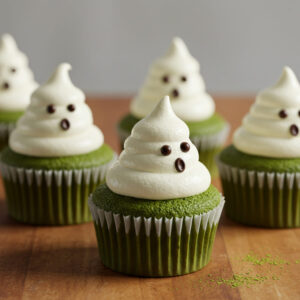
I used to think Halloween baking was a competitive sport. You know the type—the neighbor with the gravity-defying cake that probably required an engineering degree. Then I discovered the power of simple, spooky, and stupidly cute ghost cupcake decorations.
My life, and my Halloween party cred, changed forever. These little phantom treats are the ultimate hack. They look like you spent hours, but the secret is they’re almost embarrassingly easy.
Forget the stress; this is your year to win Halloween with minimal effort and maximum adorable spookiness.
Honestly, what’s not to love? These ghost cupcake decorations are the culinary equivalent of a cozy Halloween sweater. They’re not trying to be the scariest thing on the table.
They’re just here to be charming, delicious, and a little bit nostalgic. Remember those simple, fun treats from childhood parties? This is that vibe.
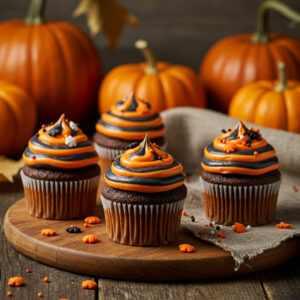
They’re a blank canvas for your favorite cupcake flavor underneath, from rich chocolate to classic vanilla. The real magic is in the universal smile they generate. Who can resist a friendly little meringue ghost?
Ingredients
Gathering the stuff for these phantom pals is a breeze.
You likely have most of it already. The beauty of these ghost cupcake decorations is in their simplicity. No fancy, hard-to-find components are required here.
Just a few basics to create some edible magic.
- 3 large egg whites, at room temperature
- 3/4 cup granulated sugar
- 1/4 tsp cream of tartar (this is the stability hero)
- 1 tsp vanilla extract (clear for pure white ghosts)
- Mini chocolate chips or edible black marker for the eyes
- Your favorite pre-baked cupcakes, any flavor!
Step-by-Step Instructions
- Whip the meringue base. Combine the egg whites, sugar, and cream of tartar in a heatproof bowl over a simmering pot of water. Whisk constantly until the sugar dissolves and the mixture feels warm. This is the secret to a glossy, stable meringue for your ghost cupcake decorations.
- Beat it into submission. Transfer the warm mixture to a stand mixer and beat on high speed with the vanilla until stiff, glossy peaks form. This takes about 5-7 minutes. Don’t be shy; you want those peaks to stand straight up!
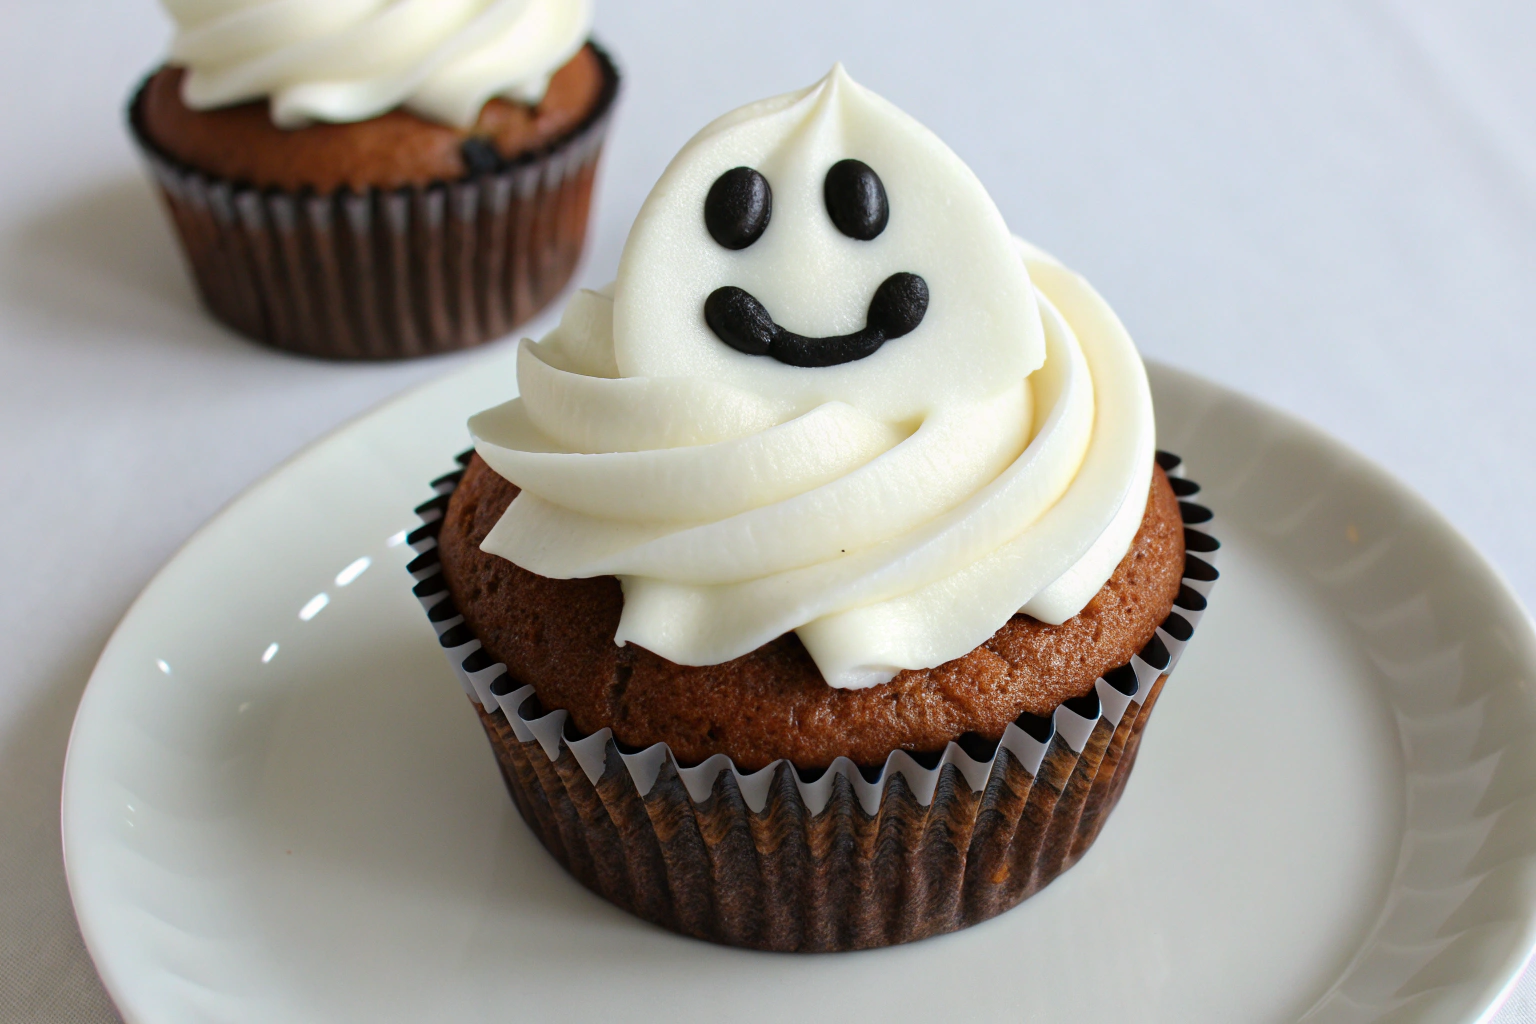
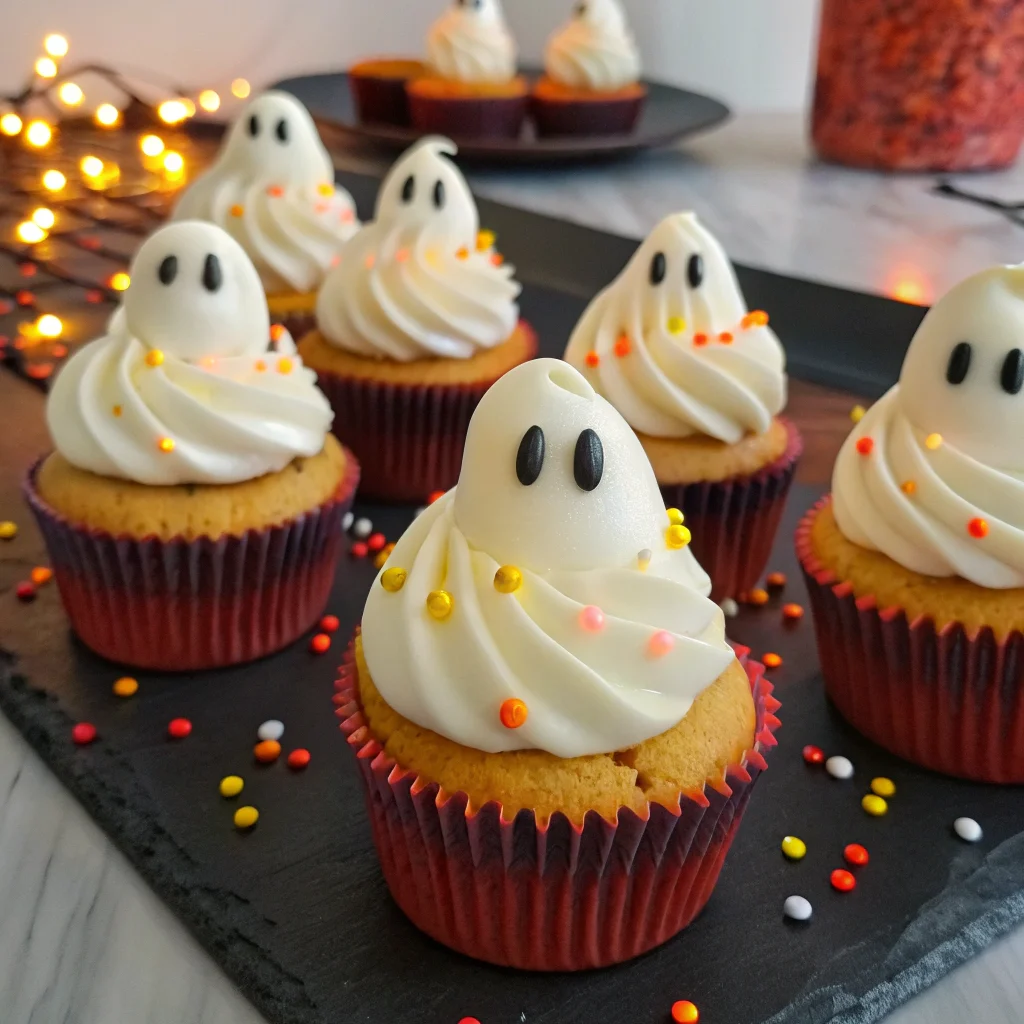
- Pipe your spooky spirits. Load the meringue into a piping bag fitted with a large round tip. Pipe tall, swoopy mounds onto your cooled cupcakes. The messier, the better—ghosts aren’t perfect! This is the fun part of creating your ghost cupcake decorations.
- Give them soulful eyes. Immediately press two mini chocolate chips into each ghost for eyes. If you’re using an edible marker, wait for the meringue to set completely first. And just like that, your ghost cupcake decorations are alive! Well, undead.
- Toast for a spectral glow. For a slightly toasted marshmallow look, carefully use a kitchen torch. Hold it a few inches away and wave it quickly. This step is optional but adds a fantastic flavor and eerie effect.
Storage Instructions
These little guys are best enjoyed the day they’re made, but you can plan ahead.
For the fridge, place them in a single layer in an airtight container. They’ll keep for up to 2 days, but the meringue may start to weep a little. For longer storage, freeze them on a baking sheet before transferring to a freezer bag.
They’ll last frozen for up to 1 month. Thaw in the fridge overnight. IMO, the texture is best fresh!
Why You’ll Love This Ghost Cupcake Decorations
- Major Crowd-Pleaser: They are a guaranteed hit with both kids and adults, bringing instant festive joy to any party.
- Incredibly Simple: No complex sculpting or rare ingredients are needed. If you can pipe a blob, you can master these ghost cupcake decorations.
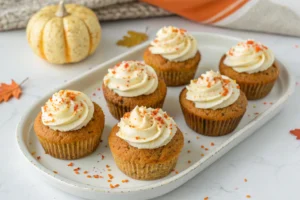
- Endlessly Customizable: Place them on any cupcake flavor you love, from decadent chocolate fudge to a funfetti base. The ghost is the star.
Common Mistakes to Avoid
- Using a glass bowl that isn’t squeaky clean. Any trace of grease will murder your meringue. I learned this the hard way.
- Adding the sugar all at once. You’ll deflate the poor egg whites. Slow and steady wins the race for fluffy ghosts.
- Piping on warm cupcakes. Your beautiful ghost cupcake decorations will melt into a puddle of sadness. Let them cool completely.
- Skipping the cream of tartar. This little acid is what gives your ghosts structure and prevents a weepy mess later.
Alternatives and Variations
Don’t have all the ingredients?
No problem. For a vegan version, use aquafaba (the liquid from a can of chickpeas) instead of egg whites. The ratio is typically 3 tablespoons of aquafaba per egg white.
If you want a different flavor, swap the vanilla for almond or peppermint extract. You can even tint the meringue with a tiny drop of black food coloring for a grey, shadowy ghost effect. FYI, these are naturally gluten-free, so they’re perfect for mixed-diet gatherings.
FAQs
Can I freeze ghost cupcake decorations?
Absolutely!
Freezing works great. Just make sure they are frozen solid on a tray first before you bag them up to prevent the decorations from sticking together and getting damaged.
What’s the best substitute for cream of tartar?
You can use an equal amount of fresh lemon juice or white vinegar. These acids perform the same function of stabilizing the meringue, though the final texture might be slightly less robust.
How long do ghost cupcake decorations stay fresh?
They are best eaten within 24 hours for peak texture.
After that, the meringue can start to soften and lose its shape, especially in a humid environment.
Is this ghost cupcake decoration kid-friendly?
Incredibly so! Kids love helping to press in the chocolate chip eyes. It’s a fantastic, easy, and safe baking activity for little hands.
They’re a huge hit at birthday parties too.
Can I prep the meringue ghosts ahead of time?
You can pipe the meringue ghosts onto parchment paper and let them dry out for a few hours, then carefully place them on cupcakes later. However, for the best look and taste, piping directly onto the cupcakes is recommended.
Final Thoughts
This method for ghost cupcake decorations has genuinely saved my Halloween sanity. It’s proof that the most impactful ideas are often the simplest.
They deliver a huge payoff for very little effort. So, give these adorable spooky treats a try this season. I bet they’ll become your new go-to.
Tag me in your photos or leave a comment below telling me how your phantom squad turned out!

Lila is a 29-year-old baker and artist based in Asheville, North Carolina. Raised in a cozy, artsy family, she studied visual arts before falling in love with baking. Her signature? Seasonal cupcakes topped with edible flowers from her garden. She hosts backyard baking workshops during the solstices and equinoxes.