Table of Contents
I used to think Halloween was about the candy. Then I realized the real treasure was the sheer, unadulterated joy of terrifying your friends with baked goods. Forget the store-bought, flimsy decorations that look sadder than a deflated balloon the next morning.
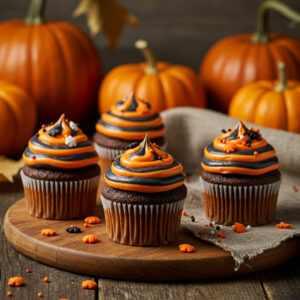
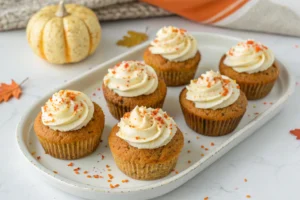
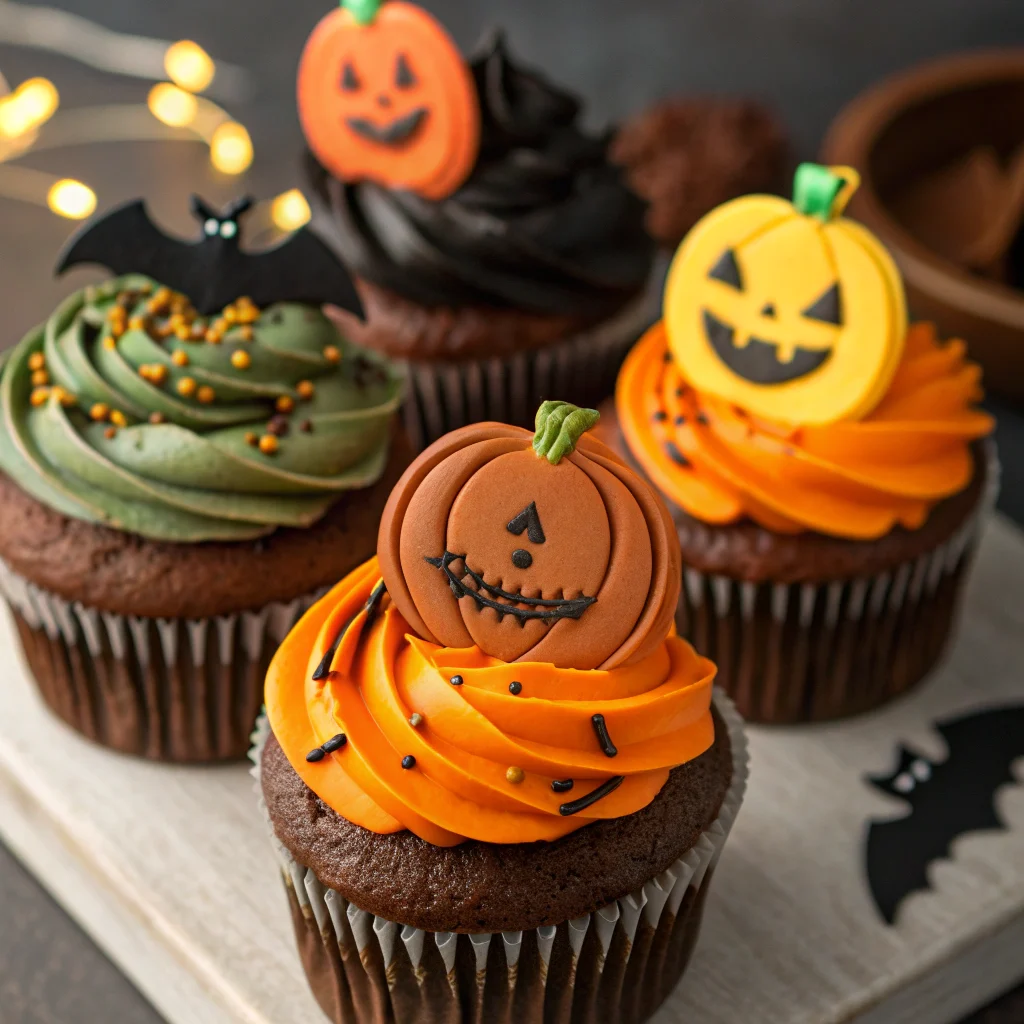
This year, we’re taking our spooky treats to a whole new level of awesome. The secret weapon? Incredibly easy, wildly creative Halloween cupcake toppers.
I’m talking about the kind of decorative elements that make people gasp before they even take a bite. These aren’t just accessories; they are the main event, the conversation starters, the memory makers. And the best part?
You don’t need to be a professional cake decorator to pull them off.
What’s the secret sauce? It’s the pure, unapologetic fun of it all. Remember being a kid and the best part of a birthday cake was the little plastic figure on top?
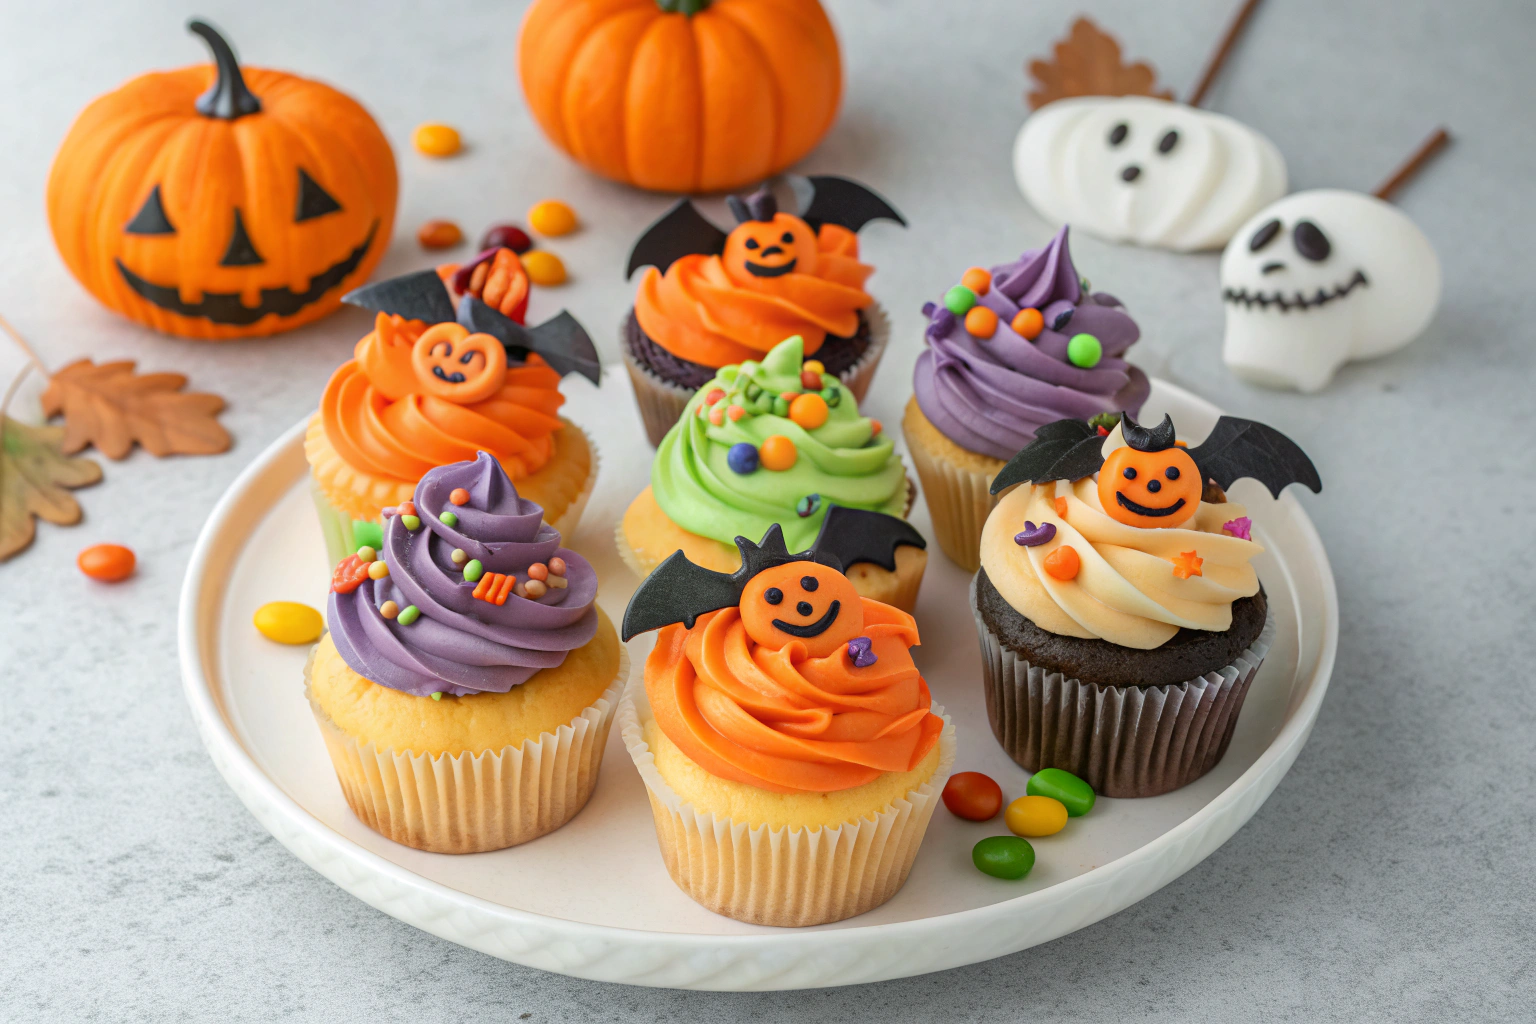
This is that feeling, but for grown-ups who appreciate a good ghost and a well-executed spider web. These Halloween cupcake decorations transform a simple dessert into a centerpiece. They’re the difference between “Oh, a cupcake” and “WOW, what is THAT?!” They tap into that nostalgic, creative part of your brain and let you play with your food, guilt-free.
Honestly, isn’t that the true spirit of Halloween?
Ingredients
Gathering your supplies is half the fun. Think of it as a mini Halloween scavenger hunt in your own kitchen or craft store. You probably have a lot of this already, but I’ve included a few quirky items to really make your spooky cupcake toppers pop.
- Royal Icing or Stiff Buttercream: This is your edible glue and sculpting clay.
The stiffness is non-negotiable for structure.
- Black and Orange Gel Food Coloring: Gel is key for vibrant, deep colors without thinning your icing.
- Edible Food Markers: A total game-changer for drawing tiny faces on ghosts and pumpkins.
- Lollipop Sticks or Paper Straws: For creating stand-up figures like tombstones or bats.
- Pre-made Fondant: Don’t be scared of it! It’s perfect for molding 3D shapes like miniature eyeballs or creepy fingers.
- Sprinkles & Sanding Sugar: In Halloween colors, of course. They add instant texture and sparkle.
- Edible Glitter: Because a little extra spooky shimmer never hurt anybody.
Step-by-Step Instructions
- Plan your spooky designs.
Sketch a few ideas on paper first. Are you going for cute or creepy? This prevents mid-decorating panic and ensures you have the right colors ready.
- Color your icings and fondant.
Divide your royal icing or buttercream into separate bowls. Use the gel food coloring to achieve your desired shades. Knead the coloring into the fondant until the color is uniform.Pro tip: wear gloves for the black fondant unless you want zombie hands for a day.
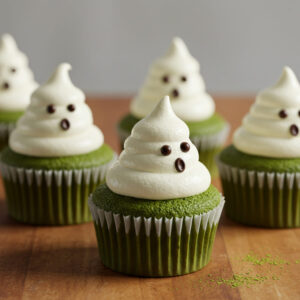
- Pipe your flat designs. For spider webs, pipe concentric circles and drag a toothpick from the center out. For ghosts, pipe a simple teardrop shape.
Let these set completely on parchment paper; patience is your friend here.
- Mold your 3D elements. Roll small balls of white fondant for eyeballs, then add a smaller dot of black. Create little fondant “fingers” using a knife to indent knuckles.
Let your imagination run wild with these easy cupcake decorations.
- Assemble your masterpieces. Once all components are dry and firm, use a dab of fresh icing to attach them to lollipop sticks or directly onto your frosted cupcakes. Step back and admire your army of adorable Halloween monsters.
Storage Instructions
Your hard work deserves to be preserved!
For royal icing toppers, store them in a single layer in an airtight container at room temperature for up to a week. They hate humidity, so keep them somewhere cool and dry. If you used buttercream, you’ll need to refrigerate them.
Place them carefully in a container, and they’ll be happy for 3-4 days. For long-term storage, freeze them flat on a baking sheet before transferring to a freezer bag. They’ll keep for up to 2 months.
Thaw in the container to prevent condensation.
Why You’ll Love This Halloween Cupcake Toppers
- Total Crowd-Pleaser: From kids to adults, everyone loses their mind over a creatively decorated treat. It’s an instant party hit.
- Surprisingly Simple: The techniques are basic, but the results look professional. You’ll feel like a baking superstar with minimal effort.
- Incredibly Versatile: You can match these Halloween cupcake toppers to any theme, from classic horror to cute and kooky, making them perfect for any Halloween party.
Common Mistakes to Avoid
- Using runny icing.
Your beautiful spider web will turn into a puddle of sadness. IMO, stiff peaks are non-negotiable.
- Not letting components dry. Rushing the process leads to smudged faces and broken bat wings.
Patience, young Padawan.
- Skipping the gel food coloring. Liquid coloring waters down your icing and gives you pastel Halloween, which is just wrong.
- Forgetting to have fun. It’s cupcakes, not brain surgery.
If a ghost looks a little deranged, just say he’s seen things.
Alternatives and Variations
Dietary restrictions? No problem. Use vegan butter and aquafaba for royal icing to make vegan Halloween cupcake toppers.
For a gluten-free option, ensure your sprinkles and fondant are certified GF. Not into fondant? Model magic or even stiff chocolate can be great substitutes for non-edible decor.
You can also create spooky chocolate garnishes or use colored candy melts for a different texture and flavor profile.
FAQs
Can I freeze these Halloween cupcake toppers?
Absolutely! Freezing is a fantastic way to get a head start on your party prep. Just make sure they are completely dry and stored in an airtight freezer bag to prevent freezer burn and odors.
What’s the best substitute for royal icing?
If you’re in a pinch, a very stiff buttercream frosting can work, but it won’t harden completely.
Melted chocolate or candy wafers are excellent alternatives for creating firm, detailed shapes.
How long do these cupcake decorations stay fresh?
Royal icing toppers will stay pristine for weeks at room temperature if stored properly. Buttercream-based toppers need refrigeration and are best used within 3-4 days for optimal texture and taste.
Is this project kid-friendly?
100% yes! This is a fantastic activity to do with children.
They can help mold fondant, add sprinkles, and design their own silly monster faces. It’s edible arts and crafts.
Can I prep the Halloween cupcake toppers ahead of time?
Prepping ahead is the ultimate pro-move. Make your toppers up to a week in advance and store them as directed.
On party day, all you have to do is frost your cupcakes and pop the toppers on. Easy peasy.
Final Thoughts
Elevating your Halloween spread with these custom Halloween cupcake toppers is a surefire way to win the holiday. They add a personal, playful touch that store-bought kits can never replicate.
So grab your piping bag, embrace the mess, and create something spooktacular. I can’t wait to see what you come up with—tag me in your photos or leave a comment below with your favorite design!

Lila is a 29-year-old baker and artist based in Asheville, North Carolina. Raised in a cozy, artsy family, she studied visual arts before falling in love with baking. Her signature? Seasonal cupcakes topped with edible flowers from her garden. She hosts backyard baking workshops during the solstices and equinoxes.