Table of Contents
I used to think Halloween baking was a trap. You spend hours on Pinterest, buy $40 worth of sprinkles, and end up with a kitchen that looks like a crime scene and cookies that could break a tooth. Then I cracked the code.
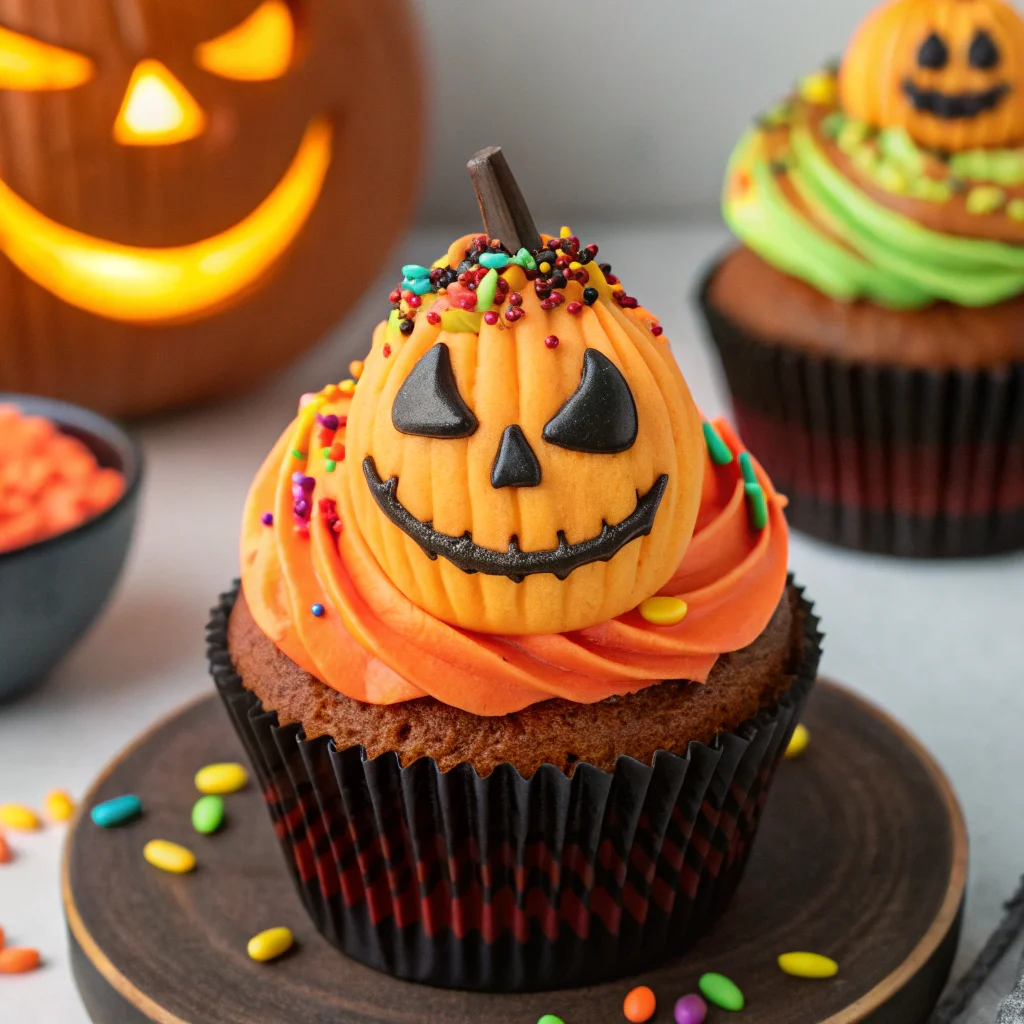
This isn’t just another Halloween cupcake tutorial; it’s your escape from spooky-season baking stress. I’m sharing the only recipe you need for cupcakes that are terrifyingly good and stupidly easy. Your party guests will be shook.
Your kids will think you’re a wizard. And you? You’ll finally enjoy the holiday.
What’s the secret sauce?
It’s not a magic wand, I promise. It’s a recipe built for real life. We’re not making architectural masterpieces that require a PhD in fondant.
We’re making moist, decadent cupcakes with a few clever, simple tricks that deliver maximum “wow” factor. Remember that one time you tried to pipe orange frosting and it came out a weird salmon color? Yeah, we’re avoiding that trauma.
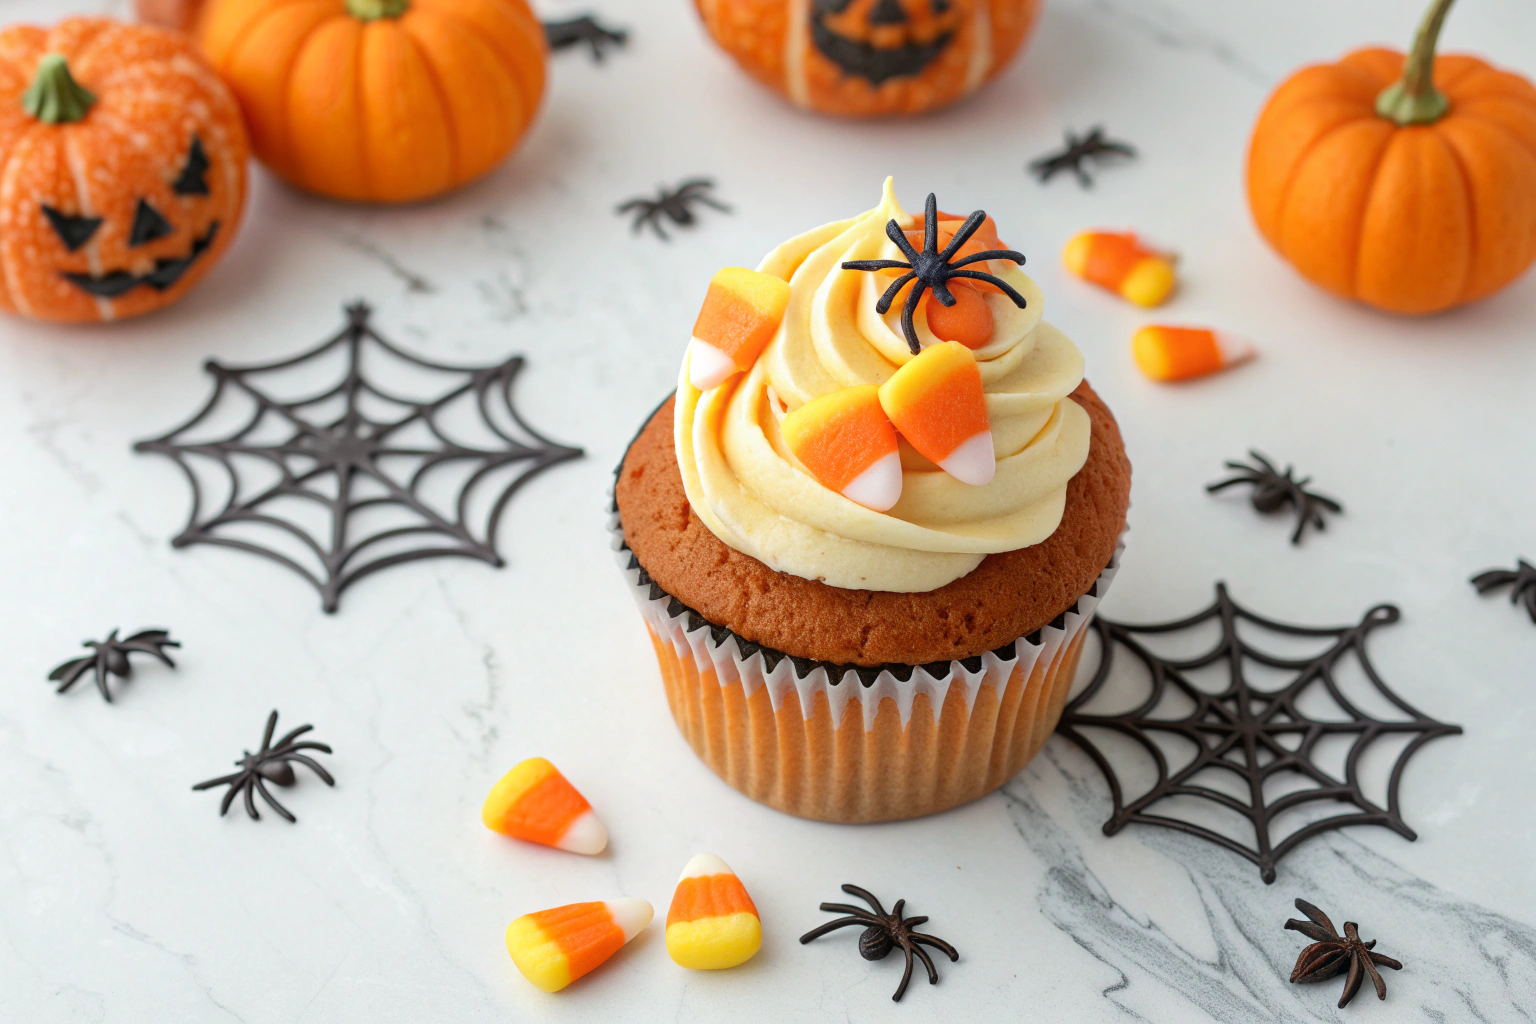
This Halloween cupcake tutorial is about flavor first, with a spooky aesthetic that doesn’t require an art degree.
Ingredients
Gather your coven, I mean, your ingredients. This list is straightforward, but I’ve included a few pro-level notes to guarantee your success. No weird, hard-to-find items here—just one special sprinkle blend that makes all the difference.
- 1 ½ cups all-purpose flour
- 1 cup granulated sugar
- ½ cup unsweetened cocoa powder
- 1 tsp baking soda
- ½ tsp salt
- 1 cup warm coffee (trust me, it makes the chocolate pop)
- ½ cup vegetable oil
- 2 large eggs
- 2 tsp vanilla extract
- 1 cup orange decorating sugar or a black and orange sprinkle mix
- 8 oz cream cheese, softened
- ½ cup unsalted butter, softened
- 4 cups powdered sugar
- Black and purple gel food coloring
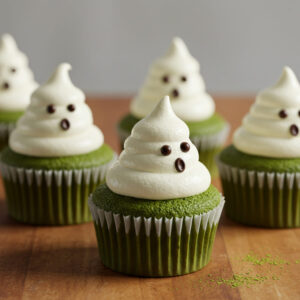
- Candy eyeballs for the final touch
Step-by-Step Instructions
- Preheat your oven and prep your pans. Heat your oven to 350°F (175°C) and line a muffin tin with creepy cupcake liners. This is your first and easiest win. Don’t skip the liners unless you enjoy chiseling cakes out of a pan.
- Whisk your dry ingredients. In a large bowl, whisk the flour, sugar, cocoa powder, baking soda, and salt. Getting rid of lumps now means a perfectly smooth batter later. It’s a 30-second step that pays off big time.
- Combine your wet ingredients. In another bowl, whisk the warm coffee, oil, eggs, and vanilla. Pour the wet mix into the dry ingredients and stir until just combined. A few lumps are fine; overmixing is the enemy of fluffy cupcakes.
- Bake to perfection. Divide the batter evenly among the liners, filling each about two-thirds full. Bake for 18-20 minutes. Do the toothpick test—if it comes out clean, you’re golden. Let them cool completely. IMO, warm frosting is a sad, melty mess.
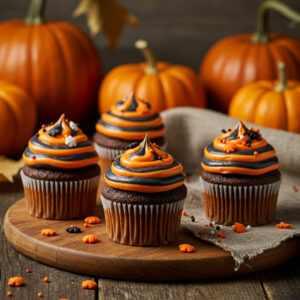
- Whip up the magical frosting. Beat the softened cream cheese and butter together until smooth. Gradually beat in the powdered sugar. Divide the frosting into two bowls and tint one with orange gel color and the other with black or purple.
- Decorate like a boss. Frost your cooled cupcakes. You can pipe it, swirl it with a knife, or just go for a messy, “graveyard dirt” look. Roll the edges in the orange sugar, add candy eyeballs, and watch them come to life.
Storage Instructions
You probably won’t have leftovers, but just in case, here’s the plan. Store these masterpieces in an airtight container in the fridge for up to 5 days.
The frosting will stay perfect. For long-term hoarding, you can freeze unfrosted cupcakes for up to 3 months. Thaw overnight in the fridge before decorating.
FYI, this is a great batch prep move for a hectic Halloween week.
Why You’ll Love This Halloween Cupcake Tutorial
- It’s a Certified Crowd-Pleaser. From sugar-crazed toddlers to skeptical adults, these cupcakes win over everyone. The rich chocolate and tangy cream cheese frosting is an unbeatable combo.
- It’s Surprisingly Forgiving. This recipe is resilient. Over-mix a little? It’s fine. Forget to sift? It’s fine. It’s designed for baking while also trying to stop the dog from eating a plastic spider.
- It Maximizes Your Time. You get a huge visual payoff without spending your entire afternoon. The decorating is intuitive and fun, not fussy. You can even make your cupcakes ahead of time and frost them the day of your party.
Common Mistakes to Avoid
- Using cold butter and cream cheese. Your frosting will be lumpy. Just don’t.
- Overfilling the cupcake liners. This creates a volcanic muffin-top mess, not a cute cupcake.
- Frosting warm cupcakes. This is the number one reason frosting slides right off. Patience is a virtue, especially with this Halloween cupcake tutorial.
- Using liquid food coloring for black frosting. It will turn your frosting into a gray, runny soup. Gel colors are non-negotiable for vibrant shades.
Alternatives and Variations
Got dietary restrictions? Want to mix it up? No problem.
For a gluten-free version, use a 1:1 gluten-free flour blend. To make it vegan, swap the eggs for flax eggs and use vegan butter and cream cheese. You can also add a teaspoon of mint or orange extract to the batter for a fun flavor twist.
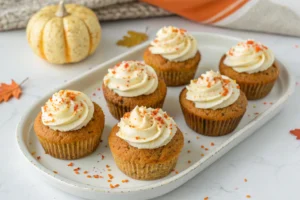
For a less sweet option, try my healthier pumpkin muffins as a base and just decorate them for Halloween!
FAQs
Can I freeze these cupcakes?
Absolutely! Freeze them without frosting for best results. Place them in a single layer on a baking sheet until solid, then transfer to a freezer bag.
They’ll keep for up to 3 months.
What’s the best substitute for cream cheese in the frosting?
If you’re in a pinch, you can use all butter, but the flavor will be much sweeter and less tangy. For a dairy-free version, a high-quality vegan cream cheese works surprisingly well.
How long do these Halloween cupcakes stay fresh?
Because of the cream cheese frosting, they need to be refrigerated. They stay perfectly fresh and delicious for up to 5 days when stored properly in an airtight container.
Is this recipe kid-friendly?
Extremely!
The decorating is the best part for kids. Set up a decorating station with sprinkles, eyeballs, and frosting bags and let them go to town. It’s a fantastic, easy Halloween activity.
Can I prep the batter ahead of time?
You can!
Mix the dry and wet ingredients separately the night before. In the morning, just combine them and bake. This is a huge time-saver for party day.
For more make-ahead magic, check out my guide to easy Halloween treats.
Final Thoughts
This Halloween cupcake tutorial is your ticket to a stress-free, delicious, and impressively spooky dessert. It proves you don’t need to be a pro to create something amazing. So, whip up a batch, embrace the mess, and have the most fun you’ve ever had baking.
I bet this becomes your go-to Halloween dessert recipe for years to come. Now go on, make some magic—and don’t forget to tag me in your photos!

Ben is a 41-year-old baking educator and former bakery owner from Kansas City, Missouri. With a culinary degree and years of hands-on experience, he specializes in teaching approachable, science-based baking. He once recreated a 17th-century cupcake recipe for a historical food documentary.