Table of Contents
I used to think beautiful cupcakes were a conspiracy theory. Seriously. Those flawless bakery creations felt like a lie designed to make my sad, frosting-smeared attempts look pathetic.
Then I cracked the code. The secret isn’t a culinary degree; it’s a few stupidly simple techniques anyone can master. Today, I’m blowing the lid off the whole operation.
Forget intimidation. We’re making pro-level treats that will have your friends questioning your life choices. This is your ultimate guide on how to decorate cupcakes without losing your sanity.
This isn’t just about making things pretty.
It’s about the sheer, unadulterated joy of creating something delightful with your own two hands. Remember being a kid and the pure magic of a sprinkle-covered cupcake? We’re reclaiming that.
I’m talking about the confidence to whip up a batch for a birthday, a bake sale, or just a Tuesday. Why should bakery windows have all the fun? Your kitchen is about to become the hottest new patisserie in town, IMO.
Ingredients
Before we get to the fun part, let’s get our toolkit ready.
You don’t need a ton of fancy gear, but a few key players will change your game. I’ve baked enough lopsided disasters to know what’s truly essential versus what’s just for the ‘gram.
- Your Favorite Baked & Cooled Cupcakes: Use a box mix or your go-to from-scratch recipe. Just make sure they are completely, 100% cool. I cannot stress this enough.
- American Buttercream Frosting: It’s the easiest for piping and holds its shape beautifully. You can find my foolproof buttercream recipe here.
- Gel Food Coloring: This is non-negotiable. Gel colors give you vibrant hues without thinning out your frosting like liquid dyes do.
- Piping Bags: Disposable are my best friend for easy cleanup. Reusable are great too if you’re feeling eco-chic.
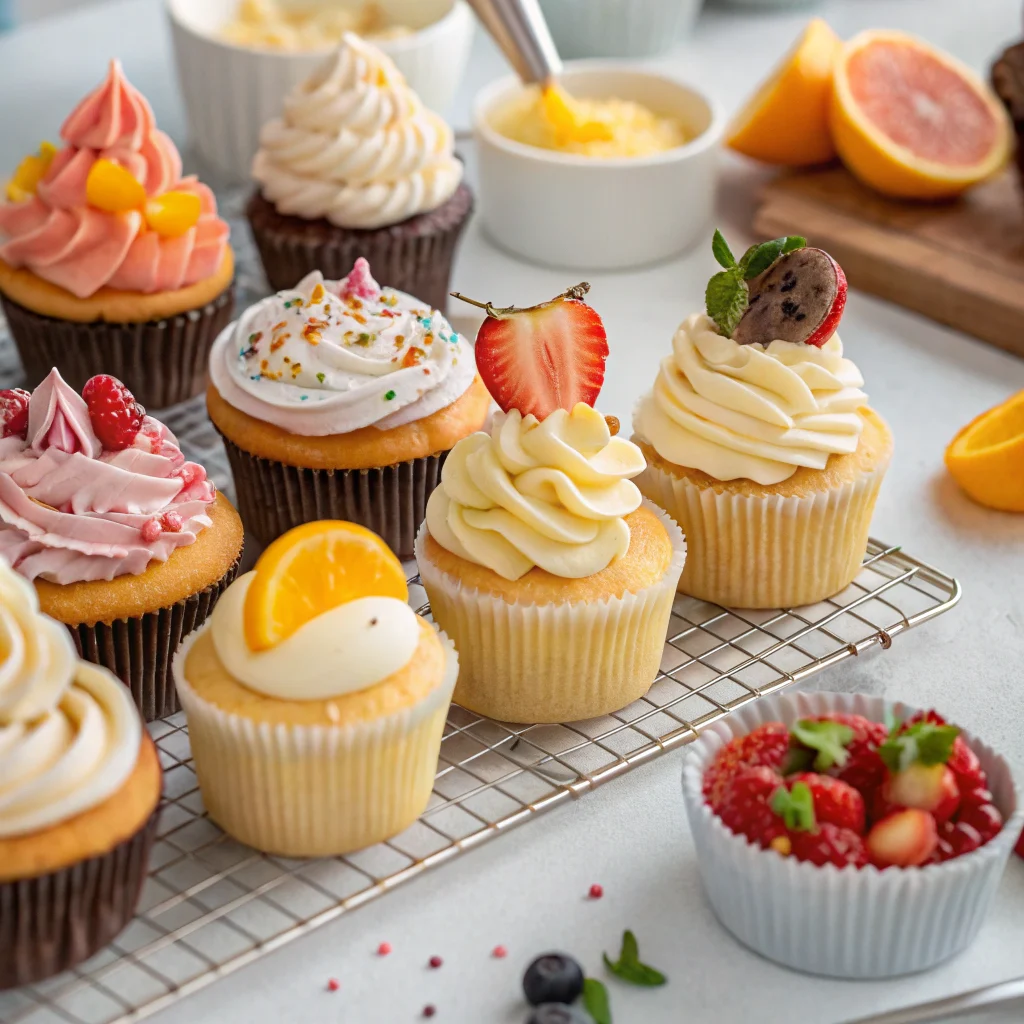
- Piping Tips: Start with a large round tip (1A), an open star tip (1M), and a closed star tip (2D). This trio can create 90% of the designs you see.
- Couplers: These little plastic pieces let you switch tips without changing the bag. A total game-changer for multi-design batches.
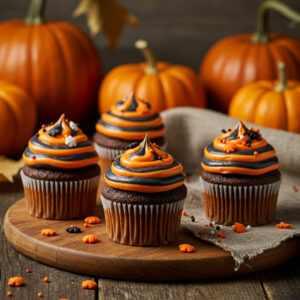
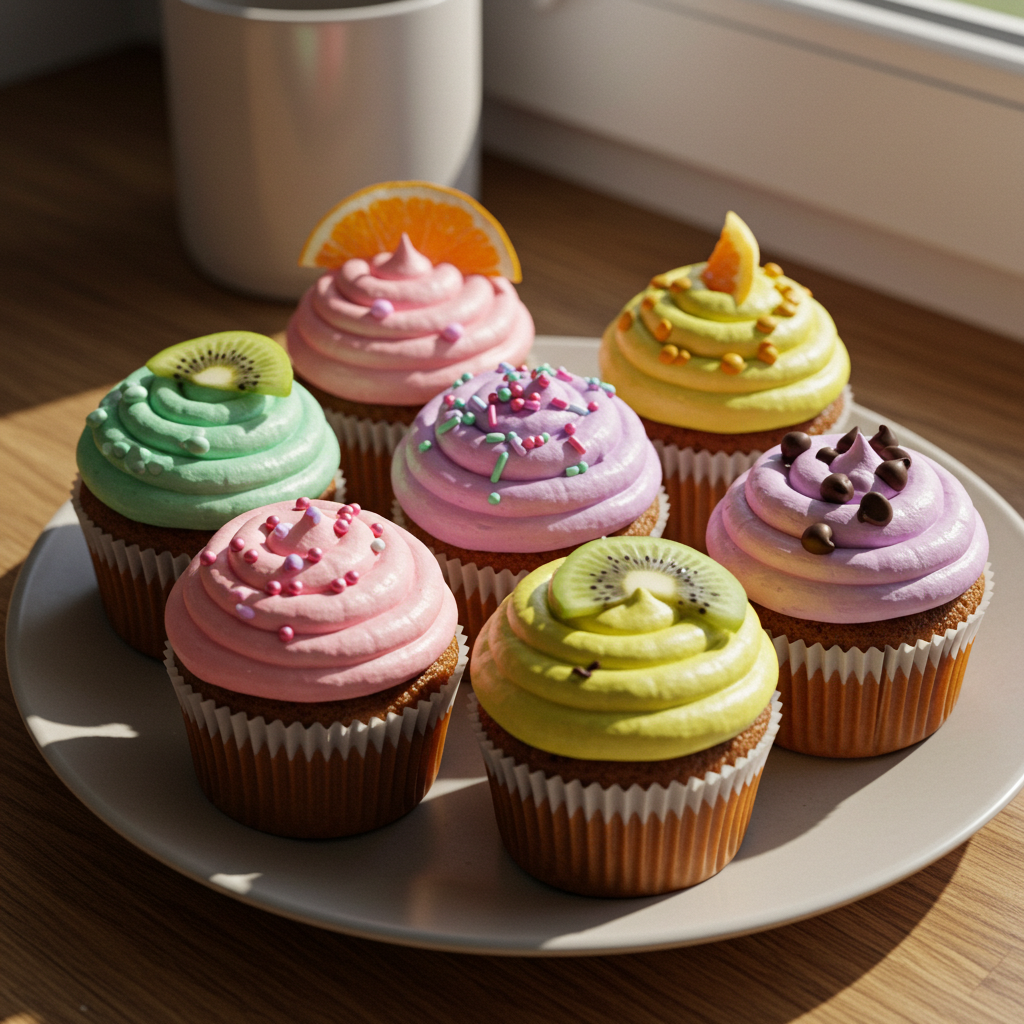
- Sprinkles, Edible Glitter, etc.: The fun stuff! This is where your personality shines.
Step-by-Step Instructions
- Prep your frosting station. Fit your piping bag with a coupler and your chosen tip. I always give the bag a slight twist and tuck it into a tall glass to keep it upright while I fill it. This prevents the “frosting explosion all over your hands” situation we all fear.
- Fill your piping bag like a pro. Spoon your buttercream into the bag, filling it no more than two-thirds full. Twist the top tightly to push the frosting down and eliminate air pockets. A well-loaded bag gives you so much more control.
- Master the basic swirl. Hold the bag perpendicular to the center of the cupcake. Apply steady pressure and pipe a spiral, starting from the outside and working inward, then pull up to create a peak. It’s that simple. Practice makes perfect, but even your first try will look intentional.
- Get creative with textures. Swap to a star tip for a classic rosette look. Pipe from the center out in a tight circle. Or, use a round tip for elegant dots. The key is consistent pressure for uniform shapes.
- Add your final flourishes immediately. Before the frosting crusts over, add your sprinkles, sanding sugar, or other decorations. This is the best part—go wild! For more advanced ideas, check out my guide on creative cupcake toppers.
Storage Instructions
Your beautiful creations need a good home. For short-term storage, an airtight container at room temperature is fine for 1-2 days. If your kitchen is warm, or if you used a frosting with dairy, pop them in the fridge.
They’ll keep there for up to 3 days. For long-term storage, freeze unfrosted cupcakes. Wrap them tightly in plastic wrap and foil; they’ll be good for up to 3 months.
Thaw overnight before decorating.
Why You’ll Love This How to decorate cupcakes
- It’s Surprisingly Therapeutic. The rhythmic motion of piping is a fantastic way to de-stress. It’s edible mindfulness.
- Instant Crowd-Pleaser. Nothing gets people as excited as a personalized, beautifully decorated treat. You will be the hero of any party.
- Unleashes Your Inner Artist. This is a low-stakes, high-reward creative outlet. You can experiment with colors and designs without any pressure.
Common Mistakes to Avoid
- Using warm cupcakes. Your frosting will melt into a sad, soupy puddle. A true tragedy.
- Overfilling the piping bag. This leads to blowouts and a sticky, frustrating mess. Less is more.
- Stiff, over-whipped frosting. It becomes impossible to pipe smoothly. If it’s too thick, add a teaspoon of milk or cream to loosen it.
- Skipping the crumb coat. For a super clean look on naked-style cakes, a thin crumb coat is your secret weapon. My perfect vanilla cake recipe is a great base for this.
Alternatives and Variations
This method is incredibly versatile. For a vegan version, use a plant-based butter and milk in your buttercream.
Gluten-free? Just swap in your favorite GF flour blend. You can also use Swiss meringue buttercream for a less sweet, silky-smooth frosting.
Feel free to flavor your frosting with citrus zest, espresso powder, or extracts like almond or coconut.
FAQs
Can I freeze decorated cupcakes?
You can, but the quality of the decorations might suffer. Sprinkles can bleed, and the frosting can get sticky upon thawing. I highly recommend freezing the cupcakes naked and decorating them after they’ve thawed.
What’s the best substitute for piping bags?
In a pinch, a heavy-duty Ziploc bag with a corner snipped off works.
It won’t give you the same precision, but it’s a decent backup for basic designs. FYI, it’s a messy business.
How long do decorated cupcakes stay fresh?
Buttercream-frosted cupcakes are best enjoyed within 2-3 days when stored in a cool, dry place. The cupcake itself will start to dry out after that.
Is this kid-friendly?
Absolutely!
This is a fantastic activity to do with kids. Give them their own bag of frosting and a pile of sprinkles. Embrace the beautiful, chaotic mess they create.
Can I prep it ahead of time?
Yes!
You can bake the cupcakes 1-2 days in advance and store them unfrosted. You can also make the buttercream ahead and keep it refrigerated; just let it come to room temperature and re-whip before using.
Final Thoughts
Decorating cupcakes should be fun, not frightening. With these simple steps, you have everything you need to create stunning treats.
The best part is making them your own. So grab a piping bag, embrace the sprinkles, and show off your new skills. I can’t wait to see what you create.
Tag me in your photos when you master how to decorate cupcakes!

Ben is a 41-year-old baking educator and former bakery owner from Kansas City, Missouri. With a culinary degree and years of hands-on experience, he specializes in teaching approachable, science-based baking. He once recreated a 17th-century cupcake recipe for a historical food documentary.