Table of Contents
I almost canceled my Halloween party last year. The reason? A Pinterest fail of epic proportions involving lopsided, weeping ghost cookies.
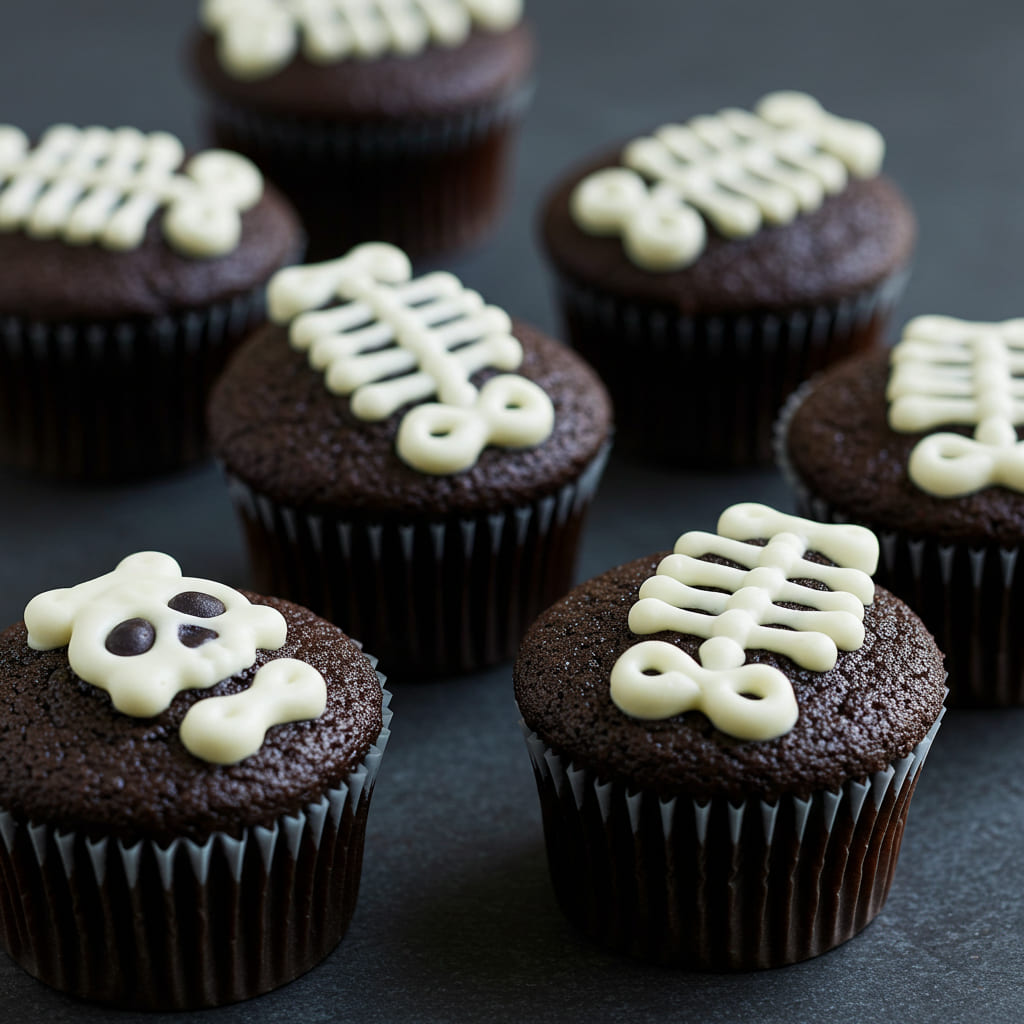
Then I discovered the glorious simplicity of skeleton cupcakes. These aren’t your average, fussy bakery project. They are the ultimate party savior, a deliciously spooky treat that looks like you spent hours, but secretly comes together with a few clever tricks.
Forget the stress. This is the only Halloween dessert recipe you need. I’m not just sharing a recipe; I’m handing you the keys to a stress-free, crowd-pleasing celebration.
Your guests will be obsessed.
What’s the secret sauce? It’s the perfect marriage of a super-moist, decadent chocolate base and a hilariously simple decorating hack. You get that deep, nostalgic chocolate flavor that satisfies the adults, paired with a fun, visual punch that the kids go crazy for.
Remember spending hours piping intricate spider webs? Yeah, me neither, because I value my sanity. These skeleton cupcakes deliver maximum impact with minimal effort.
Isn’t that the real magic of a great recipe?
Ingredients
Gathering your supplies is half the fun. The beauty here is in the simplicity. You likely have most of this in your pantry right now, which means you can whip these up on a whim.
The only “special” item is the skeleton decoration, which is easier to find than a quiet toddler on a sugar high.
- All-purpose flour: The trusty foundation.
- Granulated sugar: For the perfect sweetness.
- Unsweetened cocoa powder: Use a good quality one for a rich chocolate flavor.
- Baking soda & powder: Our leavening dream team for the perfect rise.
- Eggs: Room temperature is best for a smooth batter.
- Buttermilk: The secret weapon for an incredibly tender crumb.
- Vegetable oil: Keeps our spooky cakes moist for days.
- Vanilla extract: The flavor enhancer.
- Vanilla frosting: Store-bought is your friend here, no judgment.
- Plastic skeleton picks: The star of the show! Find them at any craft store.
Step-by-Step Instructions
- Preheat and prepare. Heat your oven to 350°F (175°C) and line a muffin tin with cupcake liners. I like black or orange for extra Halloween vibes.
- Combine the dry ingredients. In a large bowl, whisk together the flour, sugar, cocoa, baking soda, baking powder, and salt. A good whisk prevents lumps and ensures everything is evenly distributed for perfect skeleton cupcakes.
- Mix the wet ingredients. In another bowl, beat the eggs, buttermilk, oil, and vanilla until just combined. Don’t overmix here; we’re going for cohesion, not a tough batter.
- Bring it all together. Pour the wet ingredients into the dry and mix with a spatula until the batter is smooth. A few tiny lumps are fine, IMO. Overmixing is the enemy of a fluffy cupcake.
- Bake to perfection. Divide the batter evenly among the liners, filling each about 2/3 full. Bake for 18-20 minutes. The toothpick test is your best friend—it should come out clean.
- Cool completely. Let the cupcakes cool in the pan for 5 minutes, then transfer them to a wire rack. This is non-negotiable. Frosting a warm cupcake is a messy, melty disaster.
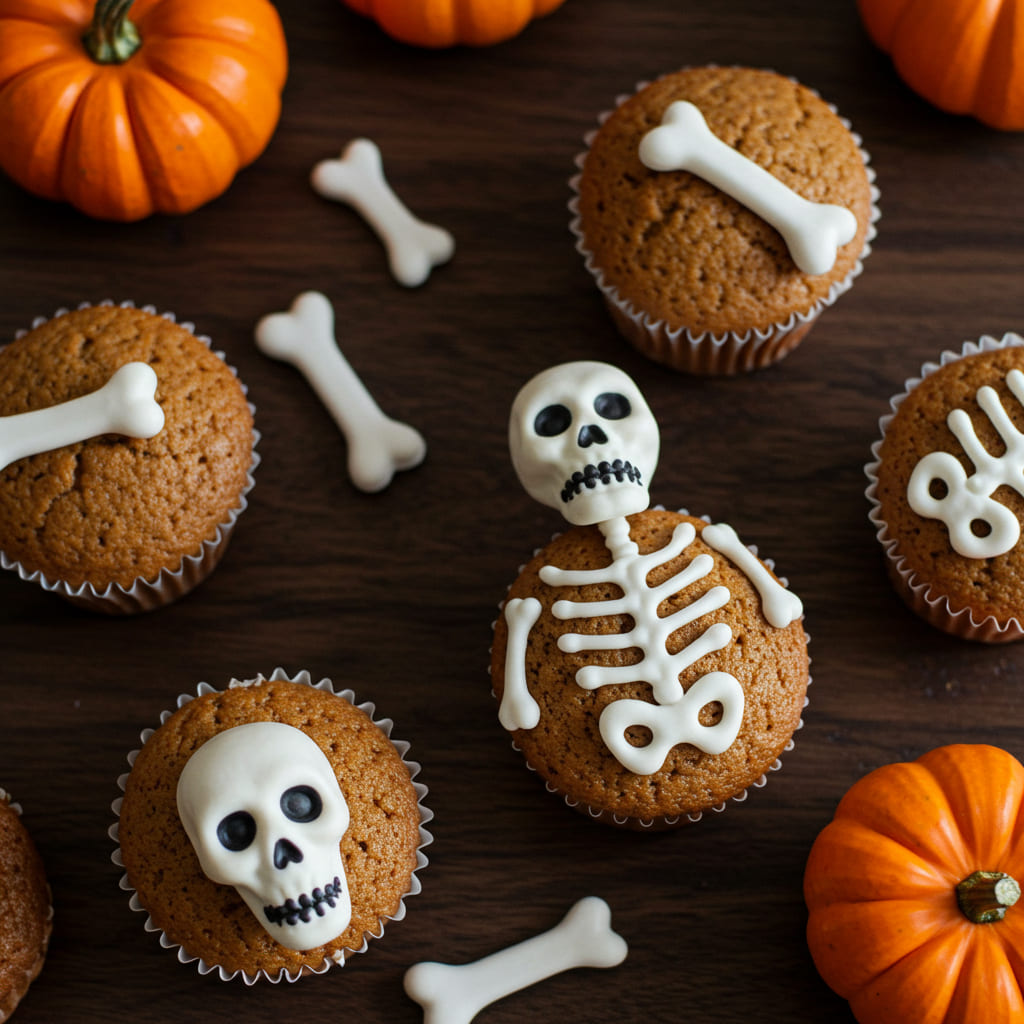
- Frost and decorate. Once completely cool, slather on a generous swirl of vanilla frosting. Then, simply press a plastic skeleton pick into the center of each one. Watch your simple cupcakes transform into a graveyard smash.
Storage Instructions
These skeleton cupcakes are almost too pretty to eat, but you’ll want to know how to keep them fresh. If you’re prepping ahead, here’s the scoop.
Store them in an airtight container at room temperature for up to 2 days. For longer storage, pop them in the fridge for up to 5 days. You can also freeze the unfrosted cupcakes for up to 3 months.
Thaw overnight and frost the day you plan to serve. FYI, the skeleton picks can be washed and reused for next year!
Why You’ll Love This Skeleton Cupcakes
- Major Crowd-Pleaser: From kids to grandparents, no one can resist these charmingly spooky treats. They are the life of any Halloween party.
- Impossibly Easy: This is a no-fuss, one-bowl batter situation. The decorating is literally a one-step process, saving you precious time and stress.
- Incredibly Versatile: The base recipe is a blank canvas. You can easily adapt the flavors or decorations to suit your theme, making it a go-to for years to come.
Common Mistakes to Avoid
- Overmixing the batter. This develops gluten and leads to dense, tough cupcakes. Mix until just combined, then walk away.
- Frosting warm cupcakes. Patience is a virtue. Your beautiful frosting will melt into a puddle of sadness if the cake is still warm.
- Using giant skeleton decorations. Keep it proportionate! A pick that’s too large will look awkward and be hard to eat.
- Skimping on the cocoa powder. This is your chance to use the good stuff. A weak chocolate flavor is a true Halloween horror.
Alternatives and Variations
Feel like mixing it up?
This recipe is wonderfully adaptable. For a chocolate-free version, simply replace the cocoa powder with an equal amount of flour and add an extra teaspoon of vanilla. To make them vegan, use your favorite plant-based milk mixed with a tablespoon of vinegar (for buttermilk), flax eggs, and vegan frosting.
You can even make gluten-free skeleton cupcakes by using a 1:1 gluten-free flour blend. For decoration, try piping white chocolate “bones” on top if you can’t find the picks.
FAQs
Can I freeze these skeleton cupcakes?
Absolutely! Freeze them without frosting in an airtight container for up to 3 months.
Thaw at room temperature and frost them fresh on the day you need them for the best texture and taste.
What’s the best substitute for buttermilk?
No buttermilk? No problem. Add 1 tablespoon of white vinegar or lemon juice to a liquid measuring cup, then fill it with milk to the 1-cup line.
Stir and let it sit for 5 minutes until it curdles. It works like a charm every single time.
How long do the skeleton cupcakes stay fresh?
When stored properly in an airtight container, they are at their peak for 2 days at room temperature. If your kitchen is warm, or you need them to last longer, store them in the fridge for up to 5 days.
Is this recipe kid-friendly?
Incredibly so!
Kids love helping with the simple steps like mixing the batter and, most importantly, placing the skeleton decorations. It’s a fantastic, easy baking project to do together. Just be mindful of the plastic picks with very young children.
Can I prep the skeleton cupcakes ahead of time?
You sure can.
Bake the cupcakes 1-2 days in advance and store them unfrosted. Frost and decorate the day of your event to ensure the frosting is fresh and the decorations look their best. It’s the ultimate party time-saver.
Final Thoughts
This recipe for skeleton cupcakes has genuinely changed my Halloween game.
It’s reliable, delicious, and so much fun. I hope it brings a little spooky joy and a lot of saved time to your kitchen. Now go make these, and become the Halloween hero you were always meant to be.
I’d love to see your creations—tag me or drop a comment below with your spooky masterpieces!

Lila is a 29-year-old baker and artist based in Asheville, North Carolina. Raised in a cozy, artsy family, she studied visual arts before falling in love with baking. Her signature? Seasonal cupcakes topped with edible flowers from her garden. She hosts backyard baking workshops during the solstices and equinoxes.