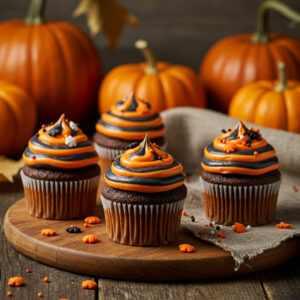
Table of Contents
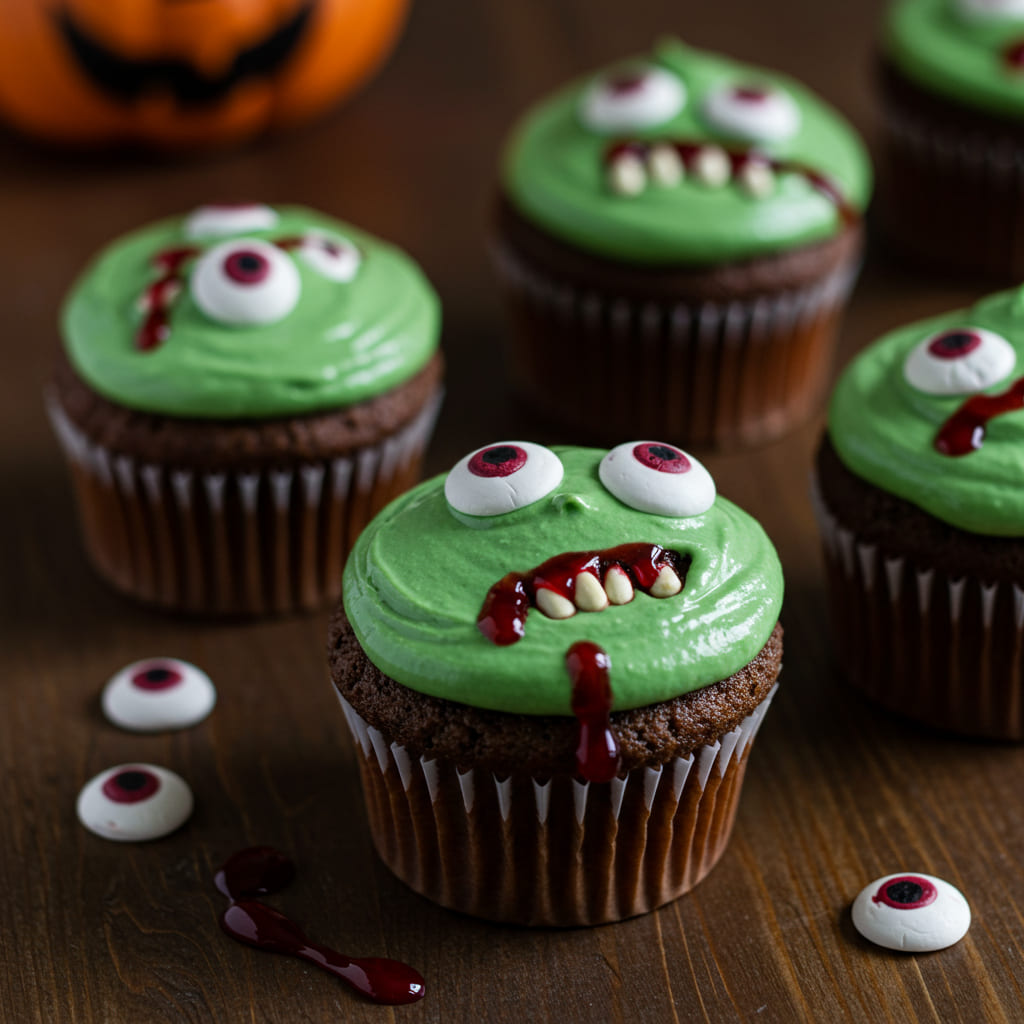
I used to think Halloween baking was a massive production. Then I discovered the secret weapon: zombie Halloween cupcakes. These aren’t your average, perfectly iced snoozefests.
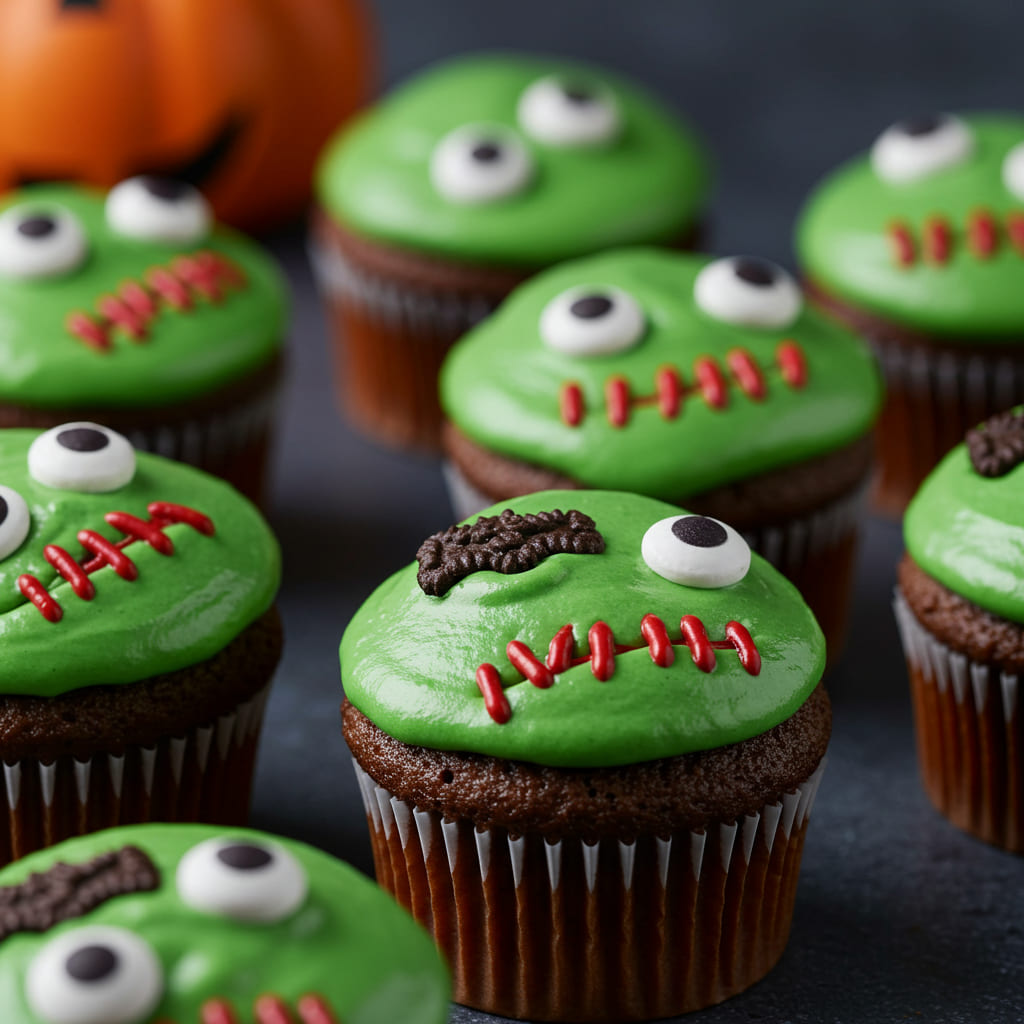
They’re gloriously messy, intentionally ugly, and the most fun you can have with a box of cake mix. Forget spending hours on piping bags. The goal here is to create a cupcake that looks like it crawled out of a grave.
The best part? They are stupidly easy. If you can smear frosting and throw some candy eyeballs, you’re already a pro.
This is the ultimate low-effort, high-reward Halloween dessert.
What’s the point of a cupcake that looks pristine when the holiday is all about the undead? The beauty of these zombie Halloween cupcakes is in their chaotic energy. They have so much personality.
One might look like it’s mid-groan, another like it’s losing its brain. I love that no two are ever the same. They spark conversation and genuine laughter.
Isn’t that better than a perfectly smooth buttercream rose? These little guys are a nostalgic nod to classic monster movies and a guaranteed crowd-pleaser. They taste like fun, and honestly, isn’t that the whole point?
Ingredients
I’m a firm believer in using shortcuts when they make sense.
For these ghoulish treats, a simple boxed chocolate cake mix is your best friend. It’s reliable, moist, and frees you up to focus on the fun part: the decorating. Here’s your shopping list for the ultimate undead party.
- 1 box chocolate cake mix (plus required eggs, oil, and water)
- 1 can vanilla frosting
- Green gel food coloring
- 1 tub of red decorating gel or strawberry syrup
- 1 bag of candy eyeballs
- Optional: Crumbled Oreo cookies for “dirt”
Step-by-Step Instructions
- Bake your cupcakes. Prepare the chocolate cake batter according to the box directions and bake as instructed for cupcakes. Let them cool completely. A warm cupcake plus frosting equals a puddle of sadness, and zombies hate puddles.
- Tint the frosting a gruesome green. Scoop the vanilla frosting into a bowl and add green gel food coloring. Gel is key here—it gives a vibrant color without thinning out your frosting. Mix until you achieve a suitably sickly shade.
- Slather on the zombie flesh. Forget fancy piping tips. Use a butter knife or an offset spatula to haphazardly spread the green frosting onto the cooled cupcakes. The messier and more uneven, the better. We’re going for a decomposed look.
- Add the gory details. This is where the magic happens. Dab the red decorating gel around the edges to look like wounds or oozing blood. Press candy eyeballs in at odd angles. For extra effect, sprinkle some crumbled Oreo “dirt” on top.
Storage Instructions
You can absolutely make these creepy creations ahead of time. Store them in a single layer in an airtight container at room temperature for up to 2 days.
For longer storage, pop them in the freezer. Freeze the undecorated cupcakes for up to 3 months and decorate after thawing. The frosted versions can be frozen for a week, but the eyeballs might get a little frostbitten. It’s a batch-prep dream for your Halloween party chaos.
Why You’ll Love This Zombie Halloween Cupcakes
- Maximum Fun, Minimum Effort: This is the opposite of a stressful baking project. It’s an activity that everyone, especially kids, can get involved in.
- The Ultimate Crowd-Pleaser: I’ve never seen these fail to get a reaction. They are the star of any Halloween spread, from school parties to adult gatherings.
- Forgiving and Customizable: Made a “mistake” with the frosting? Congrats, you just made your zombie look more realistic. You can’t mess these up.
Common Mistakes to Avoid
- Frosting warm cupcakes. You’ll create a melted swamp monster instead of a zombie. Patience is a virtue, even with the undead.
- Using liquid food coloring. This will turn your frosting into a runny, sad mess. Gel coloring is non-negotiable for vibrant, thick frosting.
- Being too neat and precise. IMO, the uglier, the better. Embrace the chaos and stop trying to make them look perfect.
Alternatives and Variations
This recipe is a fantastic base for experimentation. Need a gluten-free version? Use a gluten-free cake mix.
For vegan zombie Halloween cupcakes, use a vegan cake mix and frosting. You can even make them keto-friendly with a sugar-free cake base. Don’t have candy eyeballs?
Use white chocolate chips with a mini chocolate chip pressed in the center. Feel free to swap the chocolate cake for red velvet to get a deeper, blood-red crumb.
FAQs
Can I freeze these zombie Halloween cupcakes?
Absolutely! You can freeze them undecorated for the best results.
Just thaw and decorate when you’re ready to serve. Frosted ones can also be frozen, but the texture of the frosting might change slightly.
What’s the best substitute for candy eyebals?
No eyeballs, no problem. You can make your own with small marshmallows and a dot of edible marker or melted chocolate.
Mini M&Ms or even white sprinkles can work in a pinch for a more abstract zombie look.
How long do these Halloween treats stay fresh?
When stored properly in an airtight container, these cupcakes will stay fresh at room temperature for about 2 days. After that, the frosting might start to get a little crusty, but they’re still perfectly edible.
Is this recipe kid-friendly?
It’s incredibly kid-friendly! Decorating these is a fantastic activity for children.
They love applying the eyeballs and creating their own monster faces. It’s a great Halloween baking project for the whole family.
Can I prep these creepy cupcakes ahead of time?
Yes, and you should! Bake the cupcakes a day or two in advance.
You can even tint the frosting ahead of time. Then, the day of your event, just assemble them. It makes party day so much less stressful.
Final Thoughts
These zombie Halloween cupcakes are my go-to for a reason.
They are the perfect blend of spooky and silly, delicious and dead simple. I guarantee they will be the hit of your Halloween spread. Don’t overthink it.
Just bake, smear, and zombify. Give this recipe a try and let me know in the comments what spooky creations you come up with!

Lila is a 29-year-old baker and artist based in Asheville, North Carolina. Raised in a cozy, artsy family, she studied visual arts before falling in love with baking. Her signature? Seasonal cupcakes topped with edible flowers from her garden. She hosts backyard baking workshops during the solstices and equinoxes.