Brain Swirl Buttercream Method | Creepy Halloween Frosting
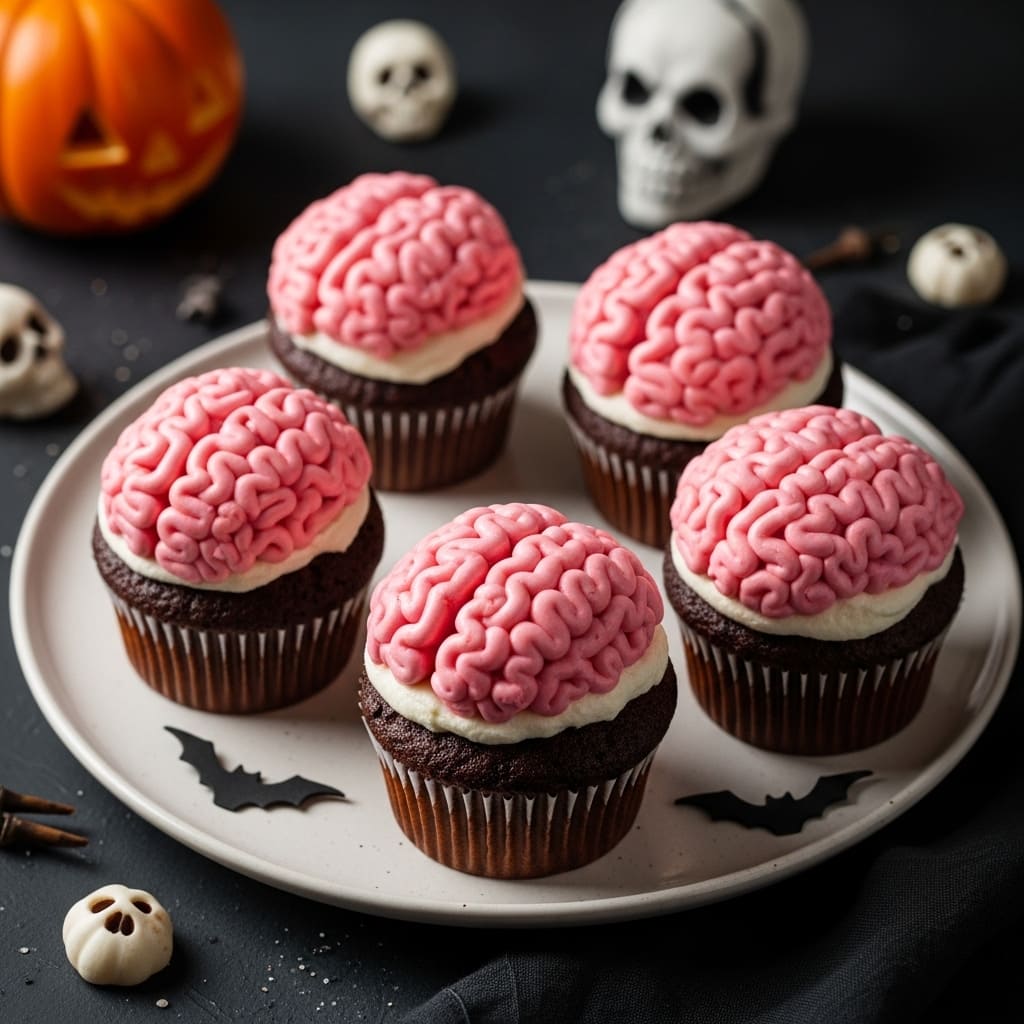
Table of Contents
I used to think buttercream was just… buttercream. Sweet, simple, and a little boring. Then I discovered the Brain Swirl Buttercream Method, and my entire baking worldview shattered.
This isn’t just frosting. It’s a textural revelation that makes your average spread look lazy. Forget everything you thought you knew about creaming butter and sugar.
This technique is the secret handshake of the baking elite, and I’m giving you the password. Your cupcakes will never be the same.
Have you ever bitten into a cupcake and the frosting was just… fine? It was sweet, it was there, but it didn’t sing.
The Brain Swirl Buttercream Method creates a frosting so light, so silky, and so impossibly smooth it feels like a cloud made a delicious, buttery mistake. It’s nostalgic, like the frosting from a fancy bakery you could never afford as a kid, but it’s criminally underrated in home kitchens. Why are we still settling for gritty or dense buttercream when this fluffy heaven exists?
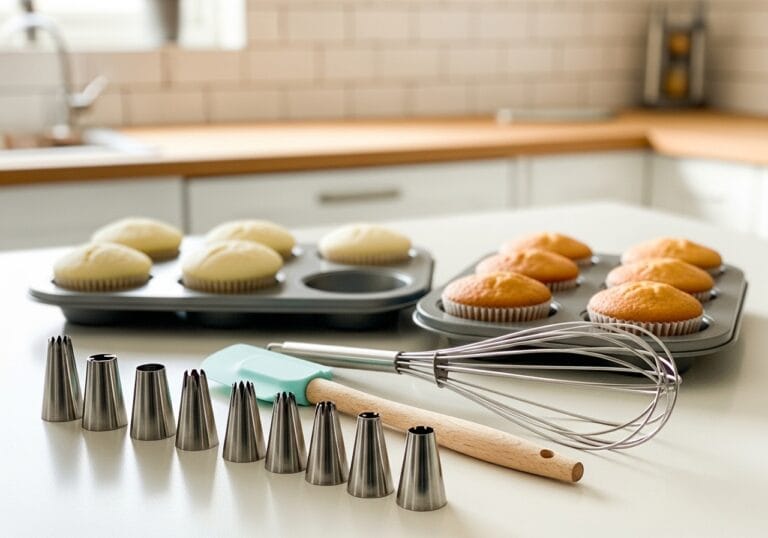
Ingredients
Gathering your ingredients is step one to buttercream bliss.
The beauty of this Brain Swirl Buttercream Method is its simplicity. You don’t need a pantry full of weird stuff, but quality matters here. Using room-temperature butter isn’t a suggestion; it’s the law.
- 4 sticks (2 cups) of high-quality unsalted butter, seriously room temperature
- 6 cups powdered sugar, sifted (don’t you dare skip the sifting)
- 2-3 tablespoons heavy cream or whole milk
- 1 tablespoon pure vanilla extract (imitation vanilla will know what it did)
- A generous pinch of fine sea salt
Step-by-Step Instructions
- Whip your butter into a frenzy. In the bowl of a stand mixer with the paddle attachment, beat the room-temperature butter on medium-high speed for a full 5 minutes. You’re not just mixing it; you’re aerating it until it’s pale, fluffy, and almost white. This is the foundation of the entire Brain Swirl Buttercream Method.
- Incorporate the sugar slowly. With the mixer on low, gradually add your sifted powdered sugar about one cup at a time. Let each addition fully incorporate before adding the next. This prevents a sugar snowstorm from engulfing your kitchen. I’ve learned that lesson so you don’t have to.
- Introduce the liquids and salt. Pour in the vanilla extract, a pinch of salt, and 2 tablespoons of heavy cream. Turn the mixer back up to medium-high and beat for another 3-4 minutes. Watch as the magic happens and the mixture transforms into a voluminous, dreamy cloud.
- Assess and adjust for perfection. Look at that texture! If it seems too thick, add the remaining tablespoon of cream, one teaspoon at a time, until it’s perfectly spreadable. Taste it. This is the best part of the job, IMO. You’ve just mastered the Brain Swirl Buttercream Method.
Storage Instructions
You might have leftovers, but I doubt it.
To keep your masterpiece fresh, an airtight container is your best friend. In the refrigerator, it will stay perfect for up to two weeks. For longer-term storage, you can freeze it for up to 3 months.
When you’re ready to use it, let it thaw overnight in the fridge and then re-whip it for a minute to bring back that signature fluffy texture. This makes it a fantastic candidate for batch prep before a big baking day.
Why You’ll Love This Brain Swirl Buttercream Method
- It’s a total crowd-pleaser. This frosting is so much smoother and less cloyingly sweet than traditional buttercream, making it a hit with both kids and adults.
- The texture is unmatched. The extended whipping time incorporates tons of air, giving you a light, almost mousse-like consistency that’s easy to pipe and even easier to eat with a spoon.
- It’s incredibly versatile. Once you have the base method down, you can create endless flavor variations, from chocolate to fruit purees. It’s the perfect base for elaborate cake designs.
Common Mistakes to Avoid
- Using cold butter. Your butter must be truly room temperature, or you’ll end up with a lumpy, curdled-looking mess. It should be soft to the touch.
- Adding all the sugar at once. This is a surefire way to get gritty buttercream and a kitchen covered in a fine layer of white powder. Patience is a virtue here.
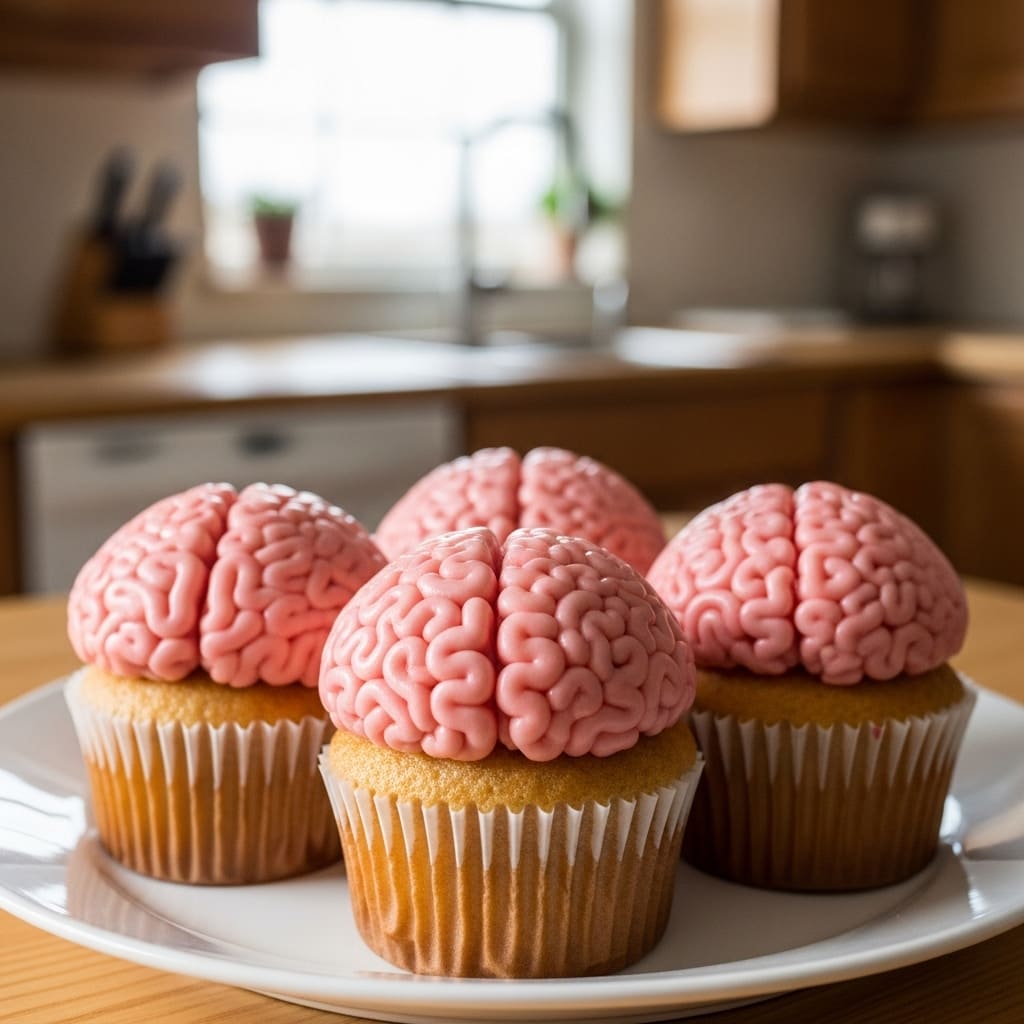
- Not whipping it long enough. The “swirl” in the Brain Swirl Buttercream Method comes from maximum aeration. Set a timer and walk away if you have to!
Alternatives and Variations
The basic Brain Swirl Buttercream Method is a blank canvas.
For a vegan version, use high-quality plant-based butter and a non-dairy cream. To make a chocolate version, add 3/4 cup of sifted cocoa powder with the powdered sugar. You can also incorporate fruit purees, espresso powder, or citrus zests.
For a sturdy wedding cake frosting, you can swap half the butter for high-ratio shortening, but the pure butter flavor is my favorite.
FAQs
Can I freeze this buttercream?
Absolutely! This frosting freezes beautifully for up to 3 months. Just ensure it’s in a sealed, airtight container.
Thaw it slowly in the refrigerator before re-whipping.
What’s the best substitute for heavy cream?
Whole milk works in a pinch, but the fat in heavy cream gives it a richer flavor and more stable structure. For a non-dairy option, full-fat coconut cream is an excellent substitute.
How long does it stay fresh?
When stored properly in the fridge, it will stay fresh and flavorful for up to two weeks. At room temperature, it’s safe for about 2 days, but it’s best enjoyed fresh.
Is this kid-friendly?
Are you kidding?
It’s basically sweet, fluffy clouds. Kids adore it because it’s not overly sweet and has a fantastic texture that’s easy to eat.
Can I prep it ahead of time?
Yes, and you should! Making it a day or two in advance allows the flavors to meld perfectly.
Just let it come to room temperature and give it a quick re-whip before using.
Final Thoughts
This technique genuinely changed my baking game. It’s simple, reliable, and produces a stunning result every single time. Once you try this Brain Swirl Buttercream Method, you’ll never go back to your old ways.
I’m not just being dramatic. Now, get into that kitchen and whip up a batch. Then come back and tell me all about your success in the comments!

Ben is a 41-year-old baking educator and former bakery owner from Kansas City, Missouri. With a culinary degree and years of hands-on experience, he specializes in teaching approachable, science-based baking. He once recreated a 17th-century cupcake recipe for a historical food documentary.