Bloody Drip Frosting Technique | Spooky Cupcake Decoration
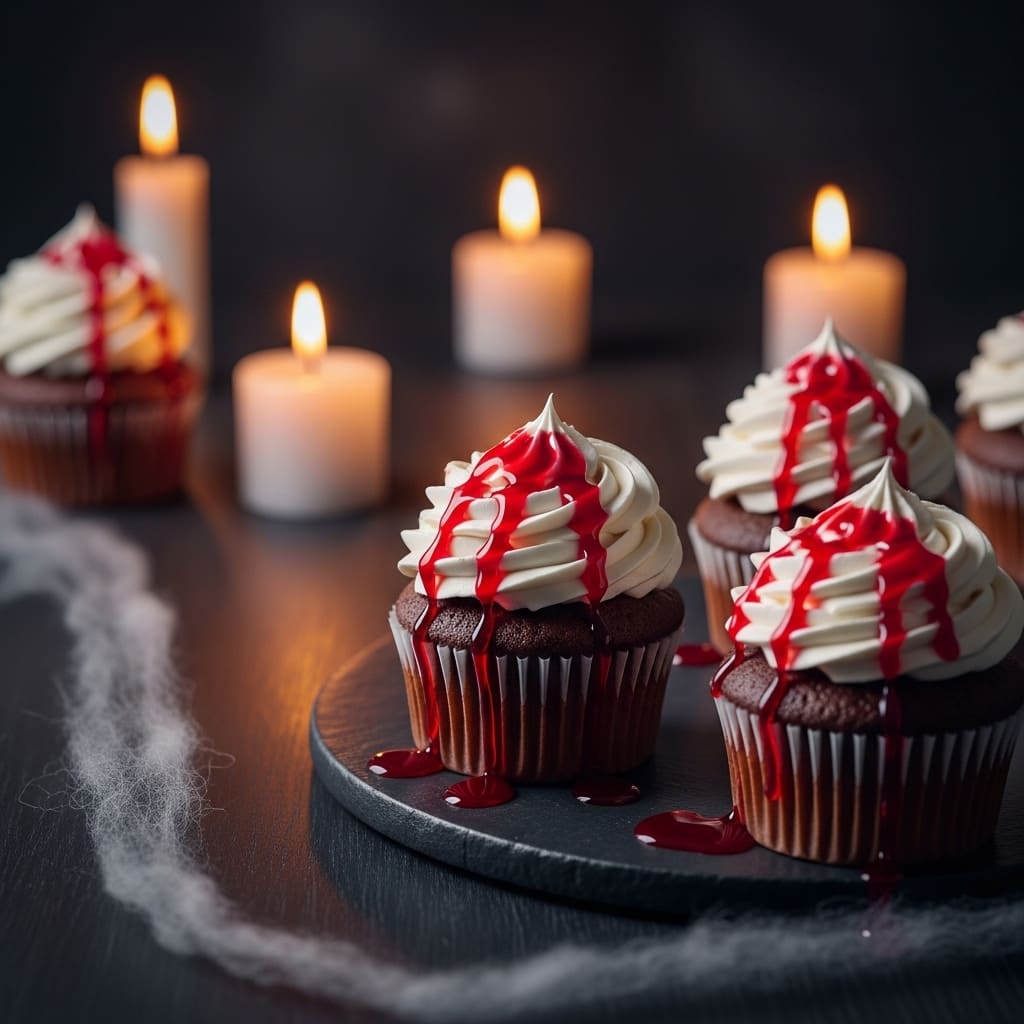
Table of Contents
I used to think drip cakes were for professional bakers with fancy tools and endless patience. Then I discovered the Bloody Drip Frosting Technique, and my entire dessert life changed. This isn’t just another recipe; it’s a game-changer for anyone who’s ever stared at a naked cake and cried a little inside.
The method is so stupidly simple, you’ll wonder why you ever paid $50 for a specialty cake. Forget perfection. We’re going for delicious, dramatic, and downright fun.
Let’s make a mess and call it art.
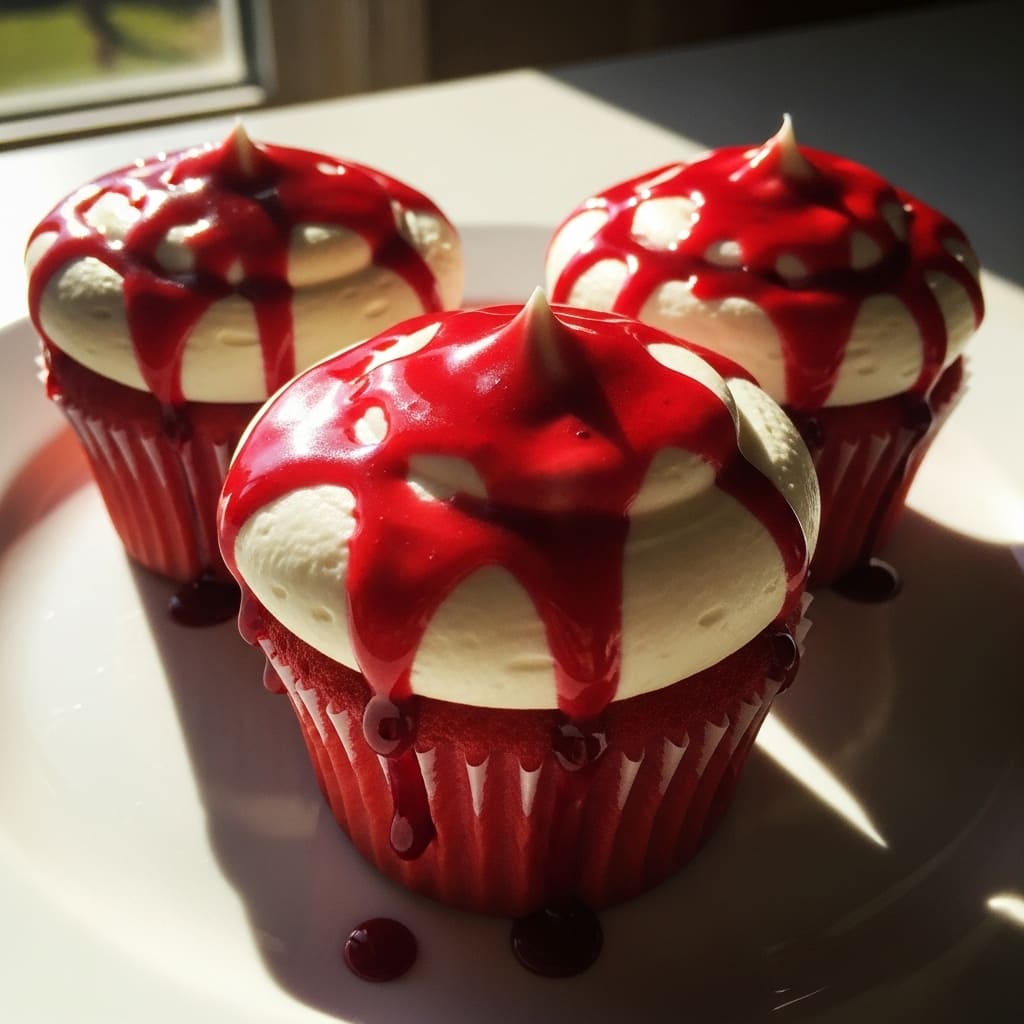
What I love about this Bloody Drip Frosting Technique is its beautiful chaos. It looks like you fussed for hours, but the secret is in the controlled pour. It’s nostalgic, reminding me of melted ice cream sundaes, but with a sophisticated edge.
Have you ever seen a cake that made your guests go completely silent? That’s the power of a perfect drip. It’s the ultimate crowd-pleaser that requires minimal chef-pleasing effort.
This method is the culinary equivalent of a magic trick.
Ingredients
Gathering your supplies is the first step to drippy glory. You don’t need anything wild, but I do have one quirky, non-negotiable item. Trust me on this; it makes all the difference for that signature Bloody Drip Frosting Technique texture.
- 1 cup high-quality white chocolate chips
- 1/2 cup heavy cream
- Gel-based food coloring (I prefer a deep red for that “bloody” vibe)
- 1 pre-baked and chilled cake (any flavor you like!)
- A crumb coat of buttercream or your favorite frosting
- A squeeze bottle (This is the quirky hero—no brushes or spoons needed!)
Step-by-Step Instructions
- Chill your cake thoroughly. A cold cake is your best friend here, as it helps the drip set quickly and cleanly. I’m talking at least an hour in the fridge, no cheating.
- Create your ganache. Heat the heavy cream until it’s just simmering, then pour it over your white chocolate chips. Let it sit for a minute before whisking into a smooth, glorious pool. This is the base of your Bloody Drip Frosting Technique.
- Color and cool the mixture. Stir in your gel food coloring until you achieve that perfect bloody hue. Let the ganache cool to room temperature; if it’s too hot, you’ll melt your crumb coat and have a puddle, not a drip.
- Transfer to your squeeze bottle. This gives you pinpoint control. You’re the artist, and this is your paint. Test the consistency on the side of your bowl—it should ribbon off your spoon.
- Execute the drip. Starting at the edge of your chilled cake, gently squeeze and guide the bottle to create drips of varying lengths. Work your way around the cake for a natural, organic look. Fill in the top with the remaining ganache and spread it smooth.
Storage Instructions
This cake stores beautifully, so you can be a prepare-ahead legend. For the fridge, cover it well with a cake dome or plastic wrap. It will stay fresh for up to 5 days.
For longer-term storage, you can freeze the entire decorated cake. Wrap it tightly in a few layers of plastic wrap and foil; it will keep for up to 3 months. Thaw overnight in the refrigerator for the best texture.
Why You’ll Love This Bloody Drip Frosting Technique
- It’s a Massive Time-Saver: This method is exponentially faster than trying to pipe intricate borders or achieve a flawless smooth finish. You get maximum visual impact with minimal effort.
- It’s a Certified Crowd-Pleaser: Whether it’s for a Halloween party or a dramatic birthday cake, this design always gets a reaction. It’s the centerpiece of any dessert table.
- It’s Forgiving and Fun: Unlike some complicated cake decorating methods, no two drips are the same. Embrace the imperfections—they add character and charm.
Common Mistakes to Avoid
- Using a runny ganache. You’ll end up with a sad, shiny puddle at the base of your cake. Let it cool, for the love of all that is holy.
- Skipping the crumb coat. The drip needs a smooth, sealed surface to glide over. Otherwise, you’ll get crumbs in your beautiful red glaze. Just don’t.
- Dripping onto a warm cake. The heat will melt the frosting and your drip will disappear. Patience is a virtue, especially in cake decorating.
Alternatives and Variations
The beauty of this Bloody Drip Frosting Technique is its versatility. For a vegan version, use vegan white chocolate and full-fat coconut cream. You can easily make it keto by using sugar-free chocolate chips.
Feel free to experiment with different colors and flavors—a dark chocolate ganache with orange coloring is perfect for autumn. The core technique remains the same, making it a fantastic foundational baking skill to master.
FAQs
Can I freeze this?
Absolutely! The decorated cake freezes exceptionally well.
Just make sure it’s wrapped tightly to prevent freezer burn. The drip will hold its shape perfectly upon thawing.
What’s the best substitute for heavy cream?
Full-fat coconut cream is the best 1:1 substitute. It provides the same richness and fat content needed to create a smooth, pourable ganache that sets correctly.
How long does it stay fresh?
When stored properly in the refrigerator, a cake with this frosting will stay fresh and delicious for up to 5 days.
The ganache acts as a protective seal.
Is this kid-friendly?
It’s a huge hit with kids! You can adjust the color to be less “bloody” and more fun, like a bright blue or pink. They love the dramatic, drippy effect.
Can I prep it ahead of time?
Yes, and I highly recommend it.
You can make the ganache up to two days in advance. Store it in an airtight container in the fridge and gently re-warm it before using to get back to the perfect dripping consistency.
Final Thoughts
Mastering this Bloody Drip Frosting Technique will elevate your baking game instantly. It’s the perfect blend of simplicity and stunning results.
I promise, once you try it, you’ll want to put a drip on every cake you make. Give it a shot and tell me in the comments what dramatic creation you come up with!

Ben is a 41-year-old baking educator and former bakery owner from Kansas City, Missouri. With a culinary degree and years of hands-on experience, he specializes in teaching approachable, science-based baking. He once recreated a 17th-century cupcake recipe for a historical food documentary.