Ghost Whip Frosting Tutorial | Cute Halloween Frosting Idea
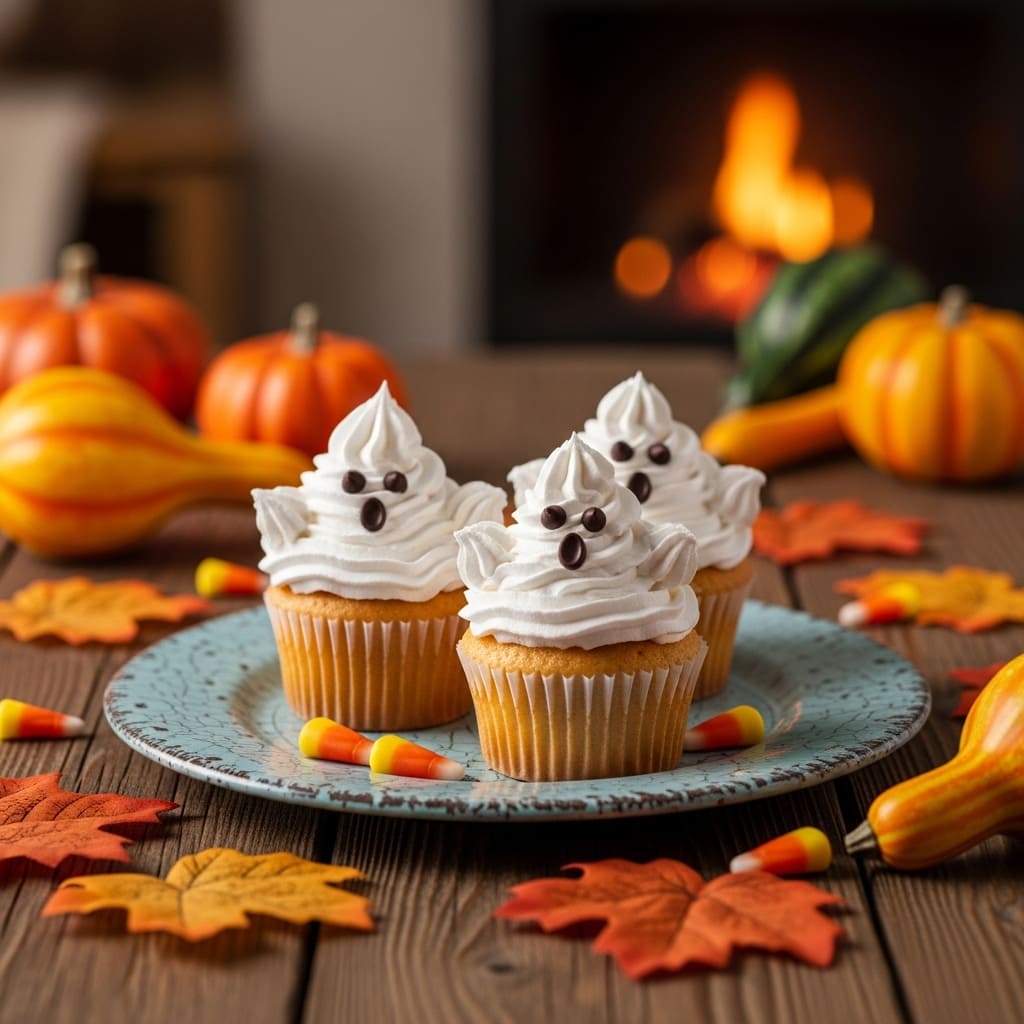
Table of Contents
I’ve tried every frosting under the sun. Most are either too sweet, too heavy, or just… boring. Then I discovered the magic of this Ghost Whip Frosting Tutorial.
It’s the fluffy, cloud-like, not-too-sweet frosting of your dreams. It holds its shape like a champ and doesn’t wilt under pressure. Seriously, it’s a game-changer.
This Ghost Whip Frosting Tutorial is the only one you’ll ever need. Your cupcakes will thank you, and so will your taste buds. Let’s get to it.
Remember that whipped frosting from the grocery store bakery you loved as a kid?
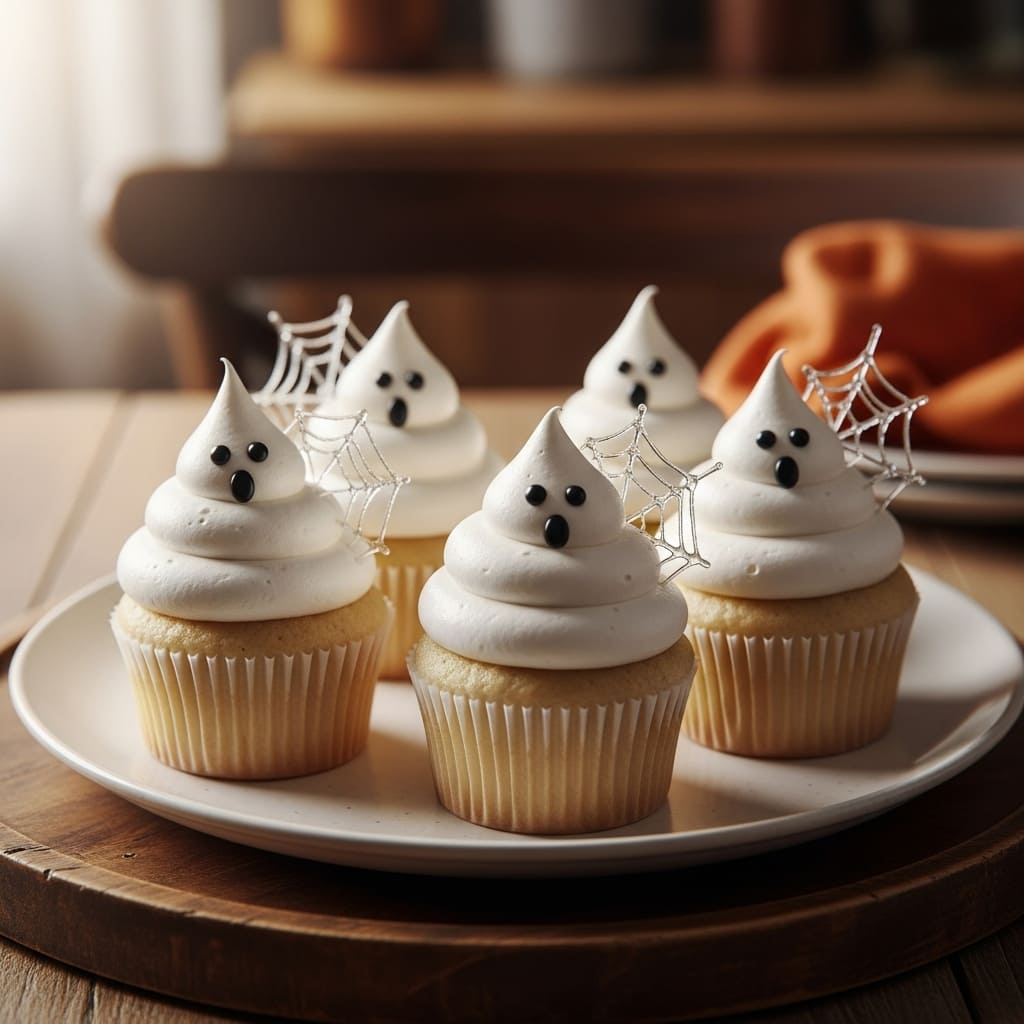
This is that, but better. It’s nostalgic, but it doesn’t taste like pure sugar. The texture is impossibly light, yet it pipes beautifully.
Have you ever had a frosting that just melts in your mouth? That’s the goal here. I’ve spent years perfecting this Ghost Whip Frosting Tutorial to achieve that perfect balance.
It’s the underrated hero of the frosting world, and it’s about to become your signature move.
Ingredients
Gathering your ingredients is the first step to frosting bliss. You don’t need anything crazy, but quality matters here. Using a high-quality vanilla makes a world of difference.
Here’s what you’ll need to make this magical fluff.
- 1 cup of cold heavy whipping cream
- 1 (7 oz) jar of Marshmallow Fluff
- 1 teaspoon of high-quality vanilla extract
- A pinch of fine sea salt (trust me on this)
Step-by-Step Instructions
- Chill your bowl and beaters. This is the non-negotiable first step. I pop my metal bowl and whisk attachment in the freezer for 15 minutes. A cold start is the secret to maximum volume and perfect peaks.
- Whip the heavy cream. Pour the cold cream into your chilled bowl and whip on medium-high speed. Stop when you have soft peaks. You want it thickened but not buttery. We’re going for cloud, not butter.
- Fold in the Fluff and vanilla. Gently add the Marshmallow Fluff, vanilla, and that pinch of salt. Use a spatula and fold gently until just combined. Overmixing is the enemy of fluffiness, so be kind.
- Finish whipping to stiff peaks. Now, return the bowl to the mixer and whip on high for just 30-60 seconds. Watch it transform into a glorious, stiff, and pipeable frosting. You’ve just made ghost whip.
Storage Instructions
You might have leftovers, but I doubt it. If you do, store it in an airtight container in the fridge.
It will stay perfect for up to 3 days. For longer storage, you can freeze it. Scoop it into a freezer bag for up to 1 month.
Thaw it overnight in the fridge before re-whipping it for a few seconds to bring back its texture.
Why You’ll Love This Ghost Whip Frosting Tutorial
- It’s Incredibly Fast: From zero to frosted cupcakes in under 10 minutes. It’s a lifesaver for last-minute desserts.
- Universal Crowd-Pleaser: Kids and adults alike go crazy for its light, not-too-sweet flavor profile.
- Foolproof Texture: It’s virtually impossible to over-whip once the Fluff is incorporated, making it perfect for beginners.
Common Mistakes to Avoid
- Using room temperature cream. Your frosting will be a sad, soupy puddle. Cold is key.
- Dumping all the Fluff in at once. This makes folding a messy, difficult job. Add it in two parts.
- Skipping the salt. It balances the sweetness and makes the vanilla pop. Don’t you dare leave it out.
Alternatives and Variations
This Ghost Whip Frosting Tutorial is wonderfully adaptable. For a vegan version, use chilled coconut cream and vegan marshmallow fluff.
Want a different flavor? Swap the vanilla for almond extract or fold in a tablespoon of unsweetened cocoa powder. You can even add a drop of food gel for a pop of color.
It’s naturally gluten-free, making it a safe bet for almost any crowd.
FAQs
Can I freeze this frosting?
Absolutely! Freeze it in an airtight container for up to a month. Thaw in the fridge and give it a quick re-whip before using.
What’s the best substitute for Marshmallow Fluff?
If you can’t find Fluff, you can make a simple Swiss meringue with egg whites and sugar.
But honestly, the Fluff is what makes this Ghost Whip Frosting Tutorial so uniquely easy and stable.
How long does it stay fresh?
It keeps its perfect texture in the fridge for 3 days. After that, it may start to weep a little and lose some volume.
Is this kid-friendly?
Is the sky blue? Kids absolutely devour this frosting.
It’s less sugary than buttercream, so it’s a win for parents, too.
Can I prep it ahead of time?
Yes, it’s a fantastic make-ahead option. Whip it up, store it in the fridge, and it will be ready for your next baking project whenever you are.
Final Thoughts
This Ghost Whip Frosting Tutorial has genuinely changed my baking game. It’s simple, reliable, and always gets rave reviews.
I hope this becomes your go-to frosting for every cake and cupcake. Give this Ghost Whip Frosting Tutorial a try and tell me what you think in the comments below. Now go forth and frost something amazing!

Ben is a 41-year-old baking educator and former bakery owner from Kansas City, Missouri. With a culinary degree and years of hands-on experience, he specializes in teaching approachable, science-based baking. He once recreated a 17th-century cupcake recipe for a historical food documentary.


2 Comments