Fluffy & Delicious Gluten Free Cupcakes – Easy Homemade Recipe
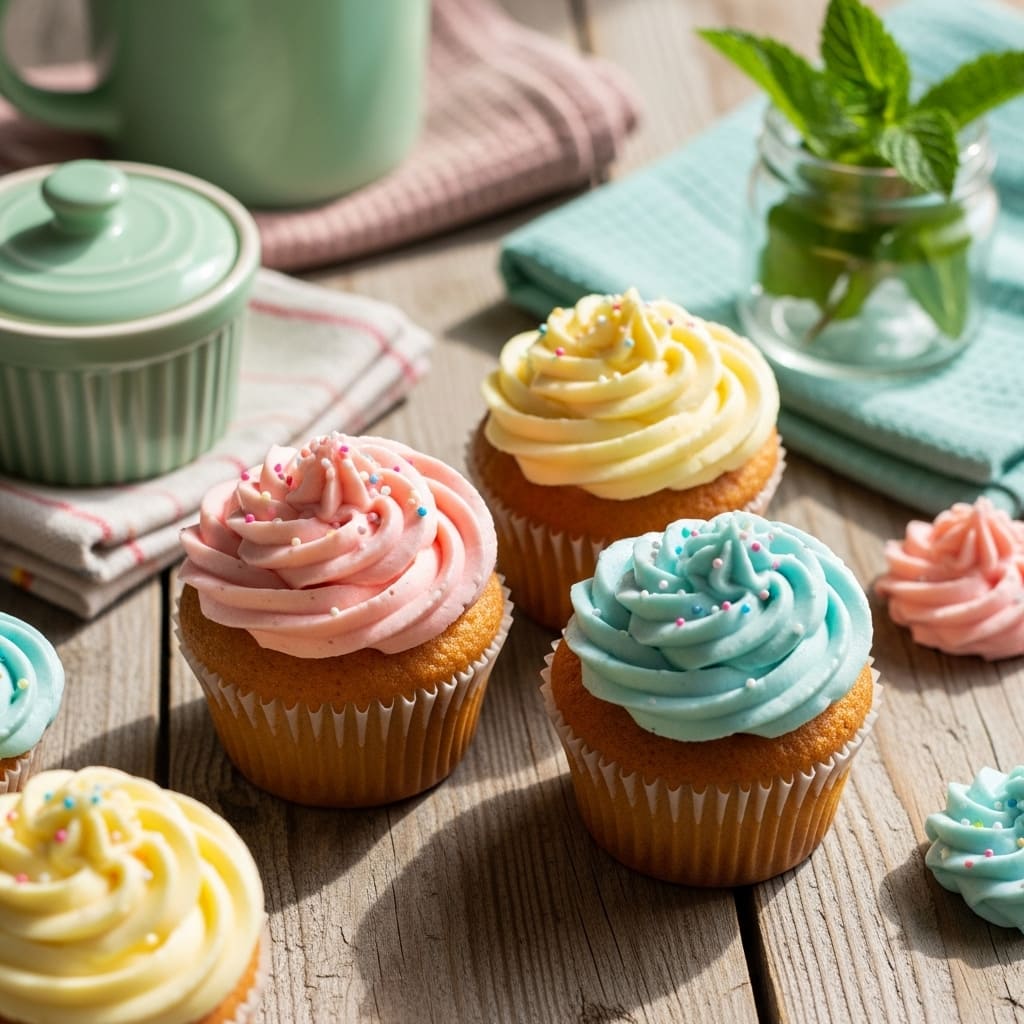
Table of Contents
I used to think gluten free cupcakes were the culinary equivalent of cardboard. Dry, crumbly, and deeply sad. Then I cracked the code.
This isn’t just another recipe; it’s a declaration of war against every mediocre, sawdust-like cupcake you’ve ever forced a smile over. I’m handing you the blueprint for cupcakes so moist, so fluffy, and so decadent, no one will believe they’re gluten-free. Your dessert game is officially upgraded.
Forget everything you thought you knew.
What’s the secret? It’s not magic, it’s methodology. We’re ditching the dense, gritty textures by using a specific blend of gluten free flours that mimics the soft, tender crumb of traditional cake.
Remember that sinking feeling when your cupcake collapses in the middle? Yeah, we’ve eliminated that. These cupcakes have a perfect dome, a melt-in-your-mouth texture, and a flavor that actually tastes like celebration, not compromise.
Why should anyone have to settle for less?
Ingredients
Gathering the right ingredients is half the battle won. I’ve tested countless combinations, and this specific mix is the holy grail for texture and taste. Trust me on the blend; it makes all the difference between a good cupcake and a legendary one.
- 1 ½ cups (210g) high-quality gluten free flour blend (I use Bob’s Red Mill 1-to-1)
- 1 cup (200g) granulated sugar
- 1 ½ tsp baking powder
- ½ tsp baking soda
- ½ tsp salt
- 2 large eggs, at room temperature
- ½ cup (120ml) neutral oil (avocado or vegetable)
- 1 cup (240ml) full-fat plain yogurt or buttermilk
- 2 tsp pure vanilla extract
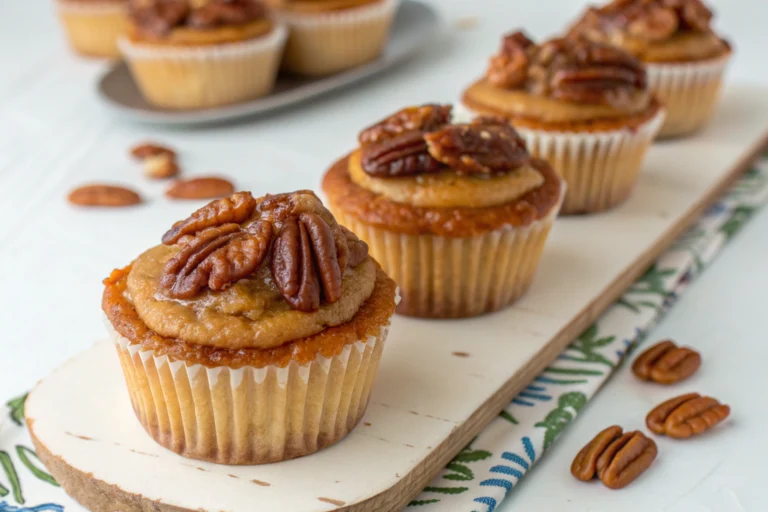
- Your favorite gluten free frosting
Step-by-Step Instructions
- Preheat your oven and prepare your pan. Get that oven to 350°F (175°C) and line a muffin tin with cupcake liners. This isn’t the time for guessing games.
- Whisk your dry ingredients. In a medium bowl, whisk together the gluten free flour blend, sugar, baking powder, baking soda, and salt. A good whisking prevents clumps and ensures a uniform rise.
- Combine your wet ingredients. In a separate, larger bowl, whisk the eggs, oil, yogurt, and vanilla until they’re smooth and perfectly emulsified. Don’t over-mix here; just combine them.
- Gently marry the wet and dry. Slowly add the dry ingredients to the wet ingredients, folding with a spatula until just combined. A few streaks of flour are fine! Overmixing is the enemy of a tender crumb.
- Bake to perfection. Divide the batter evenly among the liners, filling each about ⅔ full. Bake for 18-22 minutes, or until a toothpick inserted comes out clean. Let them cool completely before you even think about frosting.
Storage Instructions
To keep your creations fresh, store them in an airtight container at room temperature for up to 2 days.
For longer storage, they freeze like a dream. Place them in a single layer on a baking sheet to freeze solid, then transfer to a freezer bag. They’ll last for up to 3 months.
Thaw at room temperature whenever a cupcake craving strikes. IMO, always make a double batch.
Why You’ll Love This gluten free cupcakes
- Unbeatable Texture: Say goodbye to grittiness. These are impossibly soft and moist, rivaling any traditional cupcake.
- Total Crowd-Pleaser: They are so good, you don’t even need to announce they’re gluten-free. Picky eaters and foodies alike will be begging for the recipe.
- Surprisingly Simple: No fancy techniques are required. It’s a straightforward, one-bowl-ish method that comes together in minutes.
Common Mistakes to Avoid
- Using the wrong flour blend. Not all gluten free flours are created equal. Stick to a trusted 1:1 baking blend for best results. This isn’t the place for experimentation.
- Overmixing the batter. This develops too much starch and leads to a tough, dense cupcake. Fold gently until just combined. Walk away from the spatula.
- Frosting warm cupcakes. Patience is a virtue. If you frost them warm, you’ll get a melty, sad mess. Let them cool completely, no cheating.
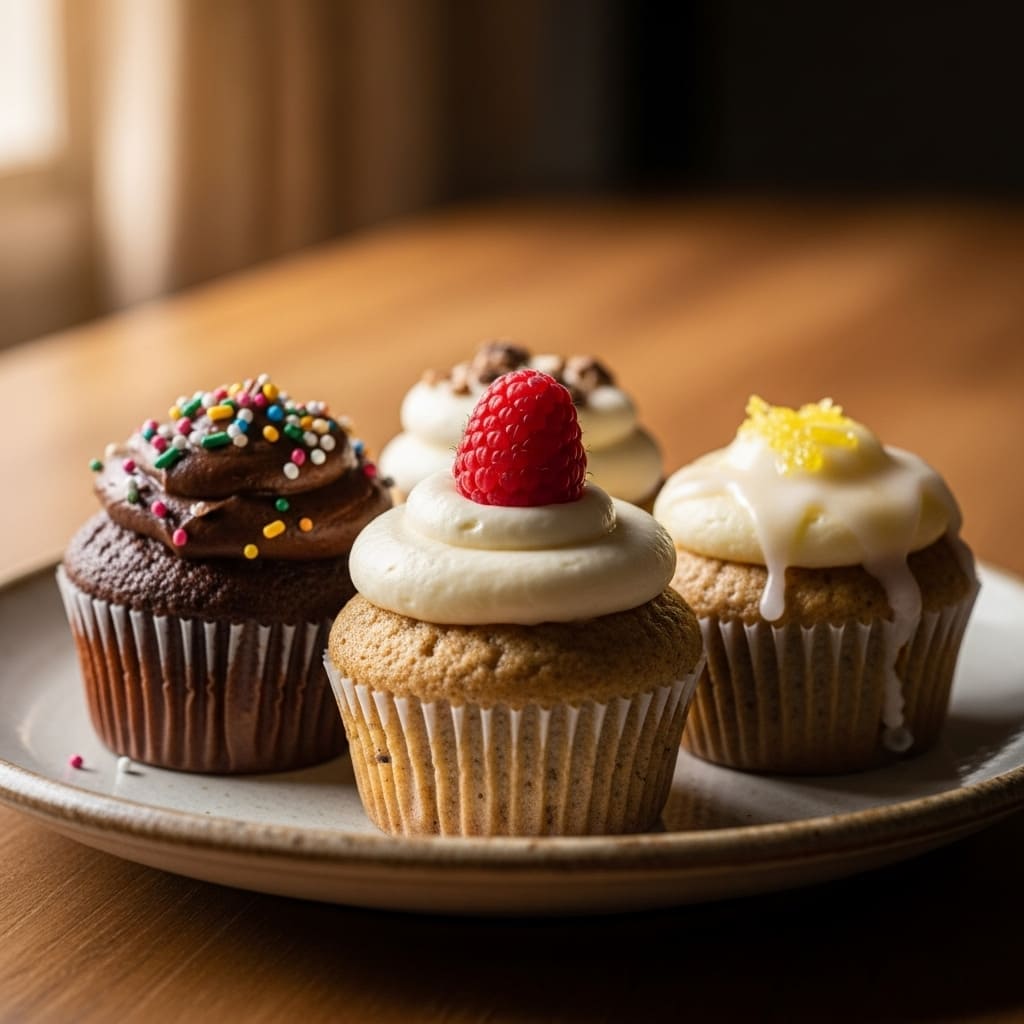
Alternatives and Variations
This recipe is your new best friend because it’s incredibly adaptable. To make it dairy-free, simply swap the yogurt for a plant-based alternative like coconut yogurt.
For a vegan version, use flax eggs and dairy-free yogurt. Feel like chocolate? Replace ¼ cup of the flour blend with cocoa powder for the most amazing chocolate gluten free cupcakes.
You can even add sprinkles or zest to the batter for a fun twist.
FAQs
Can I freeze this?
Absolutely! These gluten free cupcakes freeze exceptionally well without the frosting. Follow the storage instructions above, and you’ll have a ready-made dessert on hand for months.
Frost after thawing.
What’s the best substitute for yogurt?
If you don’t have yogurt, an equal amount of sour cream works beautifully. For a dairy-free swap, use plain, unsweetened almond or coconut yogurt. The acidity is key for tenderness.
How long does it stay fresh?
When stored properly in an airtight container, these cupcakes are at their peak for 2 days at room temperature.
After that, I highly recommend freezing them to maintain that perfect, just-baked moisture.
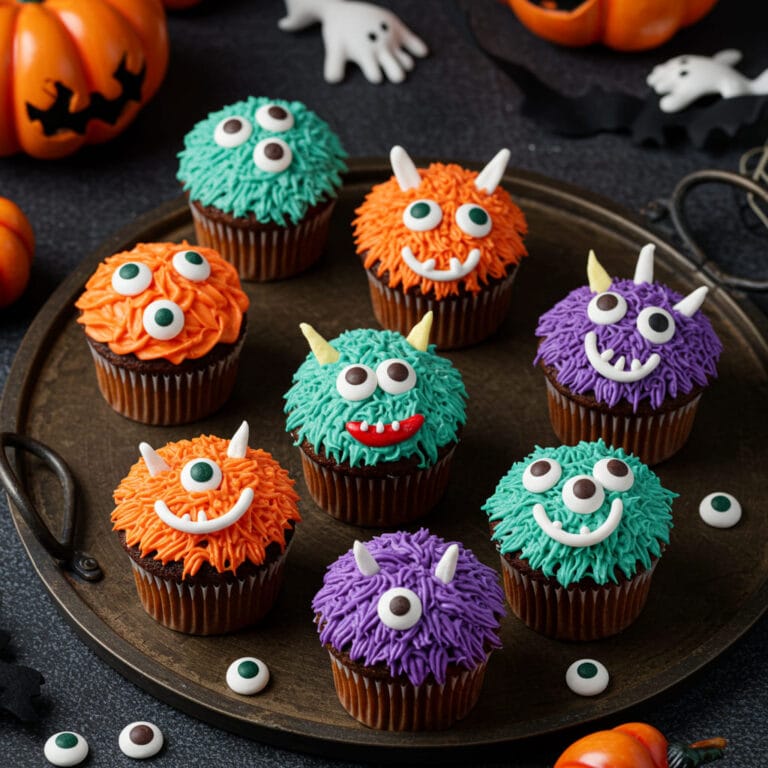
Is this kid-friendly?
Are you kidding? These are the ultimate kid-friendly treat. They are perfect for birthday parties, school events (check school policies), or just a fun after-school snack.
They’re a guaranteed hit.
Can I prep it ahead of time?
Yes, and you should! The batter can be made, portioned into the liners, covered, and refrigerated for up to 24 hours before baking. Just add a couple of extra minutes to the bake time since you’re starting from a cold state.
It’s a huge time-saver for parties.
Final Thoughts
This recipe has completely changed my perspective on gluten-free baking. It proves that with the right approach, you can create desserts that are inclusive without any sacrifice on flavor or texture. These truly are the best gluten free cupcakes you’ll ever make.
I’m so confident you’ll love them. Tag me on social when you make them—I want to see your beautiful creations!

Sophie is a 33-year-old holistic nutritionist and food scientist living in Portland, Oregon. Growing up in a multicultural home with dietary restrictions, she learned to create desserts that nourish as much as they delight. She’s led wellness retreats focused on clean, mindful baking.


One Comment