Beautiful Buttercream Cupcake Swirl Tutorial
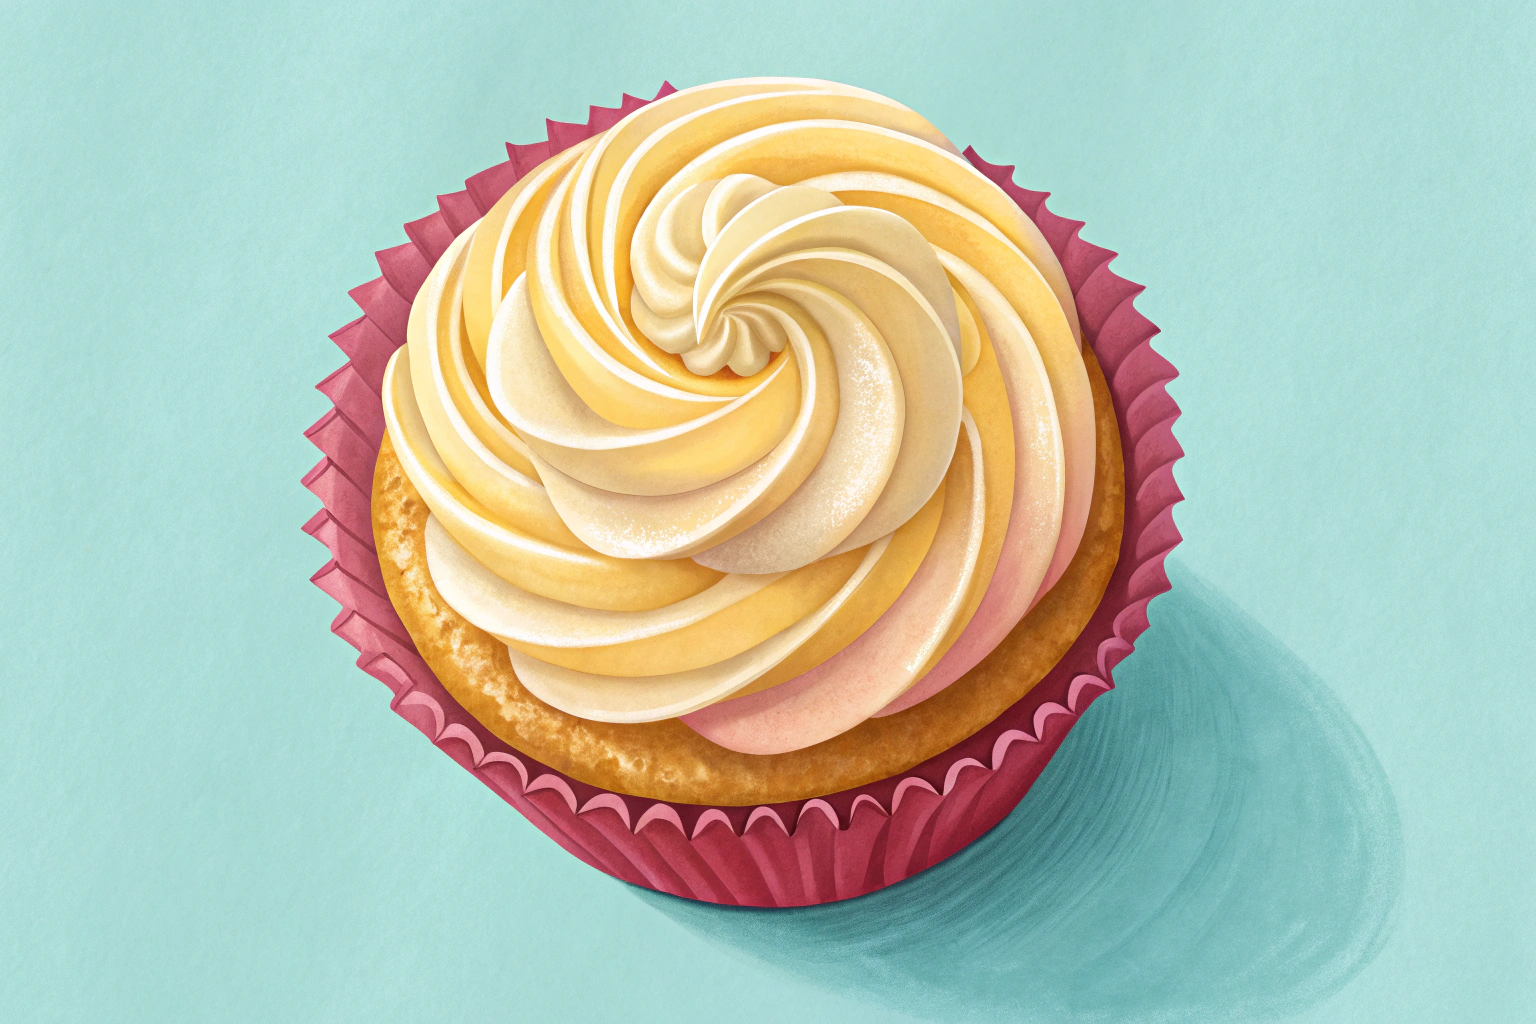
Table of Contents
I used to think that perfect buttercream cupcake swirl was a myth. You know, the kind you see in fancy bakeries that looks too good to eat. I’d end up with sad, droopy frosting or a grainy, sugary mess.
It felt like a secret club I wasn’t invited to. Then I cracked the code, and it’s embarrassingly simple. This isn’t just about frosting a cupcake.
It’s about creating a tiny, edible masterpiece that makes people think you’re a professional pastry chef. The power is now in your hands, and it all starts with this one technique.
This isn’t your average dollop of frosting. This buttercream cupcake swirl is a declaration of dessert dominance.
It’s silky, it’s stable, and it holds those gorgeous, Instagram-worthy peaks like a champion. Remember that feeling of disappointment when a beautiful cupcake had bland, overly sweet frosting? Yeah, we’re erasing that memory.
This method creates a swirl that’s not just a visual showstopper but a textural dream. It’s the difference between a homemade treat and a bakery-quality indulgence, right from your own kitchen.
Ingredients
Gathering the right components is half the battle. Using high-quality, simple ingredients is the non-negotiable foundation for that flawless buttercream cupcake swirl.
Don’t even think about substituting margarine for the butter; I tried it once and we don’t talk about that dark time.
- 1 cup (2 sticks) unsalted European-style butter, room temperature
- 4 cups powdered sugar, sifted
- 2-3 tablespoons heavy cream or whole milk
- 1 tablespoon pure vanilla extract
- ¼ teaspoon fine sea salt
- Gel food coloring (optional, but key for vibrant colors)
Step-by-Step Instructions
- Whip your room-temperature butter until it’s pale and fluffy. This should take about 5 minutes in a stand mixer. Seriously, don’t skimp on this time; it’s the secret to a light, non-greasy frosting base for your buttercream cupcake swirl.
- Gradually add the sifted powdered sugar on low speed. I start the mixer on the lowest setting unless you want a blizzard of sugar in your kitchen. Once incorporated, crank it up to medium-high and beat for another 2 minutes.
- Stream in the vanilla, salt, and cream. Add the liquid ingredients slowly while the mixer is running. This is where the magic happens, transforming your mixture from crumbly to creamy and perfect for piping.
- Beat on high for a full 3-5 minutes. This is the most critical step for a stable buttercream cupcake swirl. You’re incorporating air, which gives the frosting its structure and that beautifully light mouthfeel.
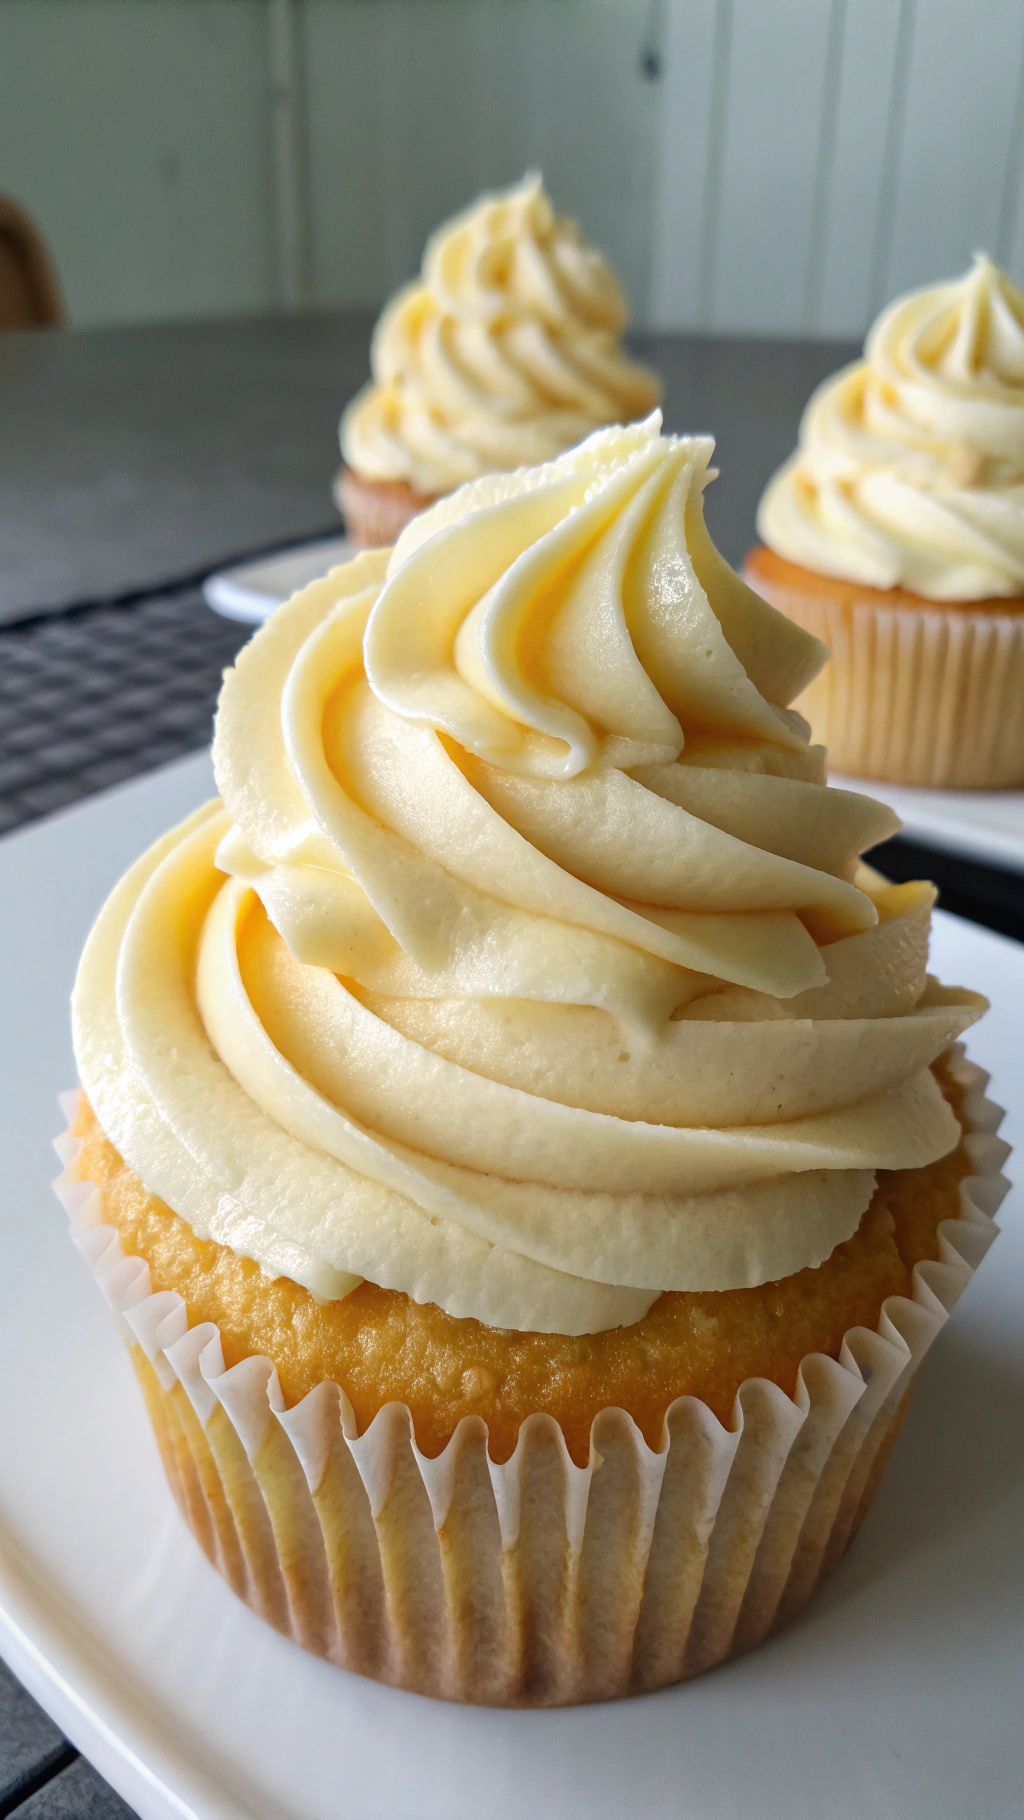
- Fit a piping bag with a large open star tip. I’m a loyalist to the Wilton 1M or 2D tip for that iconic swirl look. No fancy tip? A large round tip works too for a cool honeycomb effect.
- Pipe your masterpiece. Hold the bag perpendicular to the cupcake, starting from the outer edge. Pipe in a tight, continuous spiral towards the center, then pull up sharply to create a peak. Congrats, you’ve just achieved swirl nirvana.
Storage Instructions
Your beautiful creations need a good home.
For short-term storage, place the cupcakes in an airtight container. They will stay fresh at room temperature for up to 2 days due to the sugar content acting as a preservative. For longer storage, you can freeze them.
Place them on a sheet pan until solid, then transfer to a freezer bag. They’ll keep for up to 3 months. Thaw in the refrigerator overnight.
IMO, this makes them perfect for batch prepping for parties.
Why You’ll Love This buttercream cupcake swirl
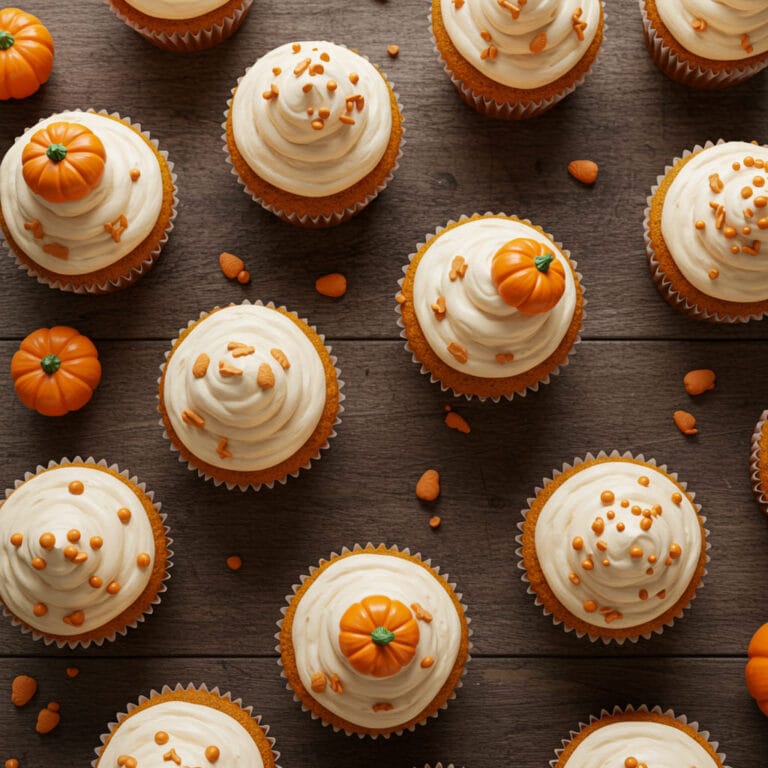
- Total Crowd-Pleaser: This technique turns simple cupcakes into a centerpiece. It impresses at birthdays, bake sales, and “just because” Tuesdays.
- Surprisingly Simple: Once you get the rhythm, piping this perfect buttercream cupcake swirl takes seconds per cupcake. It looks far more difficult than it actually is.
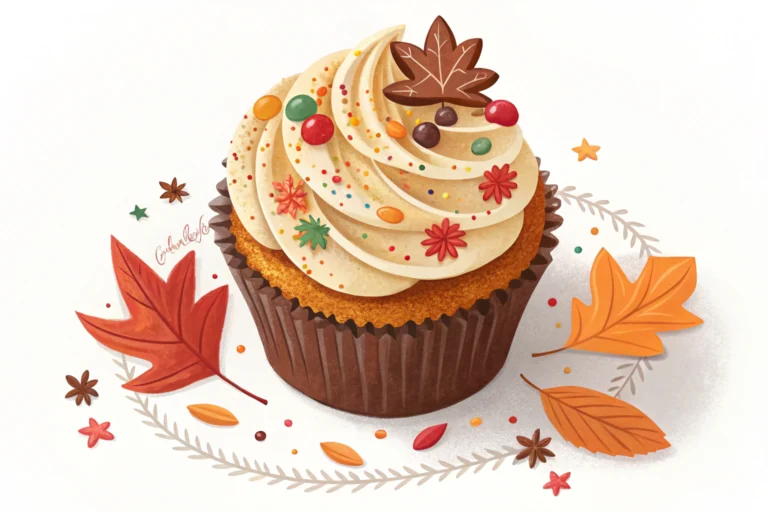
- Incredibly Versatile: This base recipe is a blank canvas. You can easily alter flavors with citrus zests, extracts, or even melted and cooled chocolate for a decadent chocolate frosting variation.
Common Mistakes to Avoid
- Using cold butter. Your frosting will be lumpy and a nightmare to pipe. Room temp is non-negotiable.
- Not whipping the butter long enough. Patience, young grasshopper. This is what gives you volume.
- Adding liquid food coloring. This throws off the consistency and can make your frosting runny. Gel colors are your best friend.
- Overfilling your piping bag. This is a messy, sticky disaster waiting to happen. Trust me on this one.
Alternatives and Variations
This recipe is a fantastic base for experimentation.
For a dairy-free, vegan buttercream cupcake swirl, use a high-quality plant-based butter and full-fat coconut cream. You can also fold in crushed cookies, sprinkles, or even a teaspoon of espresso powder for a mocha twist. If you’re making a fluffy vanilla cake to go with it, consider adding a matching flavor to the frosting, like a touch of almond extract.
Frequently Asked Questions
Find answers to common questions
Final Thoughts
Mastering this buttercream cupcake swirl is a genuine game-changer. It builds confidence and makes your baking look incredibly professional.
This technique is your new secret weapon for making ordinary moments feel special. I can’t wait for you to experience the magic for yourself. Now go forth, pipe with confidence, and tell me all about your beautiful creations in the comments below!

Ben is a 41-year-old baking educator and former bakery owner from Kansas City, Missouri. With a culinary degree and years of hands-on experience, he specializes in teaching approachable, science-based baking. He once recreated a 17th-century cupcake recipe for a historical food documentary.


3 Comments