How to Decorate Christmas Cupcakes for Stunning Results
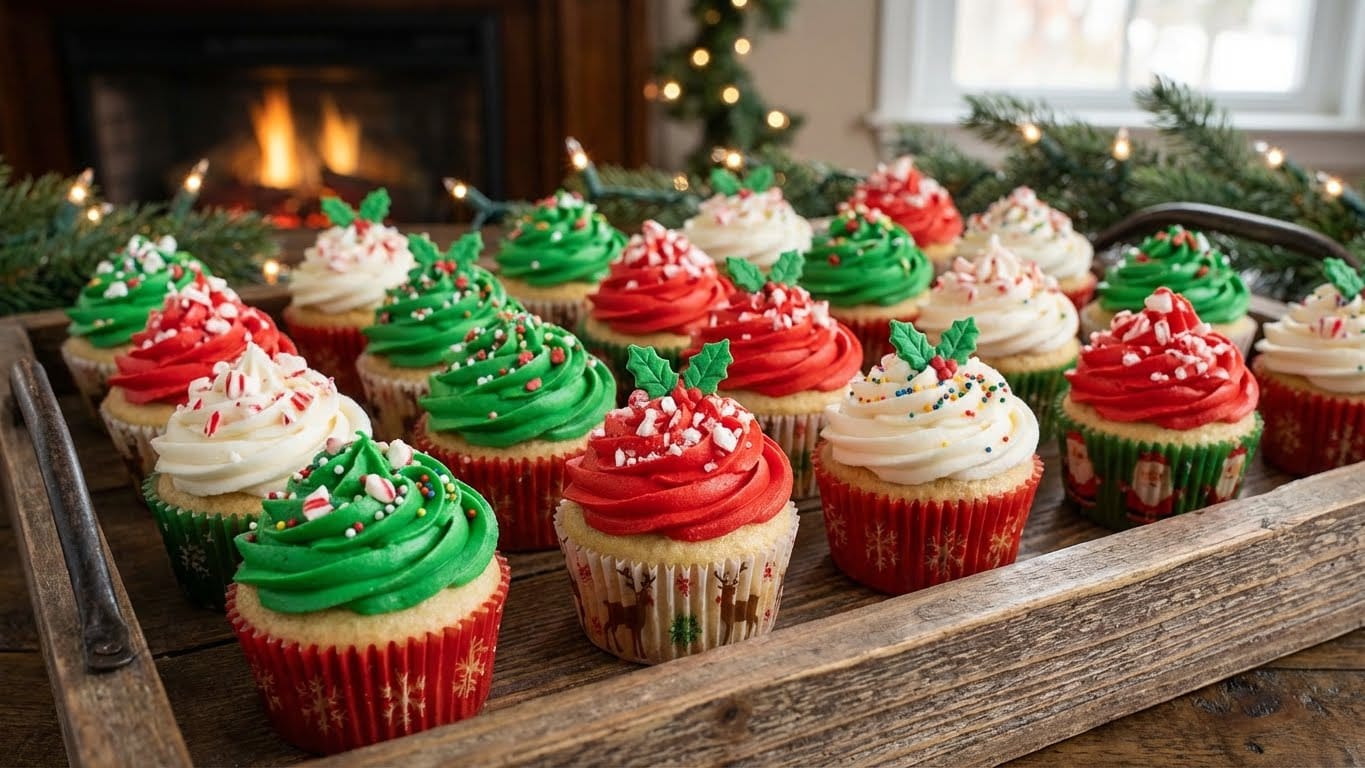
Table of Contents
How to Decorate Christmas Cupcakes: The Ultimate 2025 Guide
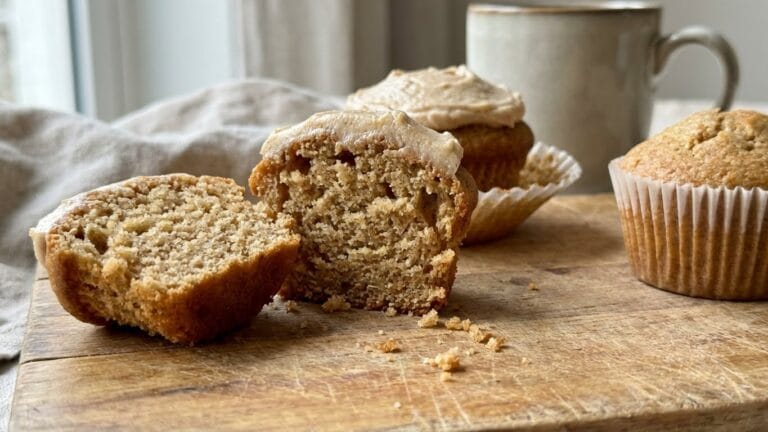
Learning how to decorate Christmas cupcakes is the secret ingredient to a truly magical holiday season. Imagine the joy on your family’s faces when you present a platter of festive, frosted delights. This guide will transform you from a baking beginner into a confident holiday artist. We will cover everything from essential tools to pro-level piping techniques. You will discover that creating stunning edible art is easier than you think. Let’s make this your most delicious Christmas yet.
The Ultimate 7-Step Method to Masterful Christmas Cupcakes
Mastering how to decorate Christmas cupcakes doesn’t require a culinary degree. It simply requires a solid, proven method. This seven-step framework is your blueprint for success. It breaks down the intimidating process into manageable, joyful tasks. You will build skills from the foundation up, starting with the perfect canvas. The history of festive baking is rich and wonderful, as noted by culinary historians. You can explore the origins of Christmas food traditions to add more context to your creations. This systematic approach ensures your decorations are both beautiful and stable.
Ingredients
Before you start, gather your supplies. Having everything ready is half the battle. This list covers the essentials for both baking and decorating.
- 24 pre-baked vanilla or chocolate cupcakes, completely cooled.
- 4 cups of vanilla or cream cheese buttercream frosting.
- Gel food coloring in red, green, and white.
- Assorted piping tips (star, round, leaf, and petal tips are perfect).
- Piping bags and couplers.
- Offset spatula for smooth frosting.
- Edible decorations: sprinkles, sanding sugar, pearl dragees.
- Fondant or marzipan for sculpting simple shapes.
- Edible glitter or luster dust for a magical sparkle.
- Small paintbrushes reserved for food use.
Instructions
Follow these steps to create a stunning array of holiday treats. Take your time and enjoy the creative process.
- Prepare Your Frosting: Divide your buttercream into separate bowls. Tint portions with gel food coloring to achieve vibrant red, green, and a soft white. Gel color is more potent than liquid and won’t thin your frosting.
- Master the Crumb Coat: Apply a very thin layer of frosting to each cupcake with your offset spatula. This “crumb coat” seals in loose crumbs, ensuring your final layer is perfectly smooth and clean.
- Fill Your Piping Bags: Fit your piping bags with couplers and chosen tips. Fill each bag with a different colored frosting. Twist the top tightly to prevent leaks and apply gentle, even pressure.
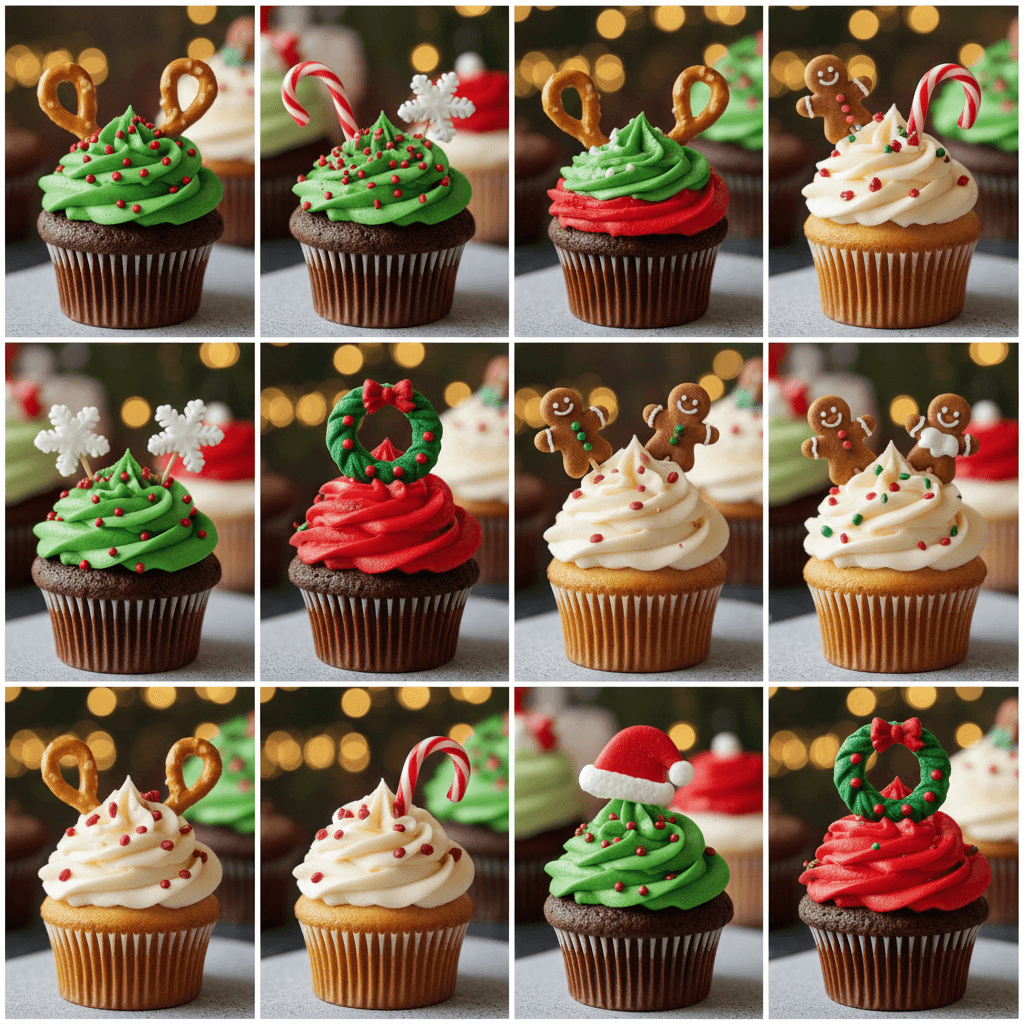
- Pipe Classic Designs: For a Christmas tree, use a star tip and pipe in a conical shape. For a wreath, use a leaf tip and pipe small leaves in a circle. A round tip is perfect for creating holly berries and delicate snowflakes.
- Add Texture and Sparkle: Immediately after piping, roll the edges of your frosting in a bowl of colored sprinkles or sanding sugar. This adds wonderful texture and visual interest to your design.
- Create Simple Fondant Toppers: Roll out fondant and use small cookie cutters to create stars, bells, or stockings. Let them dry slightly on parchment paper before placing them gently on your frosted cupcakes.
- Apply the Final Touches: Use a clean paintbrush to dust fondant shapes with edible glitter. Add pearl dragees as ornaments on your piped trees. Step back and admire your festive masterpiece.
Pro Tips for Flawless Frosting
A few expert techniques can elevate your work from good to great. These tips address common challenges bakers face.
Buttercream Consistency is Key: Your frosting should be smooth and hold a peak. If it’s too stiff, add milk one teaspoon at a time. If it’s too runny, add more powdered sugar. For more ideas, check out our guide on cupcake frosting techniques. The right consistency makes piping a dream.
Keep Your Cool: Work with cool cupcakes and room-temperature frosting. If your kitchen is warm, chill the frosted cupcakes for 15 minutes before adding delicate details. This prevents melting and smudging.
Layer Your Colors: For a stunning ombre or two-tone effect, add two colors of frosting side-by-side in the same piping bag. When you pipe, the colors will swirl together beautifully.
5 Incredible Benefits of Homemade Holiday Decorating
Why go through the effort of learning how to decorate Christmas cupcakes yourself? The rewards are plentiful and meaningful. For more ideas, check out our guide on Christmas Tree Cupcakes. It’s more than just making dessert.
- Creates Lasting Family Memories: Decorating becomes a fun, hands-on activity for all ages. It fosters connection and creates stories you’ll tell for years.
- Allows for Complete Customization: You control the flavors, colors, and designs. You can accommodate allergies or dietary preferences with ease, unlike store-bought options.
- Develops a Valuable Creative Skill: The techniques you learn are transferable to other baking projects. Your confidence in the kitchen will soar.
- Results in a Truly Personal Gift: A box of homemade, decorated cupcakes is a heartfelt gift. It shows you invested time and care, which is the spirit of the season.
- Enhances Festive Atmosphere: The act of baking and decorating fills your home with wonderful aromas and joyful activity. The American Psychological Association highlights how engaging in creative hobbies can reduce holiday stress. It’s a delicious form of self-care.
3 Common Mistakes to Avoid
Even seasoned bakers can stumble. Being aware of these pitfalls will save you time and frustration. Let’s troubleshoot before problems arise.
- Decorating Warm Cupcakes: This is the number one error. Warm cupcakes will melt your frosting into a sad, greasy puddle. Always, always let them cool completely on a wire rack.
- Using Liquid Food Coloring: Liquid dyes can water down your frosting, leading to poor texture and pale colors. Invest in a small set of gel colors for vibrant, professional results.
- Overcomplicating the Design: Start simple. A perfectly piped swirl with festive sprinkles is often more elegant than a complicated, messy scene. Build your skills gradually.
Brilliant Alternatives and Variations
Don’t have all the fancy tools? No problem. There are countless ways to create festive magic. Adapt and improvise based on what you have available.
Use a zip-top bag with a corner snipped off as a makeshift piping bag. Create snowy scenes with shredded coconut. Use crushed candy canes or peppermint bits as flavorful sprinkles. For more ideas, check out our guide on buttercream cupcake swirl. For a dairy-free option, use a vegan buttercream base. Chocolate-dipped strawberry Santas or pretzel reindeer can be adorable non-frosting toppers.
Frequently Asked Questions
How far in advance can I decorate Christmas cupcakes?
You can decorate them up to 24 hours in advance. Store them in a single layer in an airtight container at room temperature. Avoid refrigeration, as it can dry out the cake and cause condensation on the frosting.
What is the best frosting for holding intricate shapes?
American buttercream, made with butter and powdered sugar, is ideal. It crusts slightly, holding piped shapes very well. For even stiffer designs, a bit of meringue powder can be added for extra stability.
Can I freeze decorated cupcakes?
It’s best to freeze unfrosted cupcakes. Freezing decorated ones can cause colors to bleed and textures to change. For more ideas, check out our guide on Cupcake Ideas,Teen birthday cupcakes. Freeze the cakes, then thaw and decorate fresh for the best quality.
How do I prevent my red frosting from turning pink?
Use a concentrated gel color labeled “Christmas Red” or “No-Taste Red.” Often, you need to use more than you think. Start with a base of chocolate frosting to deepen the color without using excessive dye.
What are easy decorations for kids to help with?
Kids excel at adding sprinkles, sanding sugar, and placing pre-made candies. Give them a bowl of decorations and let them go to town. It’s fun and reduces pressure for perfect piping.
How do I transport decorated cupcakes safely?
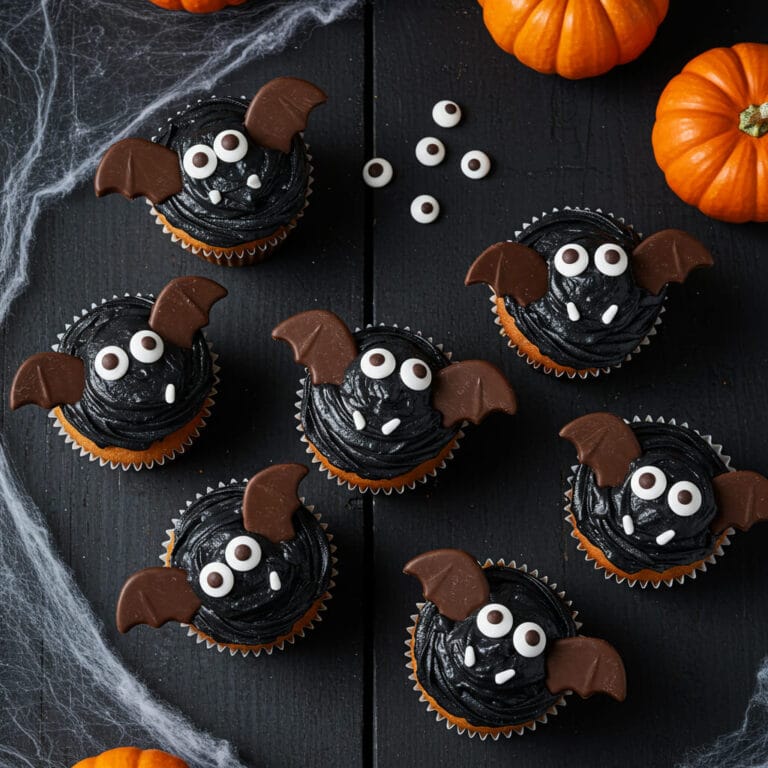
Use a specialized cupcake carrier with individual slots. If you don’t have one, place cupcakes in a cardboard box and secure the base of each liner to the bottom with a small dab of frosting to prevent sliding. For more ideas, check out our guide on cupcake halloween theme,halloween.
Why did my buttercream frosting turn out grainy?
Graininess usually comes from undissolved powdered sugar. Sift your sugar before mixing. Let your finished frosting mix on low speed for an extra 3-5 minutes to help fully incorporate everything.
Final Thoughts
Mastering how to decorate Christmas cupcakes is a gift you give yourself and others. It blends creativity, tradition, and pure deliciousness into one joyful activity. Remember, perfection is not the goal; festive fun is. Each swirl of frosting and sprinkle of sugar adds to your holiday spirit. Now you have all the knowledge to create stunning edible centerpieces. For more inspiration on holiday baking techniques, explore the fantastic resources at King Arthur Baking’s holiday blog. Share your creations, make a mess, and most importantly, enjoy every sweet bite. Happy decorating!

Ben is a 41-year-old baking educator and former bakery owner from Kansas City, Missouri. With a culinary degree and years of hands-on experience, he specializes in teaching approachable, science-based baking. He once recreated a 17th-century cupcake recipe for a historical food documentary.