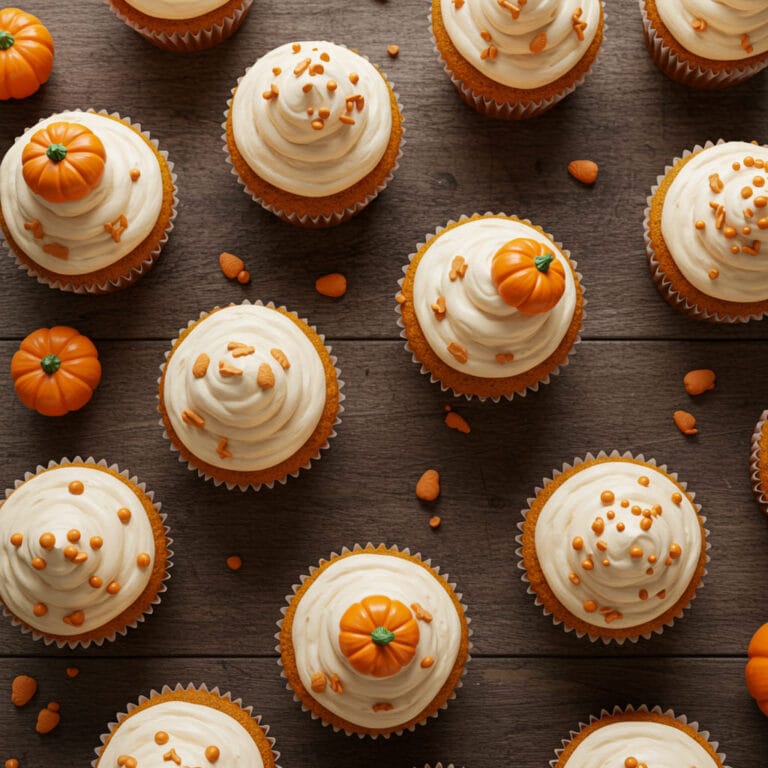
Irresistible Caramel Filled Cupcakes You’ll Love

Table of Contents
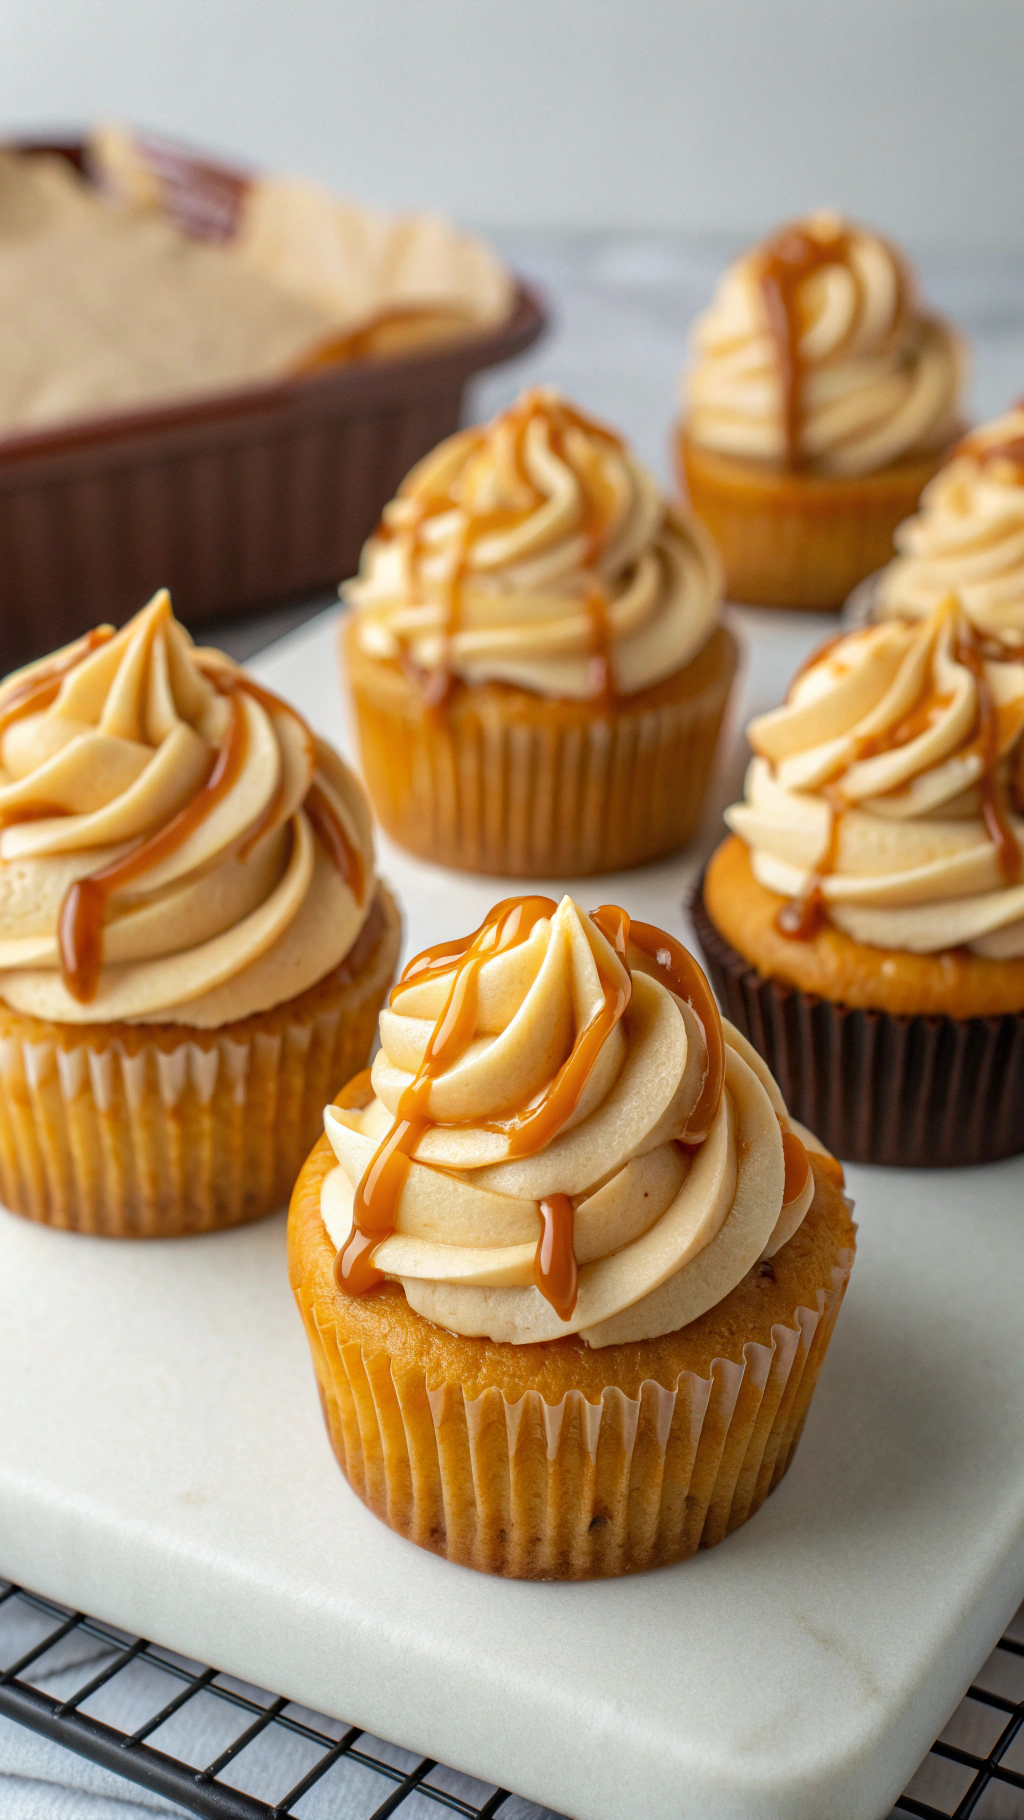
I used to think cupcakes were just a vehicle for frosting. Then I discovered the secret weapon: a molten, gooey heart. These caramel filled cupcakes are a game-changer.
They look innocent, but one bite reveals a hidden treasure. The surprise factor alone is worth the effort. I’m telling you, this is how you win at baking.
Forget boring desserts; this is the upgrade you didn’t know you needed.
It’s all about the textural symphony. You get the fluffy, soft crumb of the cupcake. Then, your teeth break through to a river of sweet, buttery caramel.
It’s nostalgic, like a gourmet version of a candy bar you loved as a kid. Have you ever seen someone’s face light up when they hit that liquid center? It’s pure baking magic.
This isn’t just a dessert; it’s an experience.
Ingredients
Gathering your ingredients is the first step to bliss. I promise, there’s nothing too wild here, but quality matters. Using a good, thick caramel is non-negotiable for that perfect ooze.
Here’s your shopping list for these incredible caramel filled cupcakes.
- 1 ½ cups all-purpose flour
- 1 cup granulated sugar
- ½ cup unsalted butter, softened
- 2 large eggs, room temperature
- ¾ cup whole milk
- 2 tsp baking powder
- 1 tsp vanilla extract
- ½ tsp salt
- 1 jar (approx. 11 oz) of thick caramel sauce (or homemade!)
- Sea salt flakes for garnish (trust me on this)
Step-by-Step Instructions
- Preheat your oven and prepare the pan. Get that oven to 350°F (175°C) and line a muffin tin with cupcake liners. This is basic, but a hot oven is key for the perfect rise.
- Cream the butter and sugar. Beat the softened butter and sugar together until it’s light and fluffy. This incorporates air, which is the secret to a light, airy crumb. Don’t rush this step.
- Combine the wet and dry ingredients. Add the eggs one at a time, then the vanilla. In a separate bowl, whisk the flour, baking powder, and salt. Alternate adding the dry mix and the milk to the butter mixture, starting and ending with the dry. Mix until just combined; overmixing is the enemy of fluffiness.
- Fill the liners and add the magic. Fill each cupcake liner about two-thirds full with batter. Now, take a teaspoon of your thick caramel and gently drop it right into the center of each batter pool. It will sink, which is exactly what you want for that hidden center.
- Bake to golden perfection. Pop them in the oven for 18-22 minutes. You’ll know they’re done when a toothpick inserted into the cake part comes out clean. The caramel will be hot and liquid, so don’t test there unless you want a sticky mess.
- Cool completely before frosting. Let them cool in the pan for 5 minutes, then transfer to a wire rack. IMO, this is the hardest part—the waiting. But a warm cupcake will melt your frosting into a puddle.
Storage Instructions
If, by some miracle, you have leftovers, you need to store them right. For the short term, an airtight container at room temperature is fine for a day. For longer storage, pop them in the fridge for up to 5 days.
You can also freeze these caramel filled cupcakes for up to 3 months. Just thaw overnight in the fridge. Pro tip: Freeze them unfrosted on a baking sheet first, then bag them to prevent sticking.
Why You’ll Love This caramel filled cupcakes
- The Ultimate Crowd-Pleaser: These are guaranteed to get “oohs” and “aahs” at any party or potluck. They look professional with minimal effort.
- Surprisingly Simple: The process is straightforward, even for baking newbies. The filling seems fancy, but it’s just a simple spoon-and-drop technique.
- Perfect Make-Ahead Dessert: You can bake and fill them a day ahead, then frost them before serving. This is a lifesaver for busy hosts.
Common Mistakes to Avoid
- Using runny caramel sauce. It will just dissolve into the batter and vanish. You need a thick, spoonable consistency for that perfect pocket.
- Overfilling the cupcake liners. This is a one-way ticket to lava-flow cupcakes that spill over the sides. Two-thirds full is the sweet spot.
- Overbaking them. You’ll lose the moist, tender crumb and the gooey center. Set a timer and trust the toothpick test on the cake, not the caramel.
Alternatives and Variations
Feel like mixing it up?
You absolutely can. For a chocolate version, add ½ cup of cocoa powder to the dry ingredients. To make these caramel filled cupcakes gluten-free, use a 1:1 gluten-free flour blend.
For a dairy-free version, use plant-based butter and milk. You can even swap the caramel for a chocolate ganache or a fruit jam for a completely different vibe.
Frequently Asked Questions
Find answers to common questions
Final Thoughts
This recipe for caramel filled cupcakes is a true winner.
It’s the kind of bake that makes people think you’re a pastry genius. The combination of soft cake and liquid gold is simply unbeatable. I hope this becomes your new go-to dessert.
Now, go make them and tell me in the comments how many people asked you for the recipe!

Ben is a 41-year-old baking educator and former bakery owner from Kansas City, Missouri. With a culinary degree and years of hands-on experience, he specializes in teaching approachable, science-based baking. He once recreated a 17th-century cupcake recipe for a historical food documentary.