Best cupcake baking tips
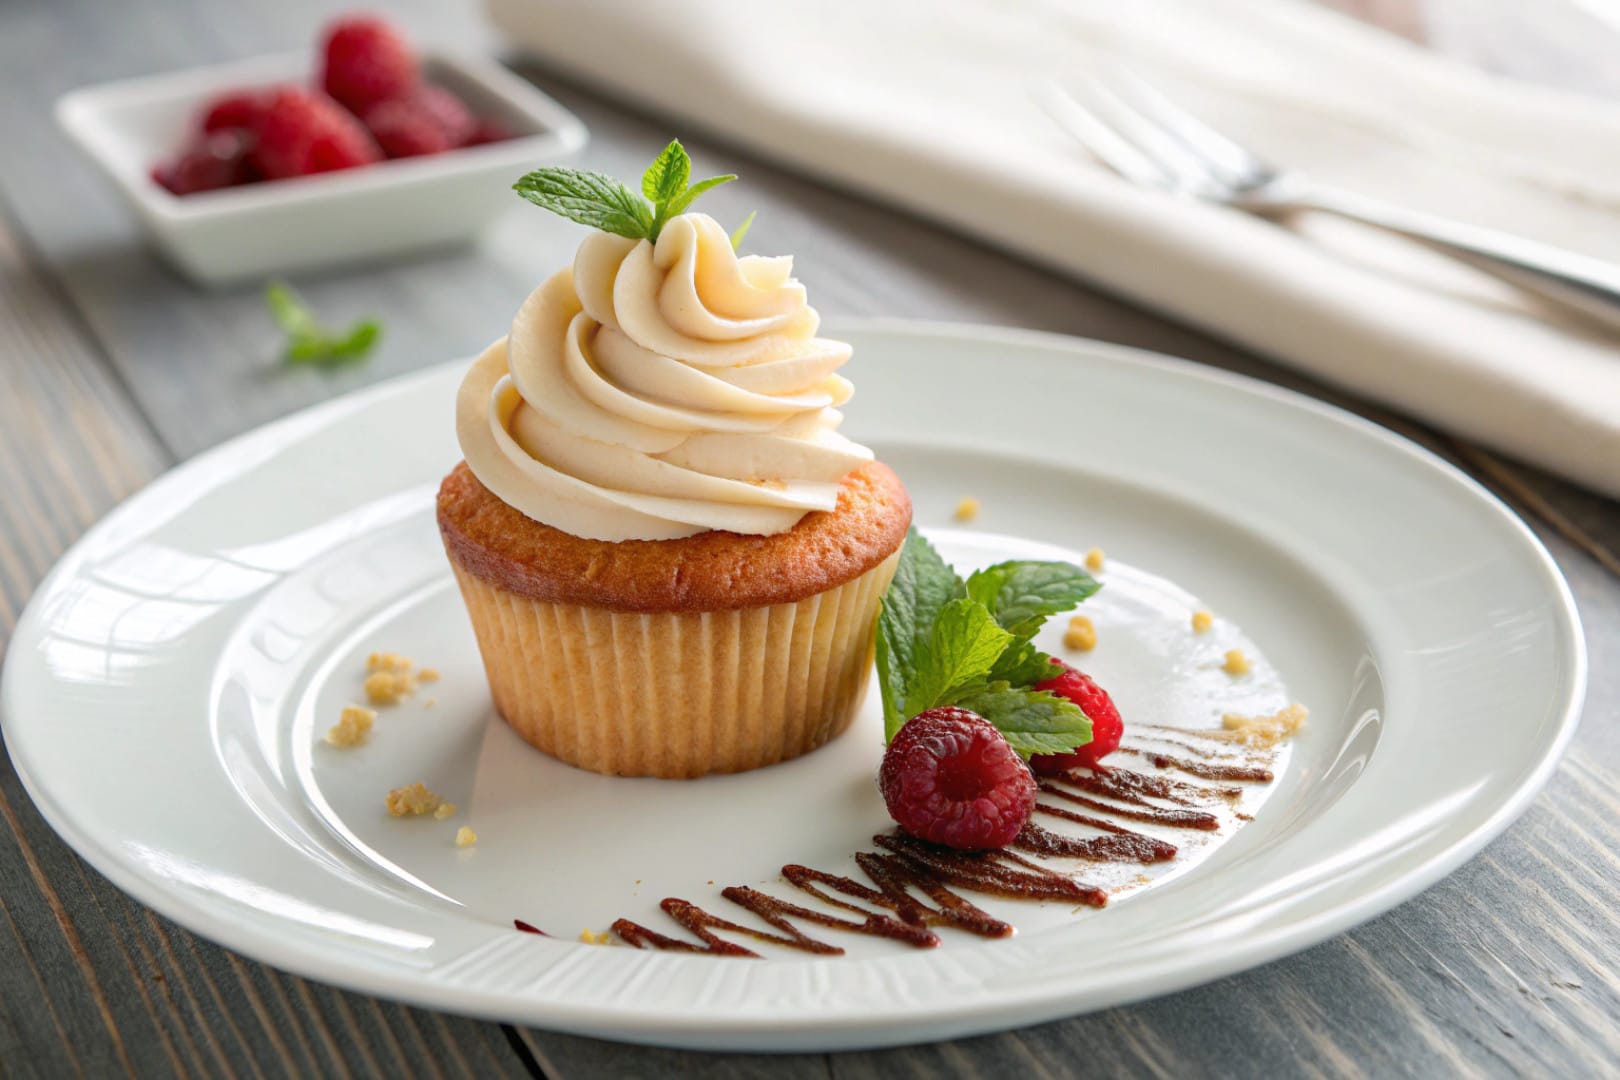
Table of Contents
Mastering the perfect cupcake baking tips can transform your kitchen from a disaster zone into a delightful bakery. I remember my first batch resembled sad, deflated hockey pucks more than fluffy treats. The journey from those dense disasters to cloud-like confections taught me invaluable lessons. These cupcake baking tips are the culmination of countless trials, errors, and sugary successes. Let’s explore the secrets that will elevate your baking game.
Understanding the science behind the ingredients is crucial for perfect cupcakes. It’s not just about following a recipe; it’s about knowing why each step matters. This guide will provide you with the ultimate methods to achieve bakery-quality results at home. You’ll learn how to avoid common pitfalls and create stunning cupcakes every single time. Get ready to impress your friends and family with your newfound skills.
The Ultimate 7-Step Method for Perfect Cupcakes in 2025
Creating flawless cupcakes requires a systematic approach that guarantees consistency. This revolutionary method focuses on precision and technique over guesswork. Each step builds upon the previous one, creating a foundation for perfection. Follow this guide, and you’ll never have to worry about uneven rising or dry textures again.
The first secret is ingredient temperature. Using room-temperature ingredients, especially butter and eggs, is non-negotiable. They emulsify better, creating a smoother, more voluminous batter. For more ideas, check out our guide on Cupcake Ideas,Teen birthday cupcakes. Cold ingredients can cause your batter to curdle and result in dense cupcakes. This simple tip is a game-changer for texture.
Proper measuring is another critical aspect of successful cupcake baking tips. I highly recommend using a kitchen scale for accuracy. The standard weight measurements for baking ensure you get the perfect ratio every time. Scooping flour directly from the bag can pack it down, leading to dry cupcakes. Weight-based measuring removes all the guesswork.
Ingredients
- 2 cups all-purpose flour (240g)
- 1 ½ cups granulated sugar (300g)
- ½ cup unsalted butter, room temperature (113g)
- 2 large eggs, room temperature
- ¾ cup whole milk, room temperature (180ml)
- 2 tsp pure vanilla extract
- 2 tsp baking powder
- ½ tsp salt
Instructions
- Preheat your oven to 350°F (175°C) and line a muffin tin with cupcake liners. Proper preheating is essential for even baking and that perfect dome.
- Sift together the flour, baking powder, and salt into a medium bowl. Sifting aerates the flour, which contributes to a lighter crumb. This step is crucial for fluffy cupcakes.
- Cream the butter and sugar together on medium-high speed for 3-4 minutes until light and fluffy. This incorporates air into the batter, which is your primary leavening agent. Don’t rush this step.
- Add the eggs one at a time, beating well after each addition. Then mix in the vanilla extract. Scrape down the sides of the bowl to ensure everything is fully incorporated.
- Alternately add the dry ingredients and milk to the butter mixture, beginning and ending with the dry ingredients. Mix on low speed until just combined. Overmixing at this stage develops gluten and leads to toughness.
- Fill the cupcake liners ⅔ full using a cookie scoop or spoon for even distribution. This prevents overflow and promotes a beautiful rise. Tap the pan gently on the counter to release any large air bubbles.
- Bake for 18-22 minutes or until a toothpick inserted into the center comes out clean. Rotate the pan halfway through for even browning. Cool in the pan for 5 minutes before transferring to a wire rack.
Storage and Freshness Tips
Proper storage is essential for maintaining that just-baked texture. Always allow cupcakes to cool completely before storing them. Any residual warmth will create steam and make them soggy. IMO, this is the most overlooked step in home baking.
Store unfrosted cupcakes in an airtight container at room temperature for up to three days. For longer storage, you can freeze them for up to three months. Thaw at room temperature before frosting and serving. For more ideas, check out our guide on Cupcake Challenges,Teens. Frosted cupcakes should be stored in the refrigerator due to the dairy.
To restore day-old cupcakes, you can warm them in a 300°F oven for 5 minutes. This trick brings back that fresh-from-the-oven magic. Just be careful not to melt your frosting if they’re already decorated. A quick warm-up can make all the difference.
7 Game-Changing Benefits of Mastering Cupcake Techniques
Learning proper cupcake baking tips offers advantages beyond just delicious treats. These skills translate to better results across all your baking projects. The precision and techniques you develop will serve you for a lifetime in the kitchen. Here are the top benefits you’ll experience.
- Consistent Results: No more batch anxiety—you’ll achieve perfect cupcakes every time you bake.
- Cost Savings: Homemade cupcakes cost significantly less than bakery versions, especially for special occasions.
- Customization Freedom: You control the ingredients, flavors, and decorations to match any theme or dietary need.
- Impressive Entertainment: Become the go-to dessert person for parties, potlucks, and family gatherings.
- Therapeutic Value: The process of baking can be incredibly relaxing and rewarding after a long day.
- Educational Opportunity: Baking teaches chemistry, math, and patience—great skills to share with children.
- Creative Outlet: Decorating cupcakes allows for artistic expression through colors, piping, and designs.
The psychological benefits of baking are well-documented by mental health professionals. The process provides mindfulness and a sense of accomplishment. Creating something beautiful and delicious boosts mood and confidence. For more ideas, check out our guide on Halloween Cupcake Toppers,Halloween. These cupcake baking tips thus offer both practical and emotional rewards.
5 Common Mistakes to Avoid
Even experienced bakers can fall into these traps that ruin otherwise perfect cupcakes. Being aware of these pitfalls will save you from disappointment and wasted ingredients. Let’s explore what not to do when following cupcake baking tips.
- Overmixing the Batter: This develops gluten and creates a tough, dense texture instead of light and fluffy.
- Overfilling Liners: This causes batter overflow and flat tops instead of beautiful domes.
- Opening the Oven Door: Peeking too early causes temperature drops that can make cupcakes collapse.
- Using Cold Ingredients: Room temperature ingredients blend more smoothly and create better emulsion.
- Overbaking: Even one minute too long can dry out cupcakes—use a timer and check for doneness.
Creative Variations and Dietary Swaps
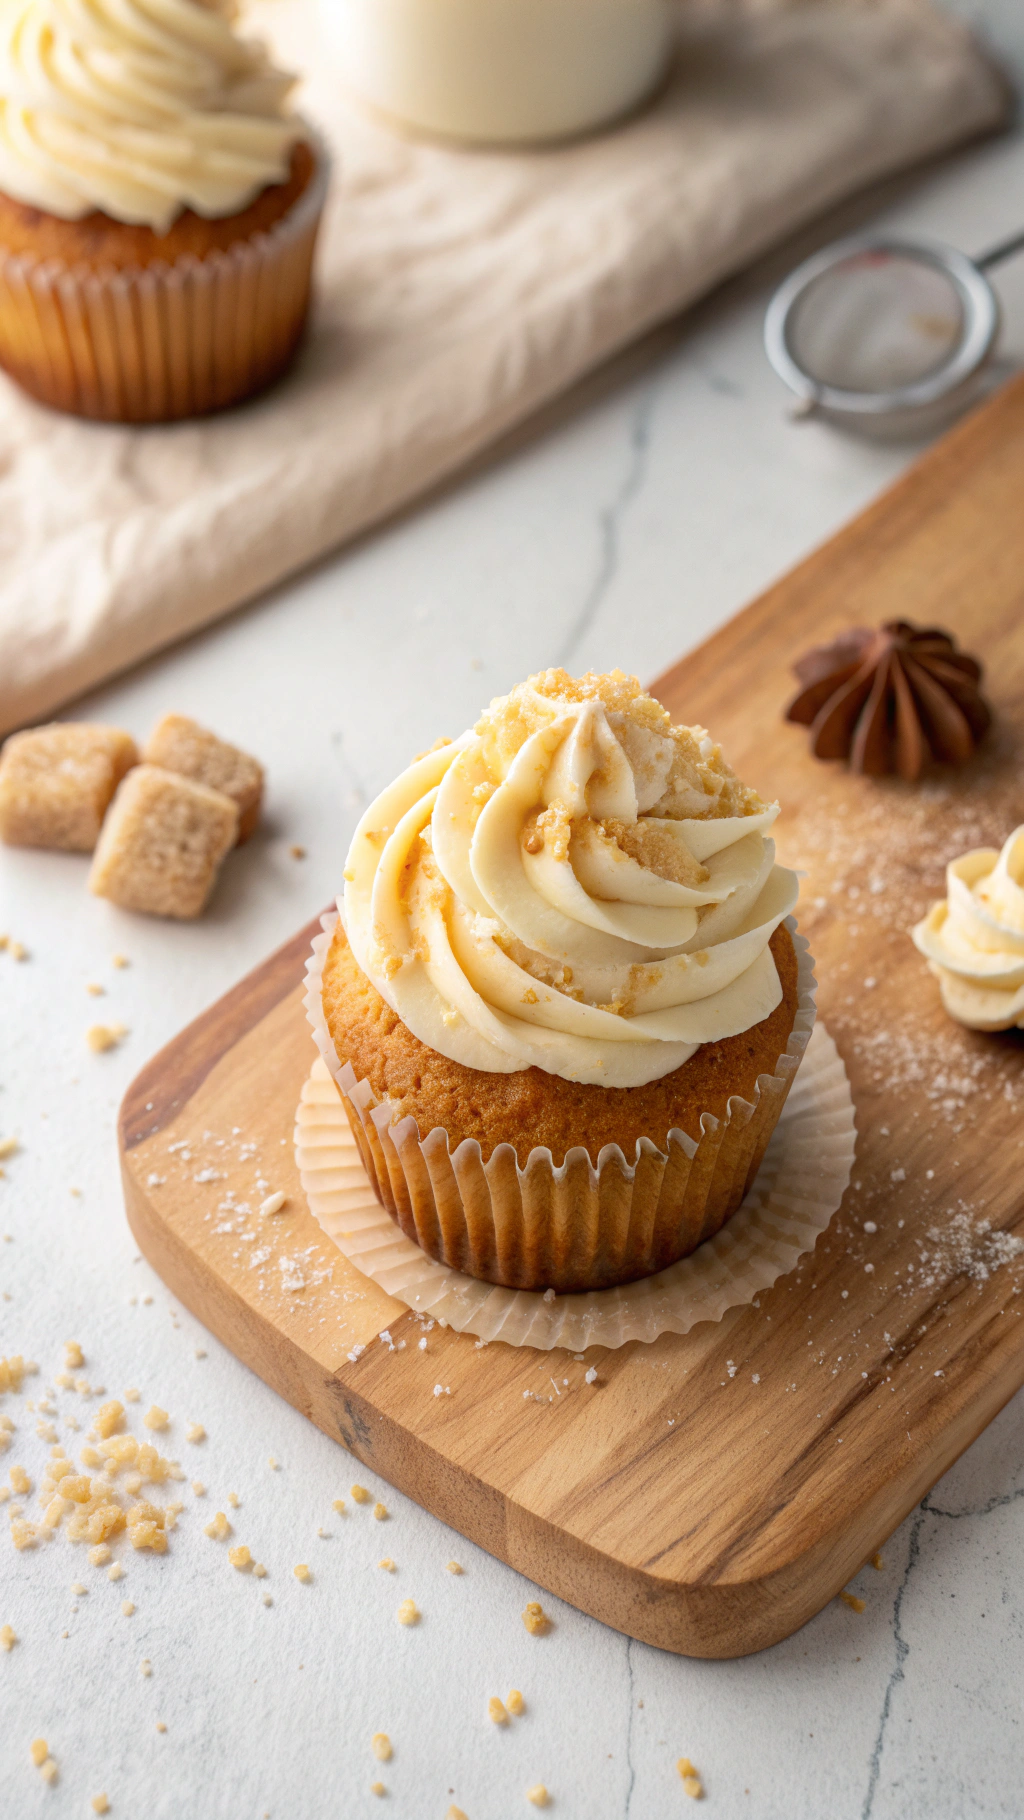
The basic vanilla cupcake recipe is a perfect canvas for endless flavor variations. Once you master the foundation, you can experiment with different add-ins and substitutions. These cupcake baking tips adapt beautifully to various dietary needs and preferences.
For chocolate lovers, replace ¼ cup of flour with high-quality cocoa powder. Add chocolate chips or chunks for extra indulgence. Citrus zest can brighten up the flavor profile beautifully. For more ideas, check out our guide on Coconut Flour Mummy Cupcakes,Cupcakes. TBH, orange or lemon zest adds a refreshing twist that balances the sweetness.
For dietary restrictions, you can make several effective swaps. Gluten-free flour blends work well when measured by weight. Dairy-free milk and butter alternatives perform admirably in most recipes. Even egg substitutes like applesauce or flax eggs can work with slight adjustments to baking time.
Frequently Asked Questions
Find answers to common questions
Final Thoughts
Mastering these cupcake baking tips will transform your homemade treats into professional-quality creations. The techniques you’ve learned here apply to virtually any cupcake recipe you encounter. For more ideas, check out our guide on Cupcake Designs,Milestone,Birthdays. Remember that baking is both a science and an art—precision matters, but so does creativity.
Don’t be discouraged by early mistakes; even professional bakers learn through practice. The most important ingredient is the joy you bring to the process. For further inspiration and advanced techniques, explore the comprehensive baking science resources available from culinary experts. Now go preheat that oven and create something wonderful!

Ben is a 41-year-old baking educator and former bakery owner from Kansas City, Missouri. With a culinary degree and years of hands-on experience, he specializes in teaching approachable, science-based baking. He once recreated a 17th-century cupcake recipe for a historical food documentary.


