Decadent Red Velvet Cupcakes with a Powerful Classic Bite
Red velvet cupcakes are more than just a dessert; they are a cultural icon wrapped in a swirl of cream cheese frosting. Their striking crimson hue and impossibly tender crumb have captivated bakers and sweet-tooth enthusiasts for generations. I remember the first time I successfully baked a batch, filling my kitchen with that signature cocoa-vanilla aroma. It felt like unlocking a delicious secret. Today, we’re going to master that secret together. This guide will walk you through creating the ultimate, bakery-quality red velvet cupcakes in your own home.
We’ll cover everything from the science of the perfect rise to the art of that iconic frosting. Forget dry, bland, or artificially flavored versions. You’re about to learn the proven methods for a truly unforgettable treat. Let’s turn your kitchen into the best bakery in town.
The 5 Revolutionary Secrets to Perfect Red Velvet Cupcakes
What separates a good cupcake from a legendary one? It’s all in the details. Many home bakers stumble on common pitfalls, leading to lackluster results. The truth is, mastering red velvet cupcakes requires understanding a few key principles. First, the color should be vibrant, not muddy.
Second, the texture must be velvety soft, not dense. Third, the flavor is a delicate balance, not just chocolate cake with food coloring. The reaction between the acidic ingredients and cocoa is crucial. For more ideas, check out our guide on Smash Cake vs. Cupcake,Smash Cake. This creates that unique, subtle tang and deepens the red color naturally.
For a deep dive into the fascinating food science behind this reaction, check out this resource from Serious Eats’ Food Lab. It explains how pH affects baking in incredible detail. Finally, the frosting must be the perfect creamy, tangy counterpart. Nail these elements, and you’ve achieved cupcake nirvana.
Ingredients
Gathering high-quality ingredients is your first step to success. Using cake flour instead of all-purpose is a game-changer for that tender crumb. Here is your complete shopping list:
- 1 ¼ cups (150g) cake flour, sifted
- 2 tablespoons (10g) unsweetened natural cocoa powder
- ½ teaspoon baking soda
- ¼ teaspoon fine sea salt
- ½ cup (115g) unsalted butter, room temperature
- ¾ cup (150g) granulated sugar
- 1 large egg, room temperature
- 1 teaspoon pure vanilla extract
- ½ teaspoon distilled white vinegar
- 1 tablespoon liquid red food coloring
- ½ cup (120ml) buttermilk, room temperature
For the Cream Cheese Frosting:
- 8 ounces (225g) full-fat brick cream cheese, softened
- ¼ cup (57g) unsalted butter, softened
- 2 cups (240g) confectioners’ sugar, sifted
- 1 teaspoon pure vanilla extract
- Pinch of salt
Instructions
Follow these steps carefully for flawless red velvet cupcakes. Precision leads to perfection in baking. Remember to preheat your oven to 350°F (175°C) and line a 12-cup muffin tin with liners.
- Whisk the dry ingredients. In a medium bowl, whisk the sifted cake flour, cocoa powder, baking soda, and salt. This ensures even distribution and prevents lumps.
- Cream butter and sugar. Using a stand or hand mixer, beat the softened butter and granulated sugar on medium-high speed for 3 minutes. The mixture should be light, fluffy, and pale in color.
- Add wet ingredients. Beat in the egg, vanilla extract, vinegar, and red food coloring on medium speed. Scrape down the bowl. The batter will be a vibrant red at this stage.
- Combine alternately. With the mixer on low, add the dry ingredients in three parts, alternating with the buttermilk in two parts. Begin and end with the dry ingredients. Mix only until just combined.
- Bake to perfection. Divide the batter evenly among the 12 liners, filling each about 2/3 full. Bake for 18-22 minutes. A toothpick inserted should come out clean. Let cool in the pan for 5 minutes, then transfer to a wire rack.
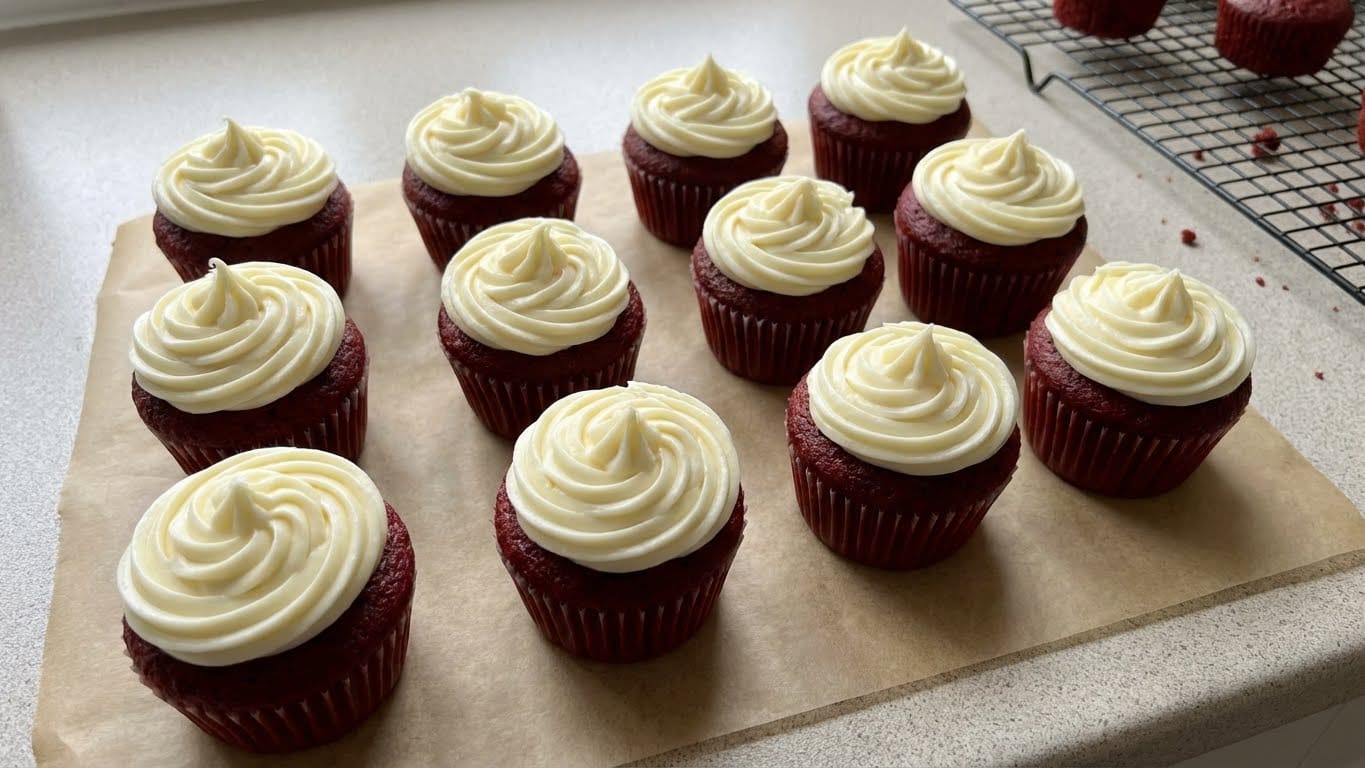
- Make the frosting. While cupcakes cool, beat the softened cream cheese and butter together until smooth. Gradually add the sifted confectioners’ sugar, vanilla, and salt. Beat on medium-high until creamy and fluffy.
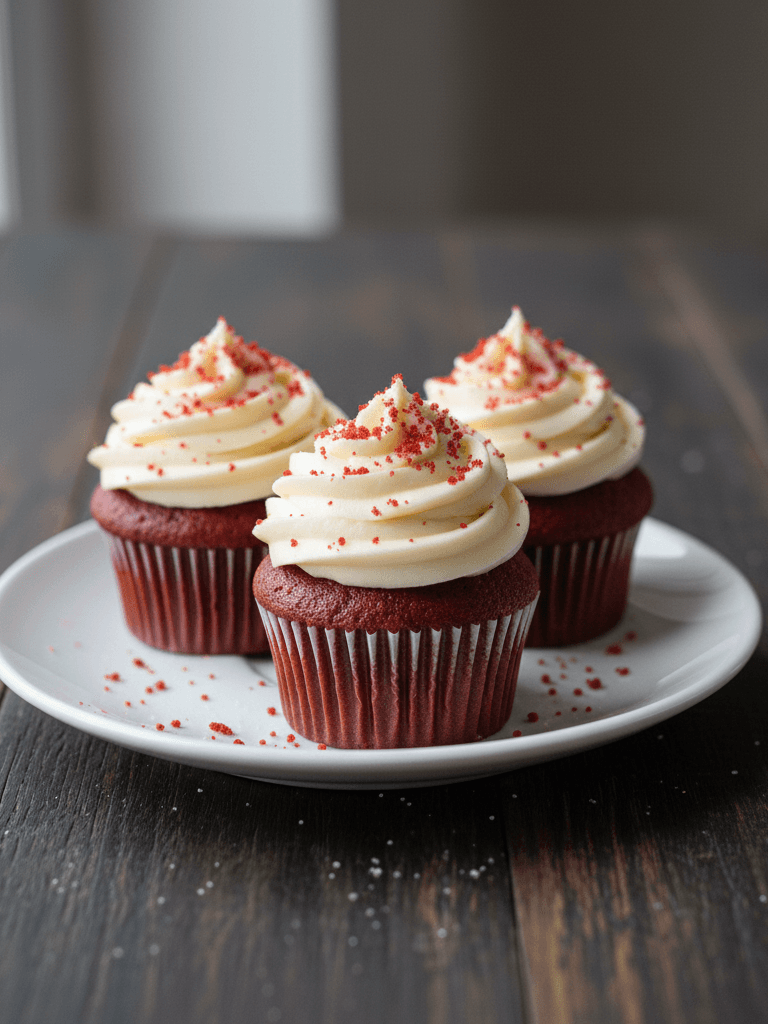
- Frost and serve. Once cupcakes are completely cool, pipe or spread the frosting on top. For a classic finish, garnish with a sprinkle of red velvet crumbs or a single red sprinkle.
Storage and Freshness Tips
Proper storage is key to maintaining that just-baked texture. These red velvet cupcakes are best enjoyed the day they are made. However, you can store them for short periods if needed.
Always store frosted cupcakes in an airtight container in the refrigerator. The cream cheese frosting requires refrigeration. For more ideas, check out our guide on cupcake texture guide. Let them sit at room temperature for 30 minutes before serving for the best flavor and texture.
You can also freeze unfrosted cupcakes for up to 3 months. Wrap them tightly in plastic wrap and place in a freezer bag. Thaw overnight in the refrigerator before frosting and serving.
7 Incredible Benefits of Baking from Scratch
Why go through the effort when a box mix is faster? The rewards of homemade baking extend far beyond the final product. You gain complete control over the quality and source of every ingredient. This means no artificial preservatives or unpronounceable additives.
Baking is a fantastic creative outlet and a proven stress-reliever. The process of measuring, mixing, and creating something beautiful is deeply satisfying. For more ideas, check out our guide on cupcake baking tools. It’s also a wonderful way to make memories with family or friends.
Sharing homemade treats fosters connection and joy. According to a study highlighted by the American Psychological Association, creative activities like baking can contribute to overall well-being. Finally, the skill you build is invaluable and fills your home with incredible aromas.
5 Common Pitfalls to Avoid
Even experienced bakers can make simple mistakes. Being aware of these will guarantee your success. First, using cold ingredients. Room temperature butter, eggs, and buttermilk are non-negotiable for proper emulsification.
Second, overmixing the batter. This develops gluten and leads to tough, dense cupcakes. Mix only until the last streak of flour disappears. Third, using the wrong cocoa. For more ideas, check out our guide on baking cupcakes hacks. Natural cocoa powder is acidic and reacts with the baking soda. Dutch-processed cocoa will not.
Fourth, overbaking. Set a timer and check early. Dry cupcakes are a tragedy. Fifth, frosting warm cupcakes. The heat will melt your beautiful cream cheese frosting into a sad, runny mess. Patience is a virtue here.
Delicious Variations and Swaps
Once you’ve mastered the classic, feel free to get creative. For a fun twist, add a handful of mini chocolate chips to the batter. You can also fill the cupcakes with a surprise center, like a dollop of raspberry jam or chocolate ganache.
For dietary needs, you can make substitutions. Use a gluten-free 1:1 baking flour blend for the cake flour. A dairy-free buttermilk can be made with almond milk and lemon juice. For more ideas, check out our guide on gluten free lemon cupcakes. For the frosting, use vegan cream cheese and butter alternatives.
Experiment with different food colorings. Natural options like beet powder can provide a lovely hue, though it may be more muted. The flavor will be slightly earthier, which can be quite nice.
Frequently Asked Questions
Find answers to common questions
Final Thoughts
Baking the perfect batch of red velvet cupcakes is a rewarding achievement. It combines simple science with creative joy. The process teaches patience and precision, while the result delivers pure, unadulterated happiness. I hope this guide empowers you to create a dessert that wows at any gathering.
Remember, the best bakers learn by doing. Don’t be afraid of a little red food coloring on your counter. For more inspiration and advanced baking techniques, explore the fantastic resources at King Arthur Baking. For more ideas, check out our guide on swirl cupcake technique. Now, preheat that oven and get mixing. Your ultimate red velvet cupcakes are waiting to be born.

Lila is a 29-year-old baker and artist based in Asheville, North Carolina. Raised in a cozy, artsy family, she studied visual arts before falling in love with baking. Her signature? Seasonal cupcakes topped with edible flowers from her garden. She hosts backyard baking workshops during the solstices and equinoxes.