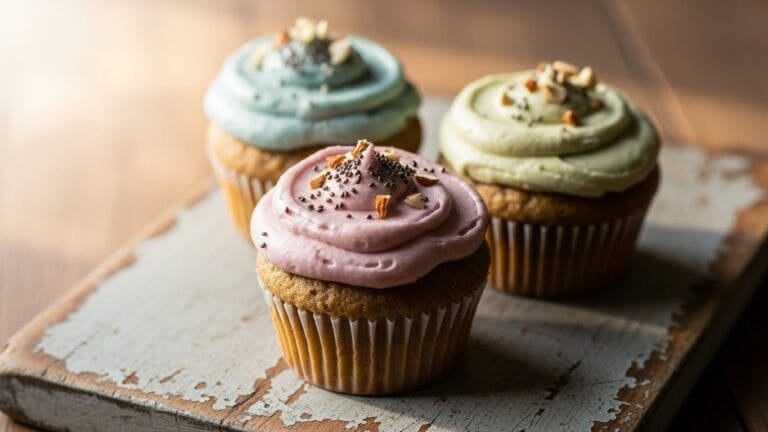
Best moist cupcakes tutorial
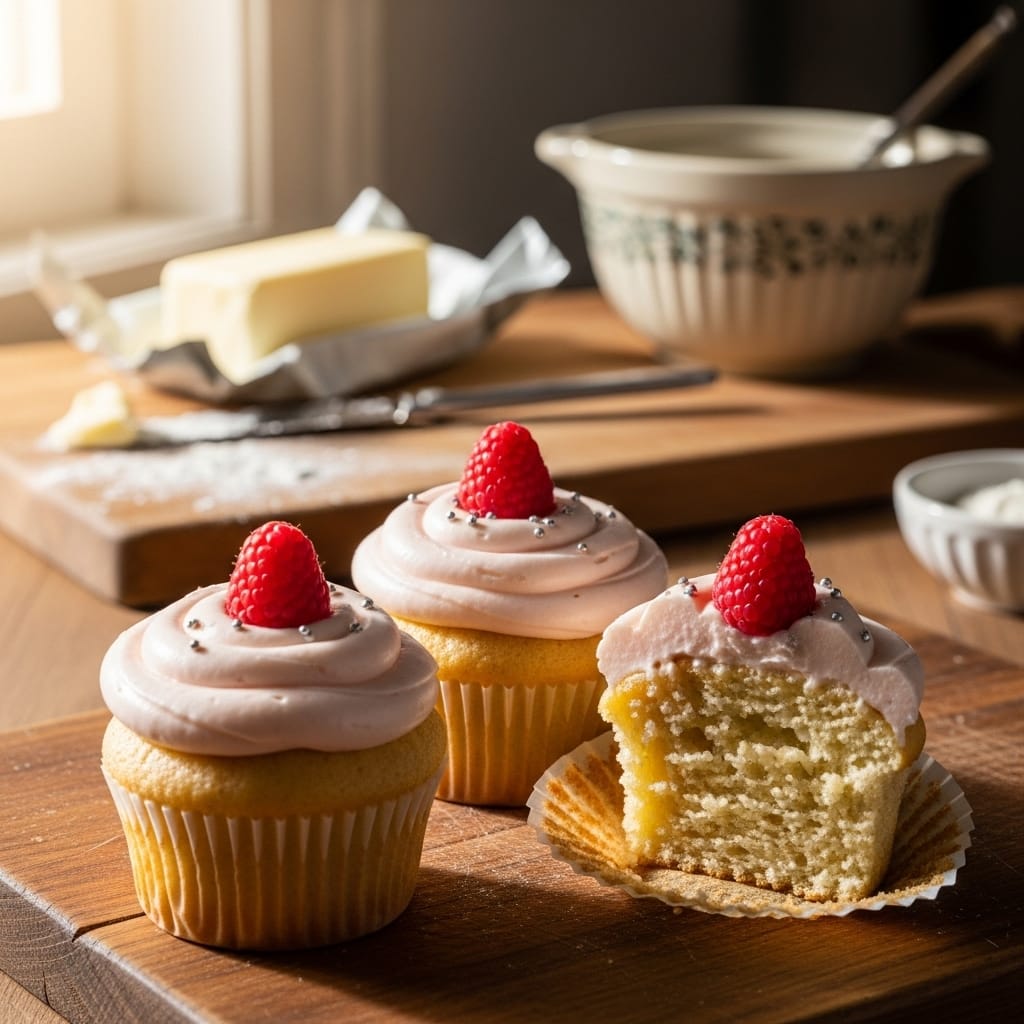
Table of Contents
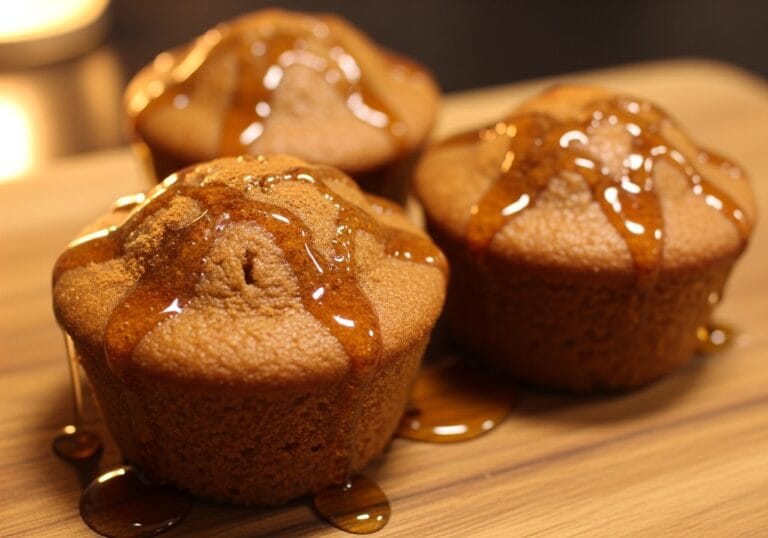
Welcome to the ultimate moist cupcakes tutorial that will transform your baking game forever. I remember my first batch of dry, crumbly cupcakes that tasted more like sweetened cardboard than dessert. That disastrous experience sent me on a quest to master the science behind perfect moisture. This moist cupcakes tutorial will save you from similar kitchen nightmares. Get ready to create bakery-quality treats that stay deliciously tender for days. Your friends and family will beg for your secret.
We’re diving deep into the proven techniques that guarantee success every single time. Forget everything you thought you knew about cupcake baking. The methods I’ll share might surprise you, but they work like magic. Trust me, your taste buds will thank you later.
The Ultimate 5-Step Moisture Method for 2025
Creating perfectly moist cupcakes requires understanding the science behind baking chemistry. Many bakers accidentally create dry textures by overmixing or using incorrect ingredient ratios. The secret lies in balancing fats, liquids, and mixing techniques properly.
Professional bakers have developed revolutionary approaches that defy conventional wisdom. For instance, did you know that adding mayonnaise can enhance moisture without affecting flavor? The science of baking reveals fascinating insights about ingredient interactions. For more ideas, check out our guide on cupcake baking tips,cupcakes. This moist cupcakes tutorial builds on these proven principles.
Temperature control plays a crucial role in achieving that dreamy texture. Room temperature ingredients blend more evenly, creating uniform batter structure. Cold ingredients can cause overmixing as you try to incorporate them properly.
Timing is everything when it comes to baking. Even perfect batter can turn dry if overbaked by just a few minutes. We’ll explore the visual and tactile cues that signal perfect doneness.
Ingredients
- 2 cups all-purpose flour
- 1½ cups granulated sugar
- ¾ cup unsalted butter, room temperature
- ¾ cup whole milk, room temperature
- 3 large eggs, room temperature
- ½ cup sour cream
- 2 teaspoons vanilla extract
- 2 teaspoons baking powder
- ½ teaspoon baking soda
- ½ teaspoon salt
Instructions
- Preheat your oven to 350°F (175°C) and line muffin tins with cupcake liners. Proper preparation ensures consistent baking results. This simple step prevents sticking and makes cleanup effortless.
- Whisk together flour, baking powder, baking soda, and salt in a medium bowl. Sifting these ingredients removes lumps and aerates the mixture. This creates lighter texture in your final cupcakes.
- Cream butter and sugar together for 3-4 minutes until light and fluffy. This crucial step incorporates air into your batter. Don’t rush this process – it’s fundamental to perfect texture.
- Add eggs one at a time, mixing well after each addition. Then blend in vanilla extract and sour cream. The sour cream adds tanginess and incredible moisture that lasts for days.
- Alternate adding dry ingredients and milk, beginning and ending with flour mixture. Mix until just combined after each addition. Overmixing develops gluten and creates tough cupcakes.
- Fill cupcake liners ⅔ full using an ice cream scoop for even distribution. This prevents overflowing and ensures uniform baking. Your cupcakes will have perfect domes every time.
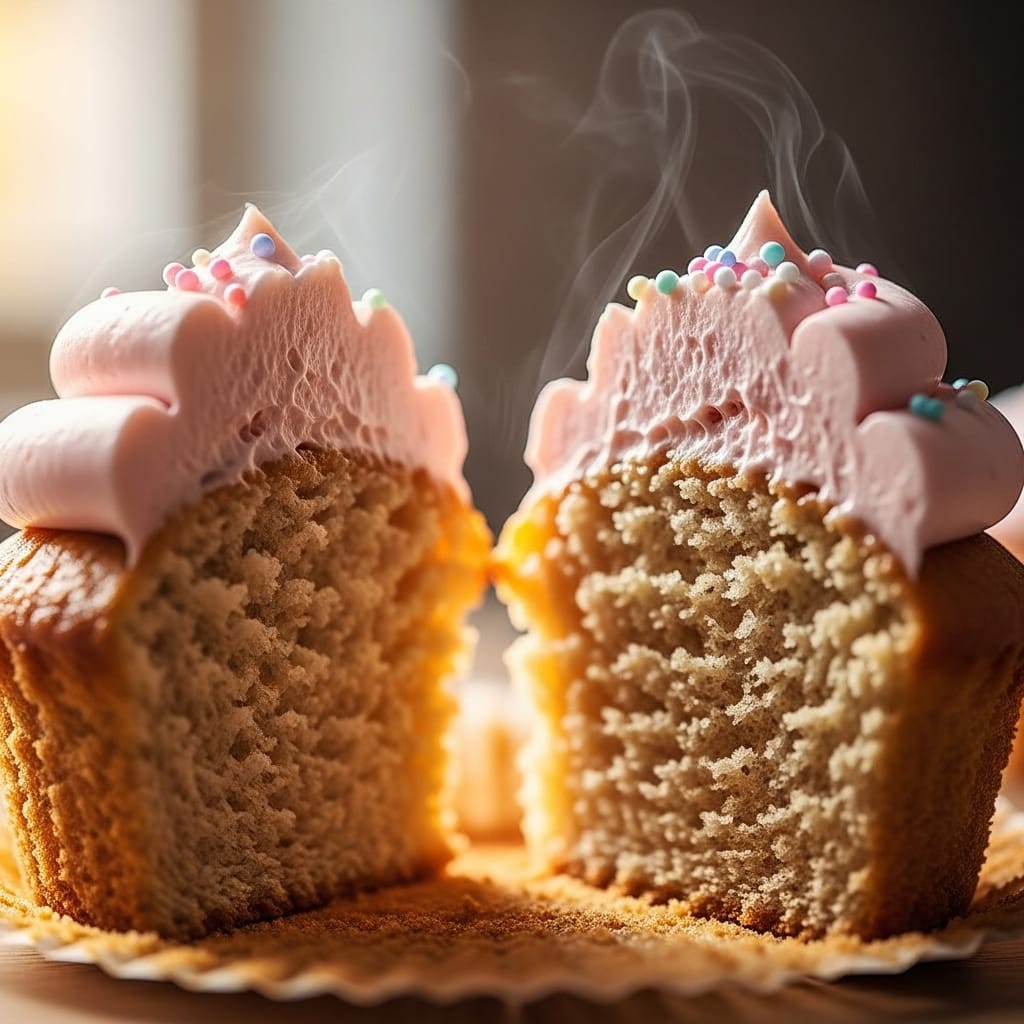
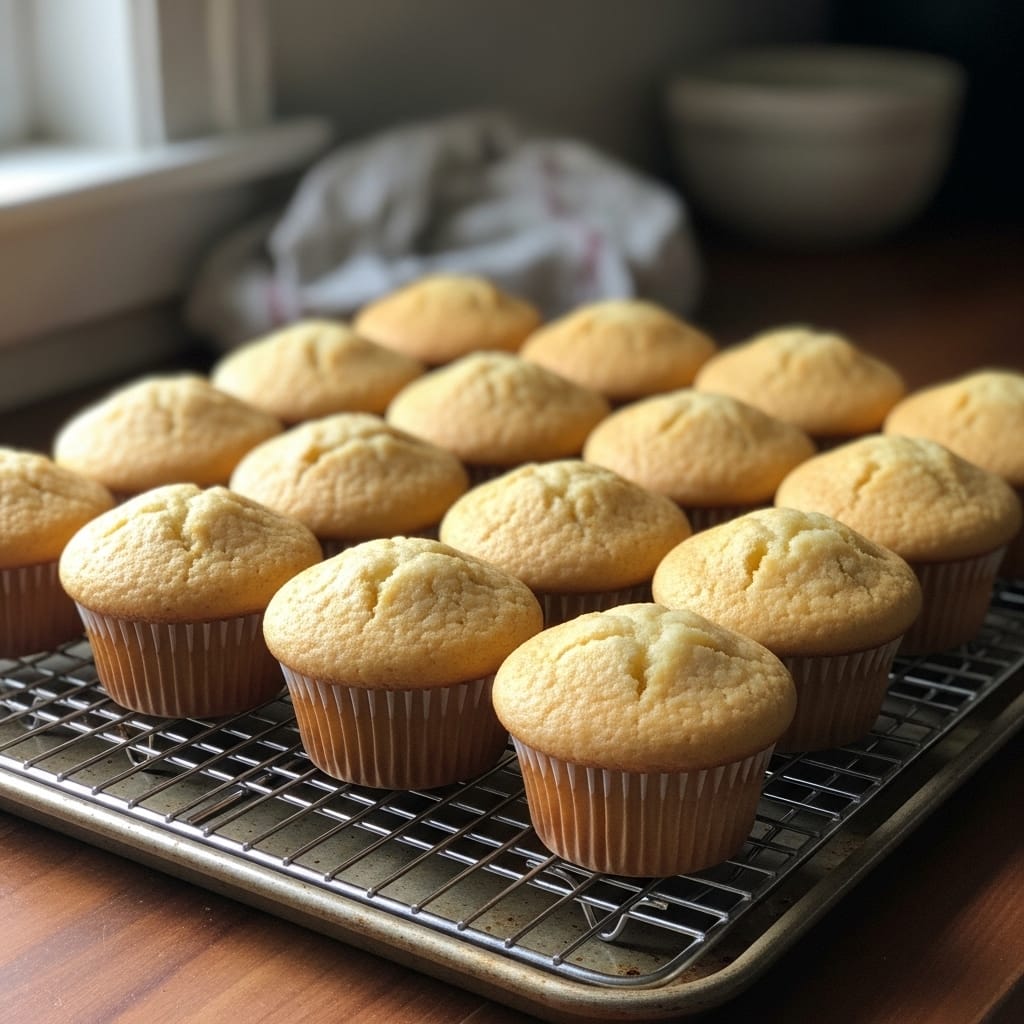
- Bake for 18-22 minutes until tops spring back when lightly touched. A toothpick inserted should come out with moist crumbs. Remember that residual heat continues cooking them after removal.
- Cool in pans for 5 minutes before transferring to wire racks. This prevents steaming and maintains ideal texture. Frost only when completely cooled to room temperature.
Pro Storage Techniques
Proper storage makes the difference between cupcakes that stay moist for days versus ones that stale quickly. Always store completely cooled cupcakes in airtight containers at room temperature. For more ideas, check out our guide on Cake Chocolate Cupcakes,Chocolate,Cupcakes. Avoid refrigeration unless absolutely necessary, as it accelerates starch retrogradation.
Freezing unfrosted cupcakes preserves freshness for up to three months. Wrap individually in plastic wrap before placing in freezer bags. Thaw overnight at room temperature before frosting and serving.
For short-term storage, place cupcakes in containers with slices of bread. The bread absorbs humidity while keeping cupcakes soft. Replace bread slices daily to maintain effectiveness.
7 Revolutionary Benefits of Mastering Moist Cupcakes
Perfecting moist cupcake baking transforms your entire approach to desserts. The skills you develop extend far beyond basic baking. For more ideas, check out our guide on cupcake frosting techniques. You’ll gain confidence to experiment with flavors and techniques.
Consistently moist results make you the star of every gathering. Imagine bringing cupcakes that outshine bakery offerings. Your reputation as an amazing baker will spread quickly among friends.
Understanding moisture principles helps troubleshoot other baked goods. Cookies, cakes, and muffins all benefit from these techniques. The science of perfect cupcakes applies across baking categories.
- Eliminate dessert stress before events and parties
- Create memorable birthday celebrations with perfect treats
- Develop foundational skills for advanced baking projects
- Save money compared to expensive bakery purchases
- Customize flavors and fillings to personal preferences
- Impressive results that look professionally made
- Satisfying creative outlet that reduces stress
5 Common Mistakes That Destroy Moisture
Overmixing batter develops too much gluten, creating tough textures. Mix until ingredients just combine, ignoring the urge to keep going. For more ideas, check out our guide on gluten free cupcakes,Cupcakes,Gluten Free. Some small lumps are perfectly fine and actually desirable.
Using cold ingredients prevents proper emulsion and aeration. Remember to plan ahead for room temperature components. This simple step makes a dramatic difference in final texture.
Overbaking even by two minutes can ruin perfect batter. Oven thermometers ensure accurate temperature readings. Visual cues matter more than strict timing in recipes.
Incorrect measurement techniques throw off delicate balances. Always spoon and level flour rather than scooping from containers. For more ideas, check out our guide on Coconut Flour Mummy Cupcakes,Cupcakes. Digital scales provide ultimate precision for serious bakers.
Opening oven doors during baking causes temperature fluctuations. Use oven lights to check progress without releasing heat. Rotate pans only if necessary during the final few minutes.
Creative Variations and Dietary Swaps
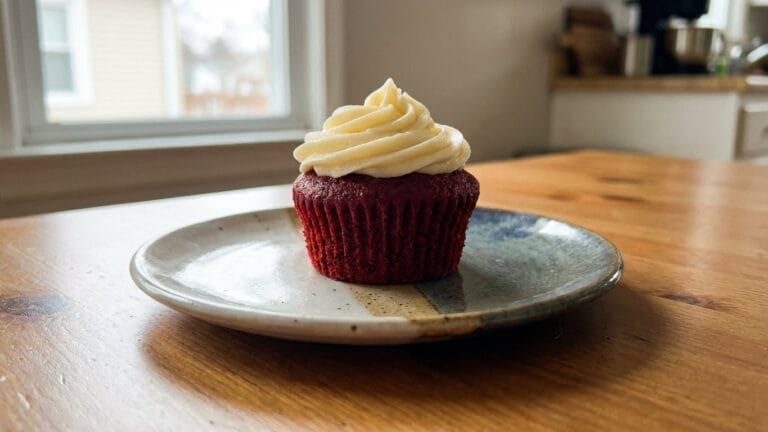
Chocolate lovers can replace ¼ cup flour with high-quality cocoa powder. Add chocolate chips for extra indulgence in every bite. The basic moist cupcakes tutorial adapts beautifully to countless flavors.
Lemon zest and poppy seeds create refreshing citrus variations. Substitute ¼ cup milk with fresh lemon juice for tangy brightness. The acidity actually enhances tenderness in the crumb.
For dairy-free options, use plant-based milk and vegan butter substitutes. Coconut milk adds wonderful richness and natural sweetness. Flax eggs can replace traditional eggs in most recipes.
Gluten-free flour blends work beautifully when containing xanthan gum. Measure carefully and consider adding 1-2 tablespoons extra liquid. The texture might be slightly different but equally delicious.
Frequently Asked Questions
Find answers to common questions
Final Thoughts
Mastering this moist cupcakes tutorial opens endless creative possibilities in baking. The techniques you’ve learned today apply to countless other dessert recipes. Remember that practice and attention to detail separate good bakers from great ones.
Don’t get discouraged if your first attempt isn’t perfect. Even professional bakers continuously refine their techniques. The history of cupcakes shows how this humble treat evolved through experimentation. Keep this moist cupcakes tutorial handy for reference during your baking journey.
Share your creations with friends and family to spread the joy of homemade treats. I’d love to hear about your baking adventures and see your beautiful results. For more ideas, check out our guide on Halloween Cupcake Toppers,Halloween. Happy baking, and may all your cupcakes stay wonderfully moist!

Ben is a 41-year-old baking educator and former bakery owner from Kansas City, Missouri. With a culinary degree and years of hands-on experience, he specializes in teaching approachable, science-based baking. He once recreated a 17th-century cupcake recipe for a historical food documentary.


One Comment