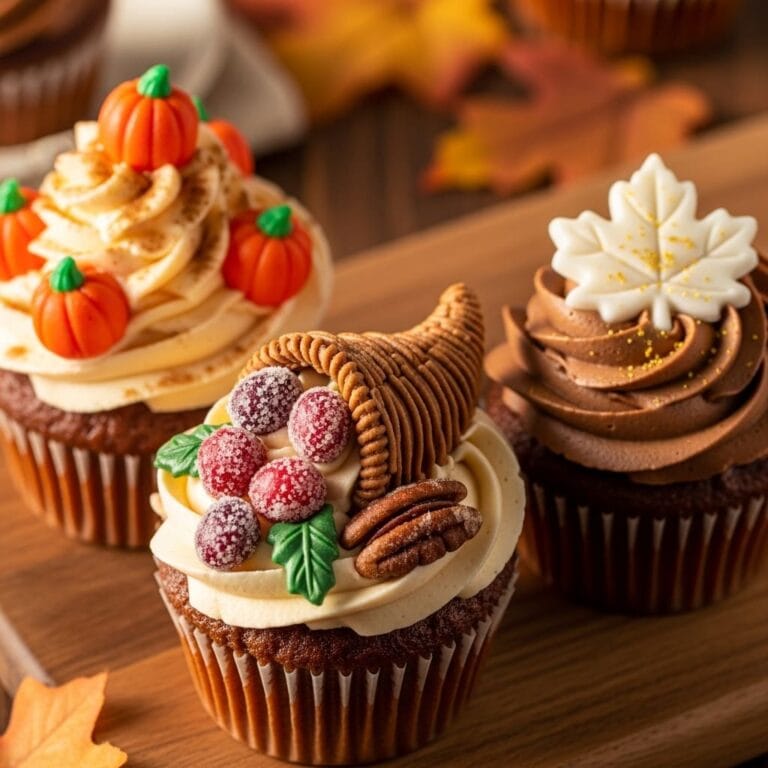
Best brown butter cupcakes

Table of Contents
Brown butter cupcakes are the secret weapon every baker needs in their arsenal. Imagine biting into a fluffy, moist cupcake with a flavor that’s both nutty and caramel-like. This isn’t your average vanilla cupcake. It’s a sophisticated treat that elevates simple ingredients into something magical. The process of browning butter transforms its very essence. It adds a depth of flavor that will make you the star of any bake sale or birthday party. Trust me, once you try these, you’ll never go back to the plain version.
7 Revolutionary Secrets to Perfect Brown Butter Cupcakes
Mastering the art of brown butter cupcakes requires understanding a few key principles. First, browning butter isn’t just melting it. It’s a careful process of toasting the milk solids until they achieve a gorgeous amber hue and a nutty aroma. This step is non-negotiable for achieving that signature flavor profile. Many home bakers rush this, but patience is your best friend here.
Second, the temperature of your ingredients matters immensely. Your browned butter should be cooled but still liquid when you incorporate it. Using cold eggs or milk can cause the butter to solidify, leading to a dense batter. For a deeper dive into the Maillard reaction responsible for this flavor transformation, the Wikipedia page on the Maillard reaction offers a fantastic scientific explanation. This knowledge isn’t just trivia; it helps you understand why each step is crucial.
Finally, don’t overmix your batter. Once you add the dry ingredients, mix just until combined. Overworking the gluten will result in tough cupcakes, and we’re aiming for cloud-like softness. For more ideas, check out our guide on Cupcake Ideas,Teen birthday cupcakes. These three secrets are the foundation for creating the ultimate brown butter cupcakes that will genuinely impress.
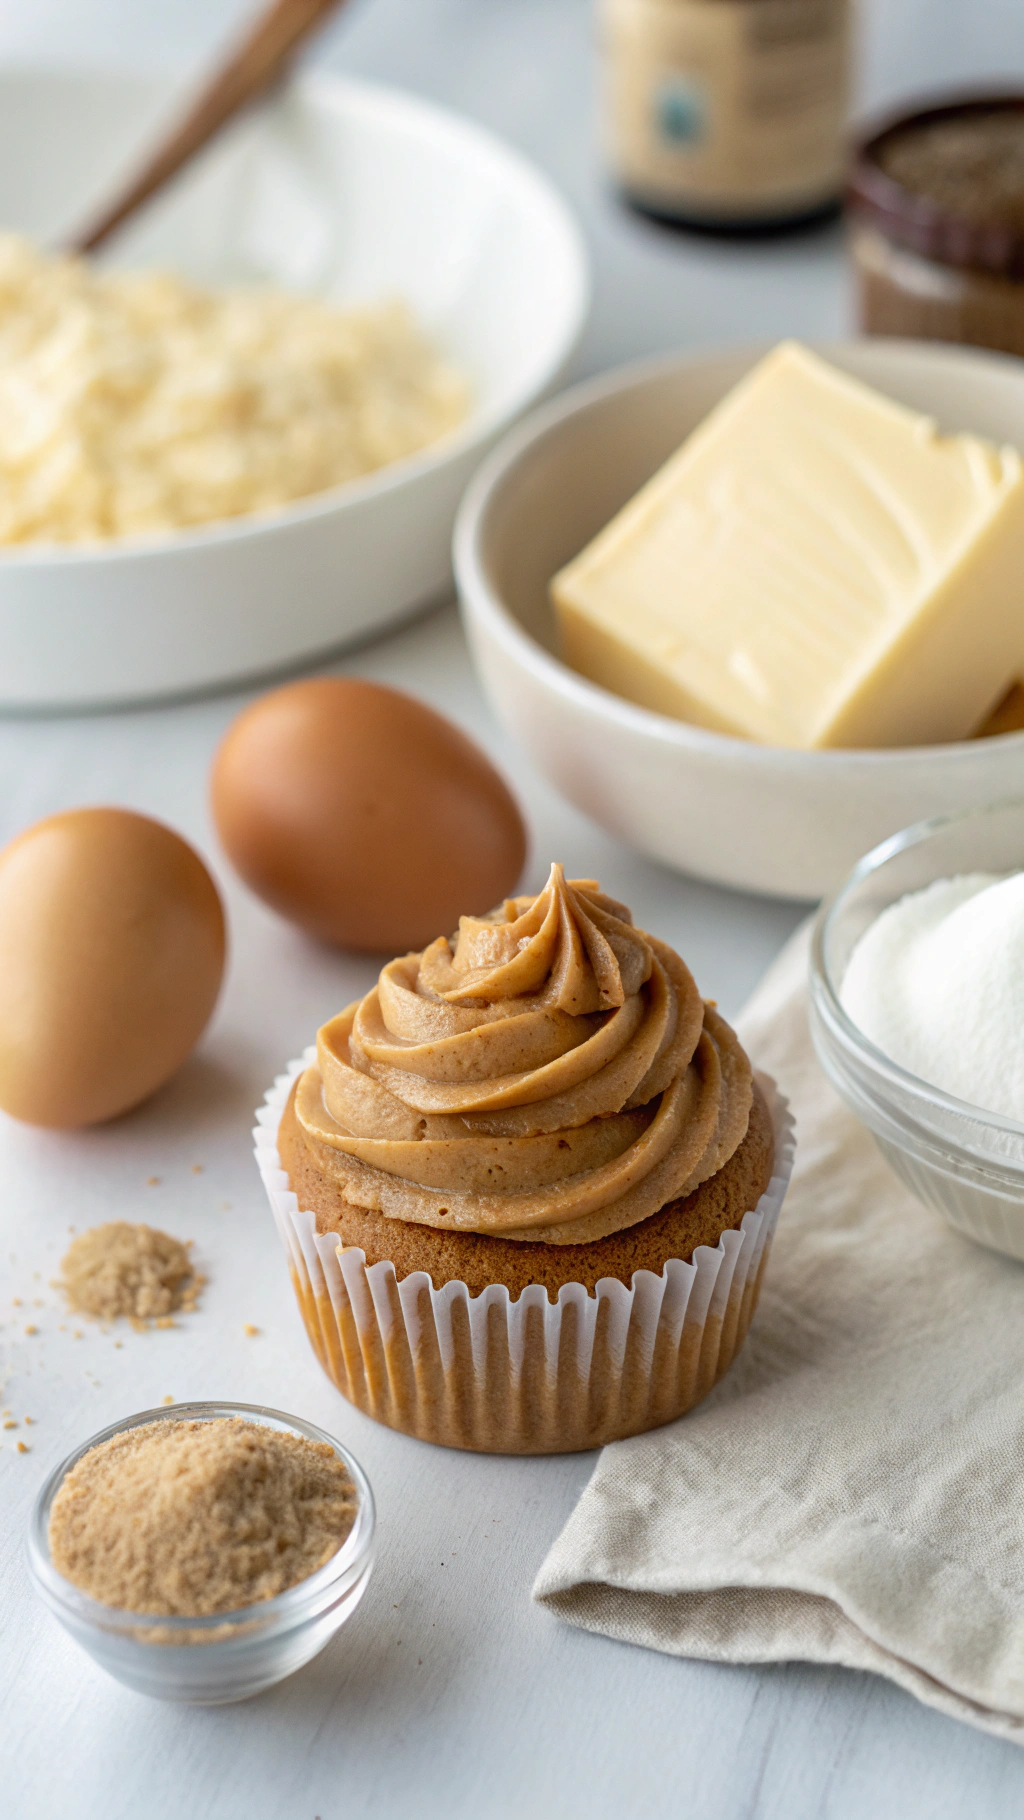
Ingredients
- 1 cup (2 sticks) unsalted butter
- 1 ½ cups granulated sugar
- 2 large eggs, at room temperature
- 2 teaspoons pure vanilla extract
- 2 ½ cups all-purpose flour
- 2 ½ teaspoons baking powder
- ½ teaspoon salt
- 1 cup whole milk, at room temperature
Instructions
- Begin by browning your butter. Melt it in a light-colored saucepan over medium heat, swirling the pan occasionally. It will foam and then you’ll see little brown bits at the bottom. This takes about 5-8 minutes. Immediately pour it into a heatproof bowl to stop the cooking. Let it cool for 15-20 minutes.
- Preheat your oven to 350°F (175°C) and line a muffin tin with cupcake liners. In a medium bowl, whisk together the flour, baking powder, and salt. This ensures your leavening agents are evenly distributed for a perfect rise.
- In a large mixing bowl, combine the slightly cooled brown butter and sugar. Beat them together for 2-3 minutes until well combined. The mixture might look a little grainy, and that’s perfectly fine at this stage.
- Add the eggs one at a time, beating well after each addition. Then, mix in the vanilla extract. The goal is to incorporate air into the batter for a light, fluffy texture on your brown butter cupcakes.
- Alternately add the dry ingredients and the milk to the butter mixture, beginning and ending with the dry ingredients. Mix on low speed until just combined. IMO, this is the most critical step to avoid tough cupcakes.
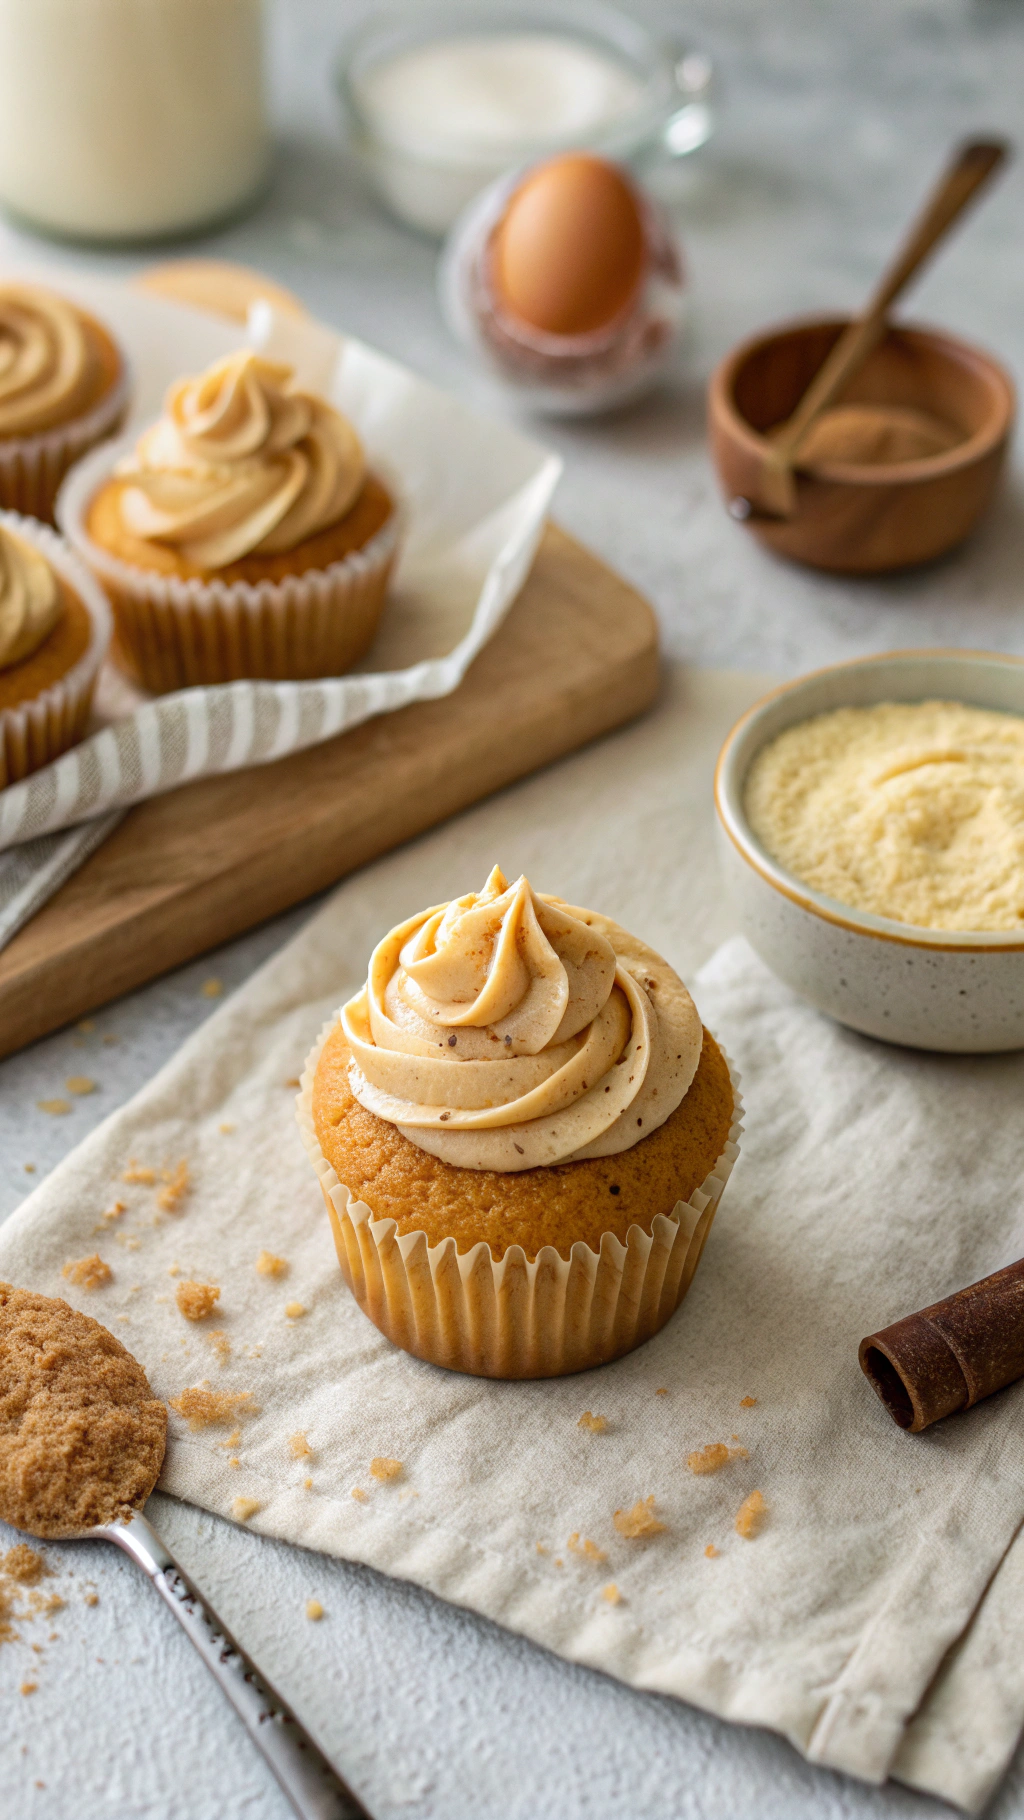
- Divide the batter evenly among the prepared cupcake liners, filling each about two-thirds full. Bake for 18-22 minutes, or until a toothpick inserted into the center comes out clean.
- Allow the cupcakes to cool in the pan for 5 minutes before transferring them to a wire rack to cool completely. This prevents them from getting soggy from trapped steam.
Storage and Serving Tips
Once completely cooled, store your brown butter cupcakes in an airtight container at room temperature. They will stay fresh and moist for up to 3 days. For longer storage, you can freeze them for up to 3 months.
Thaw frozen cupcakes at room temperature for a few hours before serving. Always frost your cupcakes only after they have cooled completely. If you frost them while they are even slightly warm, the frosting will melt and slide right off. TBH, a simple cream cheese or vanilla buttercream frosting pairs beautifully with the nutty flavor.
5 Incredible Benefits of Brown Butter Cupcakes
Why go through the extra step of browning butter? The rewards are absolutely worth the minimal effort. For more ideas, check out our guide on carrot cake cupcakes. These brown butter cupcakes offer more than just a delicious taste.
- Complex Flavor Profile: The nutty, toasty notes of brown butter add a sophisticated depth that regular butter simply cannot provide. It elevates a simple cupcake into a gourmet experience.
- Unbeatable Aroma: The scent of brown butter baking is intoxicating. It fills your kitchen with a warm, caramel-like fragrance that is pure comfort. This is a sensory benefit you can’t get from a box mix.
- Impressive Yet Simple: These cupcakes look and taste like they came from a professional bakery, but the recipe is straightforward. They are a guaranteed crowd-pleaser for any occasion.
- Versatile Base: The flavor of these brown butter cupcakes is a perfect canvas for various frostings and toppings. From spiced cinnamon frosting to a rich chocolate ganache, the possibilities are endless.
- Educational Experience: Mastering brown butter is a fundamental culinary skill. The King Arthur Baking guide to browning butter is an excellent resource that reinforces this technique. Learning it opens doors to enhancing other recipes like cookies, sauces, and pastas.
Common Mistakes to Avoid
Even experienced bakers can make a few missteps when working with brown butter. Here are the top pitfalls to watch for.
- Burning the Butter: This is the number one mistake. The line between brown and burnt is thin. Use a light-colored pan so you can see the color change, and take it off the heat the moment you smell a nutty aroma and see brown specks.
- Using Hot Butter: Adding piping hot brown butter to your eggs and sugar will cook the eggs, creating a scrambled mess. Always let it cool for at least 15 minutes.
- Overfilling the Liners: It’s tempting to use all the batter, but filling liners more than two-thirds full will cause the cupcakes to overflow and create a messy, mushroom-like top.
Delicious Variations to Try
Once you’ve mastered the classic version, feel free to get creative with your brown butter cupcakes. The basic recipe is wonderfully adaptable.
For a fall-inspired twist, add a teaspoon of cinnamon and a half teaspoon of nutmeg to the dry ingredients. You could also fold in a half cup of toasted pecans or walnuts into the batter for a delightful crunch.
Chocolate lovers can mix in a cup of chocolate chips. For a citrusy zing, add the zest of one lemon or orange to the batter. These simple changes can create a whole new dessert experience while keeping the beloved brown butter base.
Frequently Asked Questions
Find answers to common questions
Final Thoughts
Baking a perfect batch of brown butter cupcakes is a rewarding experience that yields incredible results. The unique, toasty flavor is a game-changer in the world of home baking. It’s a simple technique with a huge payoff, making your desserts stand out from the crowd.
I encourage you to give this recipe a try and experience the magic for yourself. For more inspiration on baking science and techniques, check out the resources at the Land O’Lakes expert advice section. For more ideas, check out our guide on mixing cupcakes technique. Now, go preheat that oven and get ready to bake the most amazing brown butter cupcakes you’ve ever tasted!

Lila is a 29-year-old baker and artist based in Asheville, North Carolina. Raised in a cozy, artsy family, she studied visual arts before falling in love with baking. Her signature? Seasonal cupcakes topped with edible flowers from her garden. She hosts backyard baking workshops during the solstices and equinoxes.