Stunning Cupcake Frosting Techniques for Perfect Results
I used to think my cupcakes were cursed. They’d emerge from the oven looking perfect, then I’d massacre them with a butter knife and a sad, lumpy blob of sugar. My frosting looked like spackle.
It tasted like sweetened regret. I was one bad swirl away from giving up entirely. Then I cracked the code on professional-level cupcake frosting techniques.
The difference wasn’t just visual; it was a complete sensory upgrade. My cupcakes went from “homemade try-hard” to “bougie bakery” overnight. Mastering these cupcake frosting techniques is the single best thing you can do for your baking ego.
It’s not just about looks, I promise.
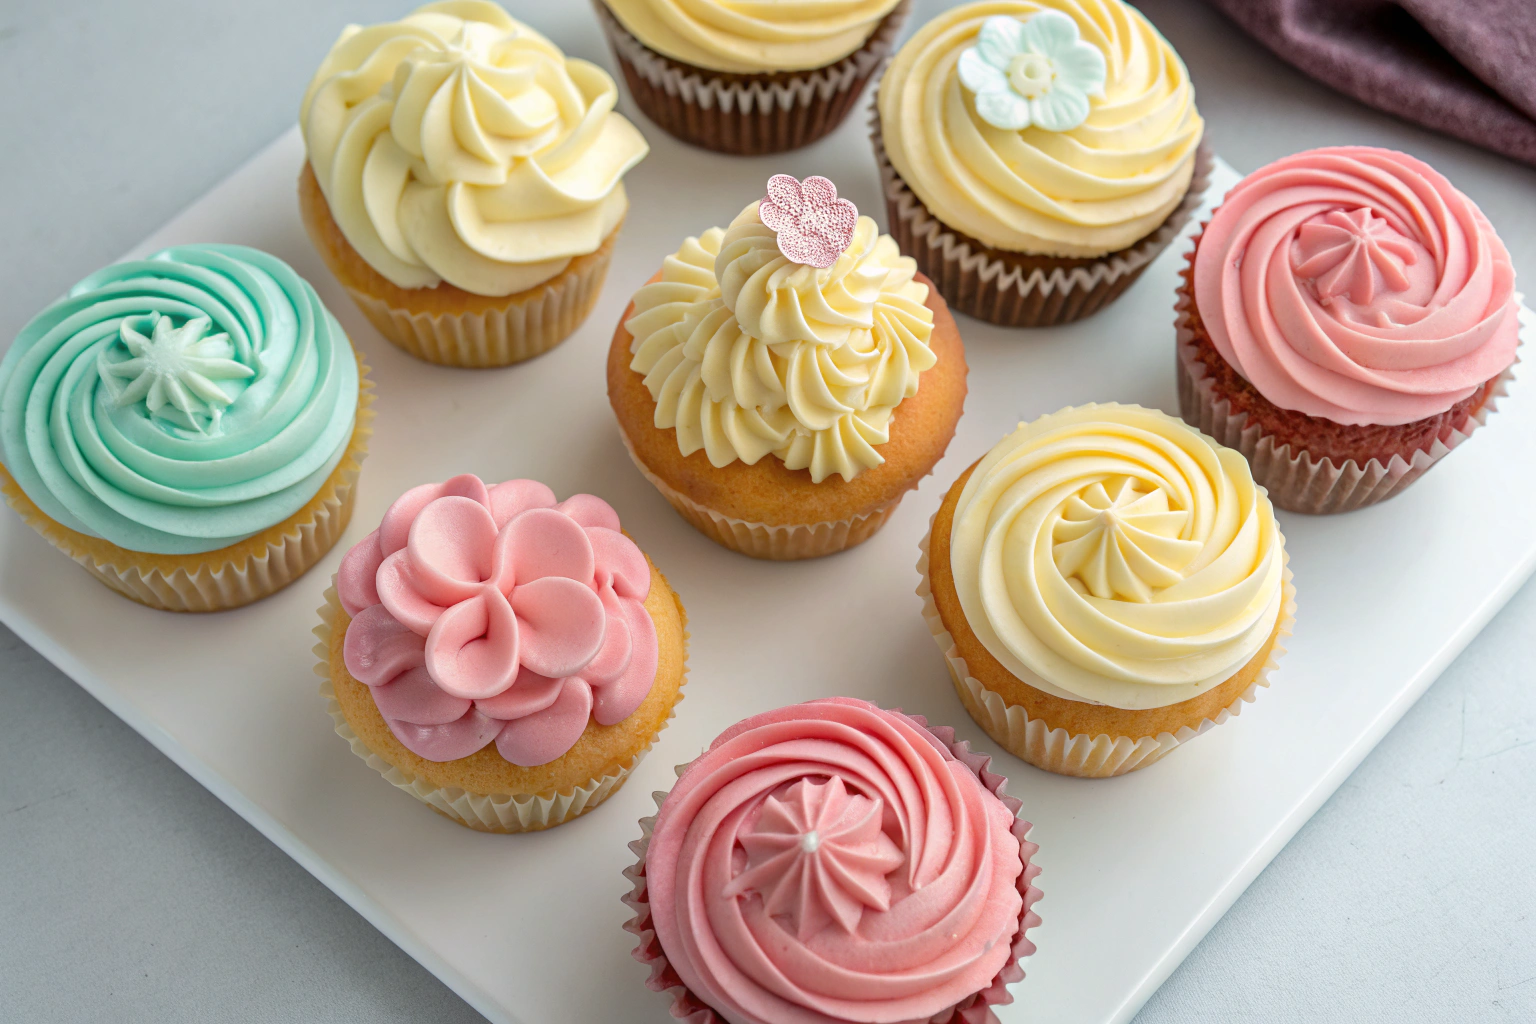
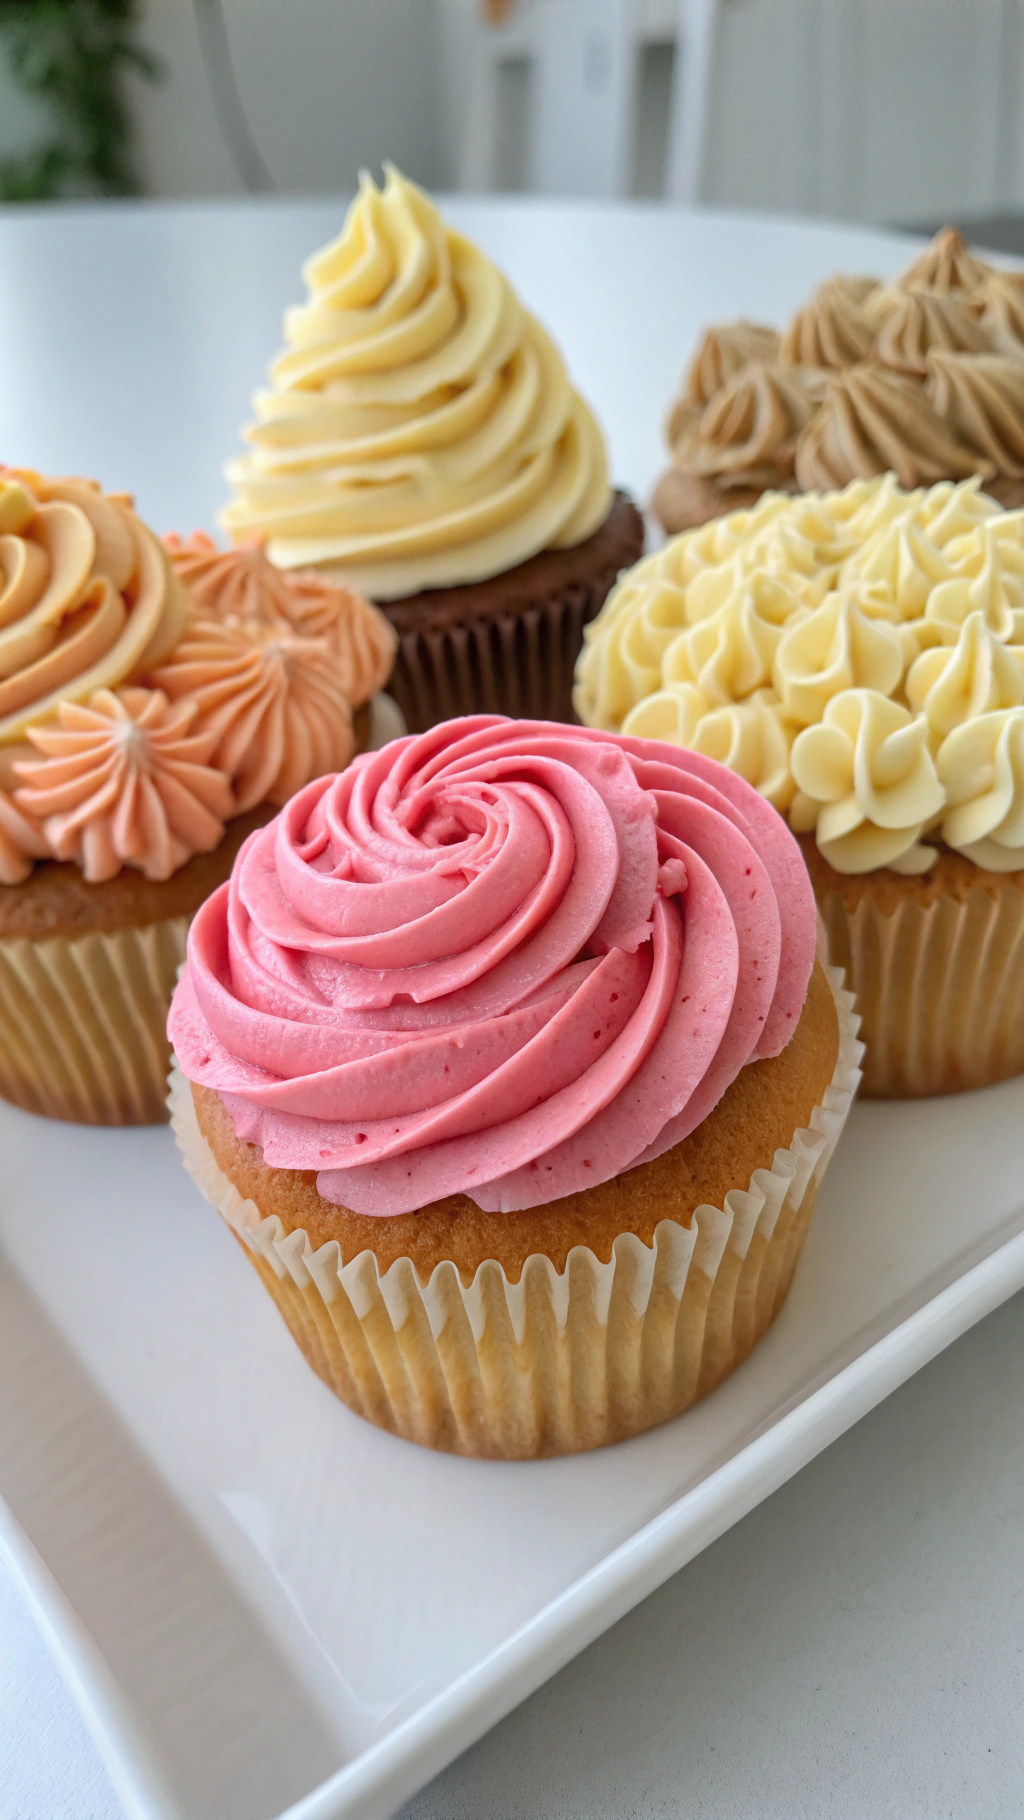
A perfectly frosted cupcake is a multi-sensory experience. That first visual hit of a elegant swirl or a razor-sharp edge sets the expectation. Then, the texture—light as air, silky smooth, and perfectly balanced with the cake.
Remember that dry, crusty buttercream you’d scrape off a grocery store cupcake as a kid? These methods are the glorious opposite. They’re about creating something so good, you almost don’t want to eat it.
Almost.
Ingredients
Before we get to the magic, let’s talk building blocks. Using high-quality ingredients is non-negotiable for frosting that tastes as good as it looks. Don’t you dare use that tub of vegetable shortening.
Here’s your shopping list for a classic American buttercream, the perfect canvas for practicing your new cupcake frosting techniques.
- 4 cups (480g) Powdered Sugar, sifted
- 1 cup (226g) Unsalted Butter, at room temperature
- 2-3 tablespoons Heavy Cream or Whole Milk
- 1 tablespoon Pure Vanilla Extract
- A generous pinch of Fine Sea Salt (the secret weapon)
Step-by-Step Instructions
- Whip your butter until it’s pale and fluffy. This should take a solid 3-5 minutes in a stand mixer. Don’t just cream it; aerate it. You’re basically building the foundation for all your future cupcake frosting techniques right here.
- Gradually add the sifted powdered sugar on low speed. I’m serious about the low speed, unless you want a blizzard of confectioner’s sugar coating your entire kitchen. Once incorporated, scrape down the bowl.
- Pour in the vanilla, salt, and 2 tablespoons of cream. Now, turn the mixer back to medium-high and let it rip for another 2-3 minutes. Watch the magic happen as it transforms from grainy to gloriously smooth.
- Check your consistency. This is where the art of cupcake frosting techniques comes in. Drag a spoon through it. For piping, you want a firm peak that holds its shape. Too stiff? Add more cream, a teaspoon at a time. Too soft? A bit more powdered sugar.
- Load your frosting into a piping bag fitted with your tip of choice. My go-to for classic beauty is a large open star tip. Twist the top of the bag tightly to prevent blowouts. You are now armed and dangerous.
- Pipe with confidence. Hold the bag perpendicular to the cupcake, starting from the outer edge and swirling inward, building height. Apply steady, even pressure. The final flourish is a quick, confident pull away. You’ve just executed a core cupcake frosting technique.
Storage Instructions
Leftover frosting is a myth in my house, but if you’re a planner, here’s the deal. In an airtight container, it lasts up to one week in the fridge. Let it come to room temperature and re-whip before using.
For long-term storage, you can freeze it for up to 3 months. Thaw overnight in the fridge and re-whip to restore its fluffy texture. This is a fantastic time-saving hack for birthday emergencies.
Why You’ll Love Mastering These Cupcake Frosting Techniques
- Instant Wow Factor: Your baked goods will immediately look professional, making you the star of any potluck or party.
- Total Texture Control: Say goodbye to gritty, too-sweet, or runny frosting. You control the silkiness and sweetness perfectly.
- Unlocks Creativity: Once you master the basic buttercream and piping, you can experiment with colors, flavors, and even more advanced cupcake frosting techniques like creating stunning ombre effects.
Common Mistakes to Avoid
- Using cold butter. It will never cream properly and you’ll get lumpy frosting. IMO, this is the number one rookie error.
- Skipping the sifting. Those little powdered sugar lumps will clog your piping tip and ruin your smooth finish. Just sift it.
- Over-mixing after adding liquid. You incorporate too much air and it can become almost foamy and unstable.
- Using imitation vanilla extract. It gives the frosting a harsh, artificial taste. Pure vanilla is a non-negotiable for a premium flavor profile.
Alternatives and Variations
This classic buttercream is just the beginning. The principles of these cupcake frosting techniques apply to almost any recipe.
For a less sweet option, try a Swiss Meringue Buttercream. For a dairy-free version, use a high-quality vegan butter stick. Feel free to add natural food colorings or flavor extracts like almond or lemon.
You can even fold in finely crushed cookies or sprinkles for a funfetti effect after you’ve mastered the smooth base.
FAQs
Can I freeze this frosting?
Absolutely! Portion it into airtight containers or freezer bags. It freezes beautifully for up to 3 months.
Just remember to thaw it slowly in the refrigerator before re-whipping it to bring back its creamy texture.
What’s the best substitute for heavy cream?
Whole milk or even a non-dairy milk like oat or almond milk works in a pinch. The fat in the cream gives it a richer mouthfeel, but milk will still get you to a pipeable consistency for your cupcake frosting techniques.
How long do frosted cupcakes stay fresh?
At room temperature, they are best enjoyed within 1-2 days. If it’s particularly humid, I’d refrigerate them.
Stored in the fridge in an airtight container, they’ll last up to 5 days. Let them come to room temp before serving for the best flavor and texture.
Is this kid-friendly?
Is the sky blue? Kids adore this frosting.
It’s sweet, smooth, and perfect for piping onto birthday cupcakes. You can even get them involved in adding colors and sprinkles, making it a fun kitchen activity.
Can I prep it ahead of time?
100%. This is one of the biggest perks of mastering these cupcake frosting techniques.
You can make the frosting 2-3 days in advance, keep it in the fridge, and then bring it to room temperature and re-whip before your big baking day. It’s a total game-changer for stress-free entertaining.
Final Thoughts
Upgrading your cupcake frosting techniques is a simple skill with an enormous payoff. It transforms your baking from basic to brilliant.
The confidence you get from piping that perfect swirl is honestly unmatched. So grab your piping bag, embrace the butter, and get swirling. I can’t wait to see what you create—tag me on social or drop a comment below with your masterpiece!

Ben is a 41-year-old baking educator and former bakery owner from Kansas City, Missouri. With a culinary degree and years of hands-on experience, he specializes in teaching approachable, science-based baking. He once recreated a 17th-century cupcake recipe for a historical food documentary.


4 Comments